

Mom’s Letters Pillow
My mom and dad were originally from St Louis Missouri. Right after they got married they moved to El Paso, Texas where they lived in a tiny little trailer while my Dad was stationed in the army. Thus began my mom’s lifelong letter writing career. Each week she would put pen to paper and write to both her parents and my dad’s parents about every little thing that was happening in their lives. Phone calls were very expensive and were reserved for major holidays, stamps, however, were only a few cents, so that is how they talked. My grandmother saved all of my mom’s letters and while the weekly recount of doing laundry, gardening, ironing and raising 5 children will never make a best seller, there are a few gems totally worth saving.
My mom passed away 3 years ago and my dad 6, so while burrowing through the piles of letters one day I came up with the idea of pulling out just a few of the letters that pertained specifically to each of my brothers and sisters. Whether it was that first step, or the rush to the hospital when my brother stuck a pencil in my sisters eye. Those letters that I thought they would particularly enjoy, were last years Christmas present.
Besides a sewing machine and thread, you will need a few key items for this project: A printer, your letters, canvas (not too stiff), fray check (from the fabric store) , a pillow backing fabric, a 16 inch square pillow form and full size, 8 1/2 x 11, white shipping labels.
Cut the canvas the same size as your white shipping labels, 8 1/2 x 11. For a 16 x 16 inch pillow you will need 4 sheets and these will be pieced together.
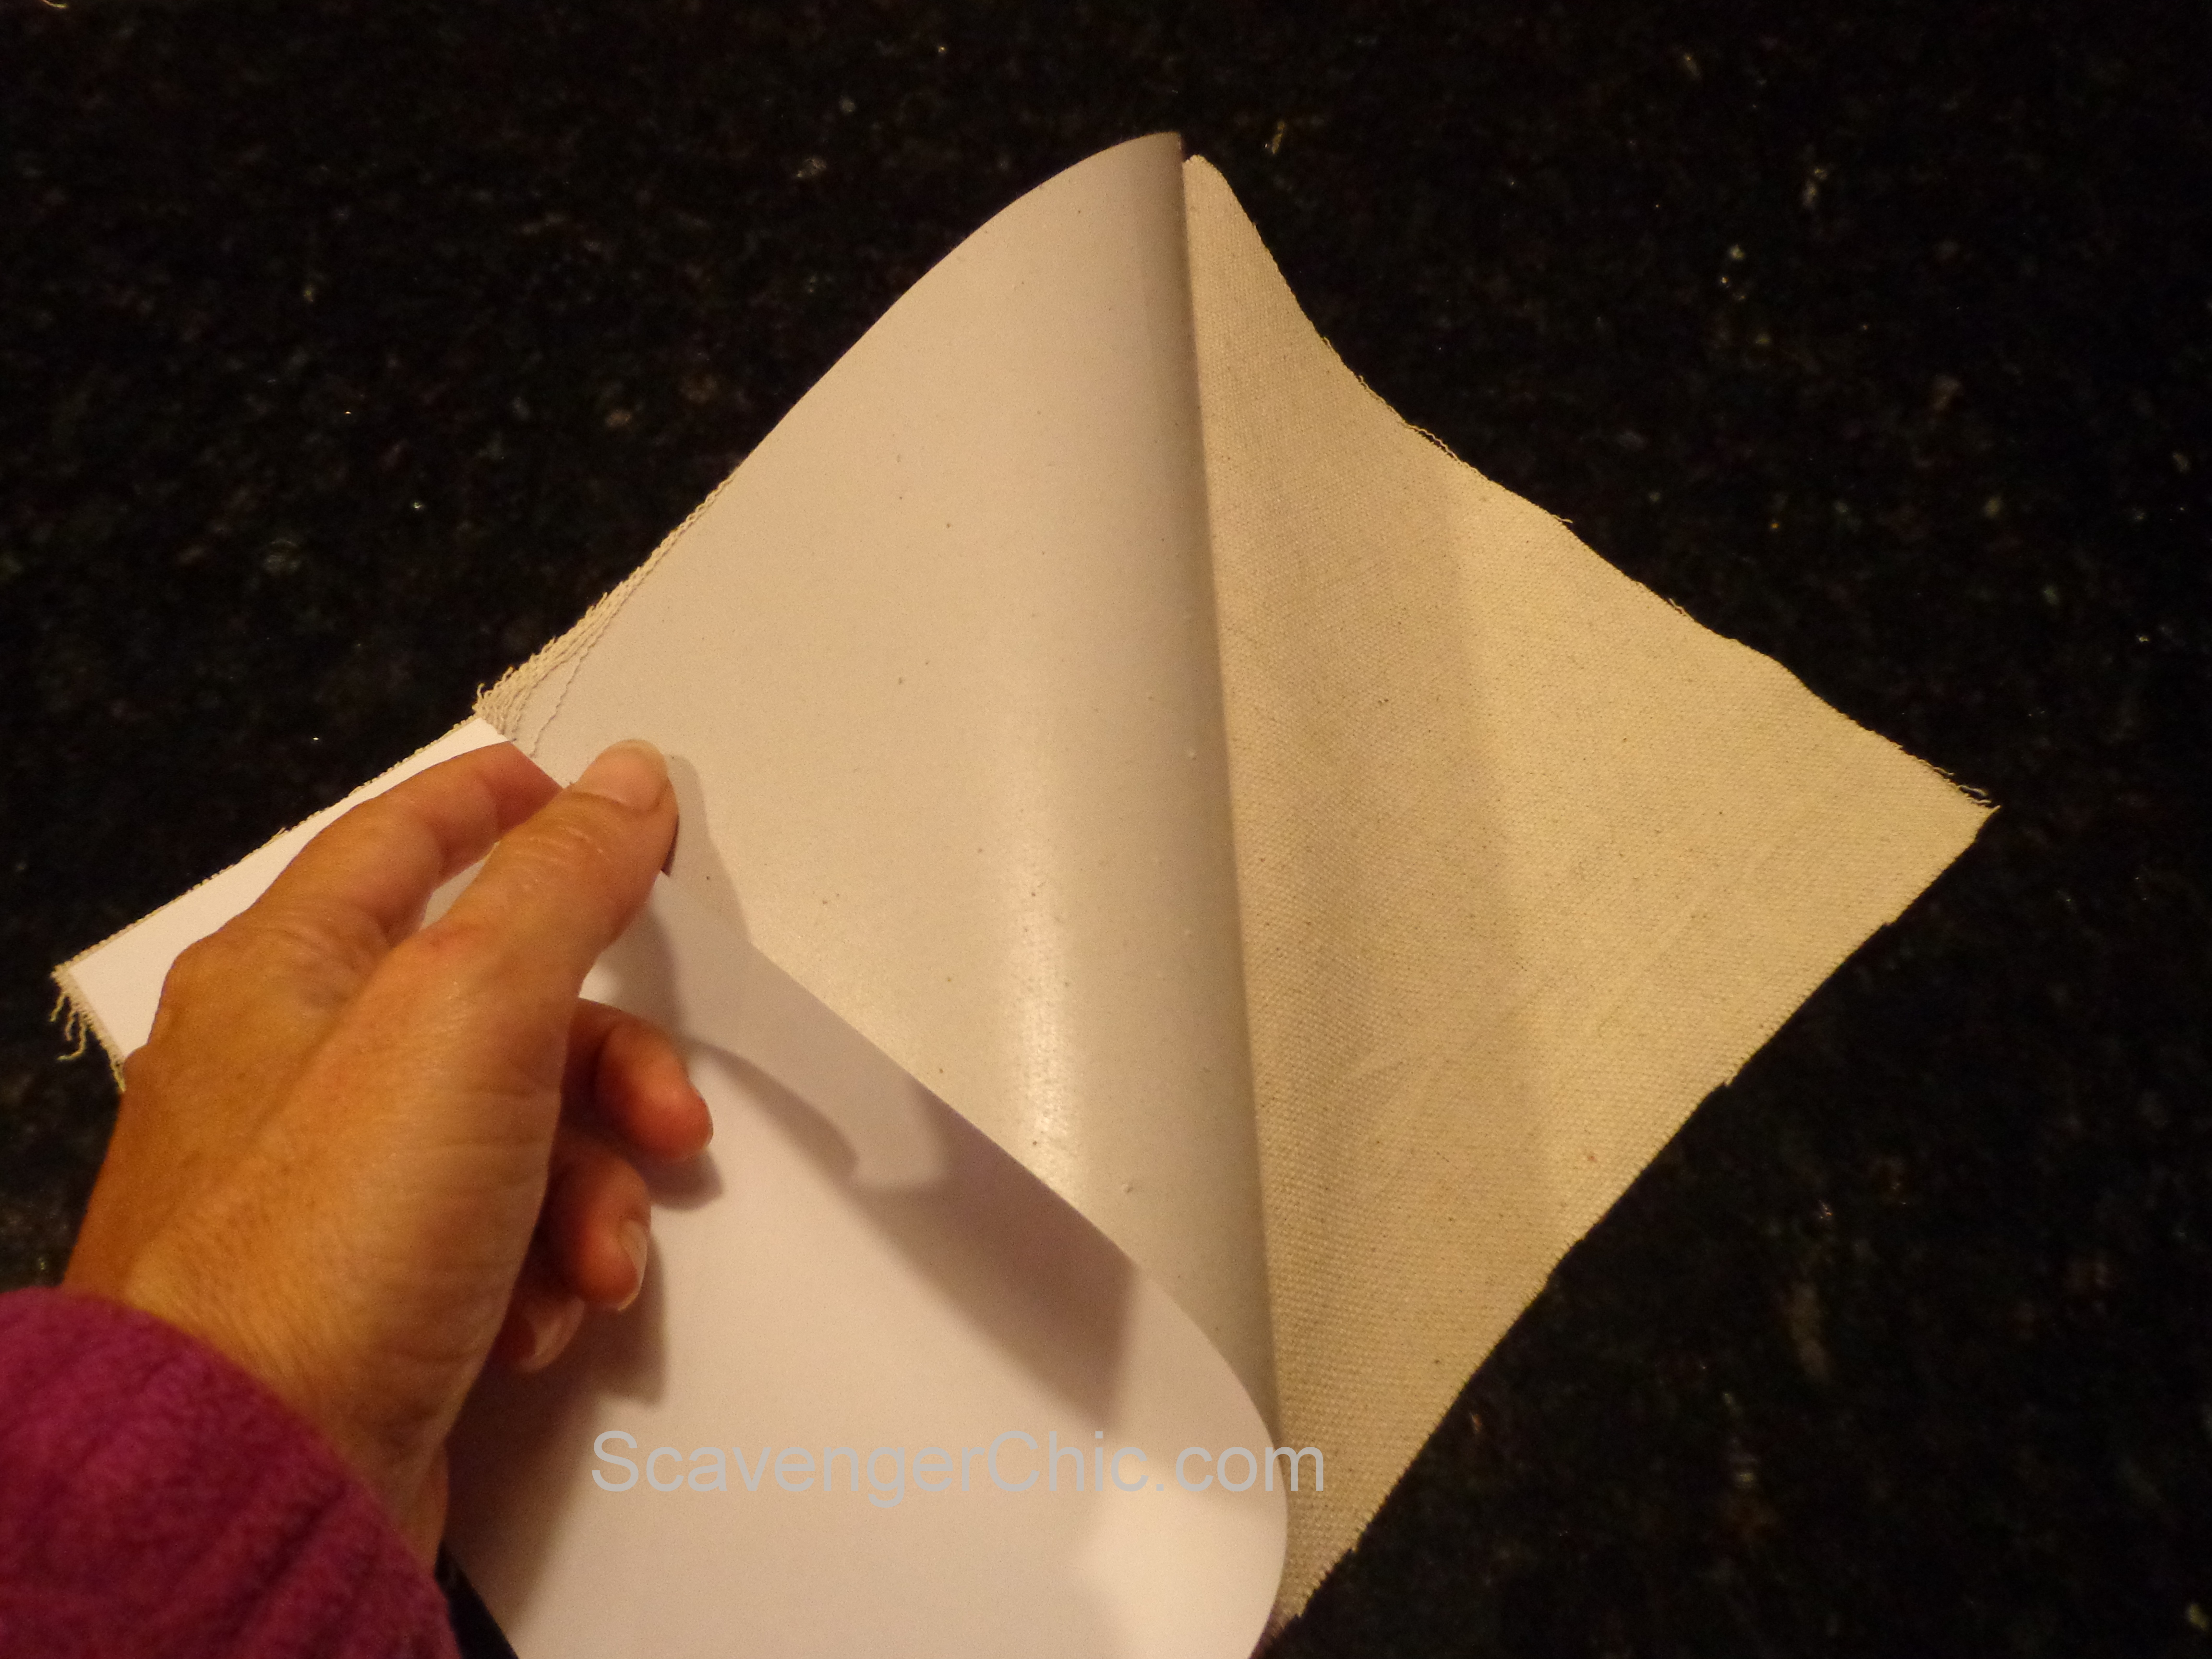
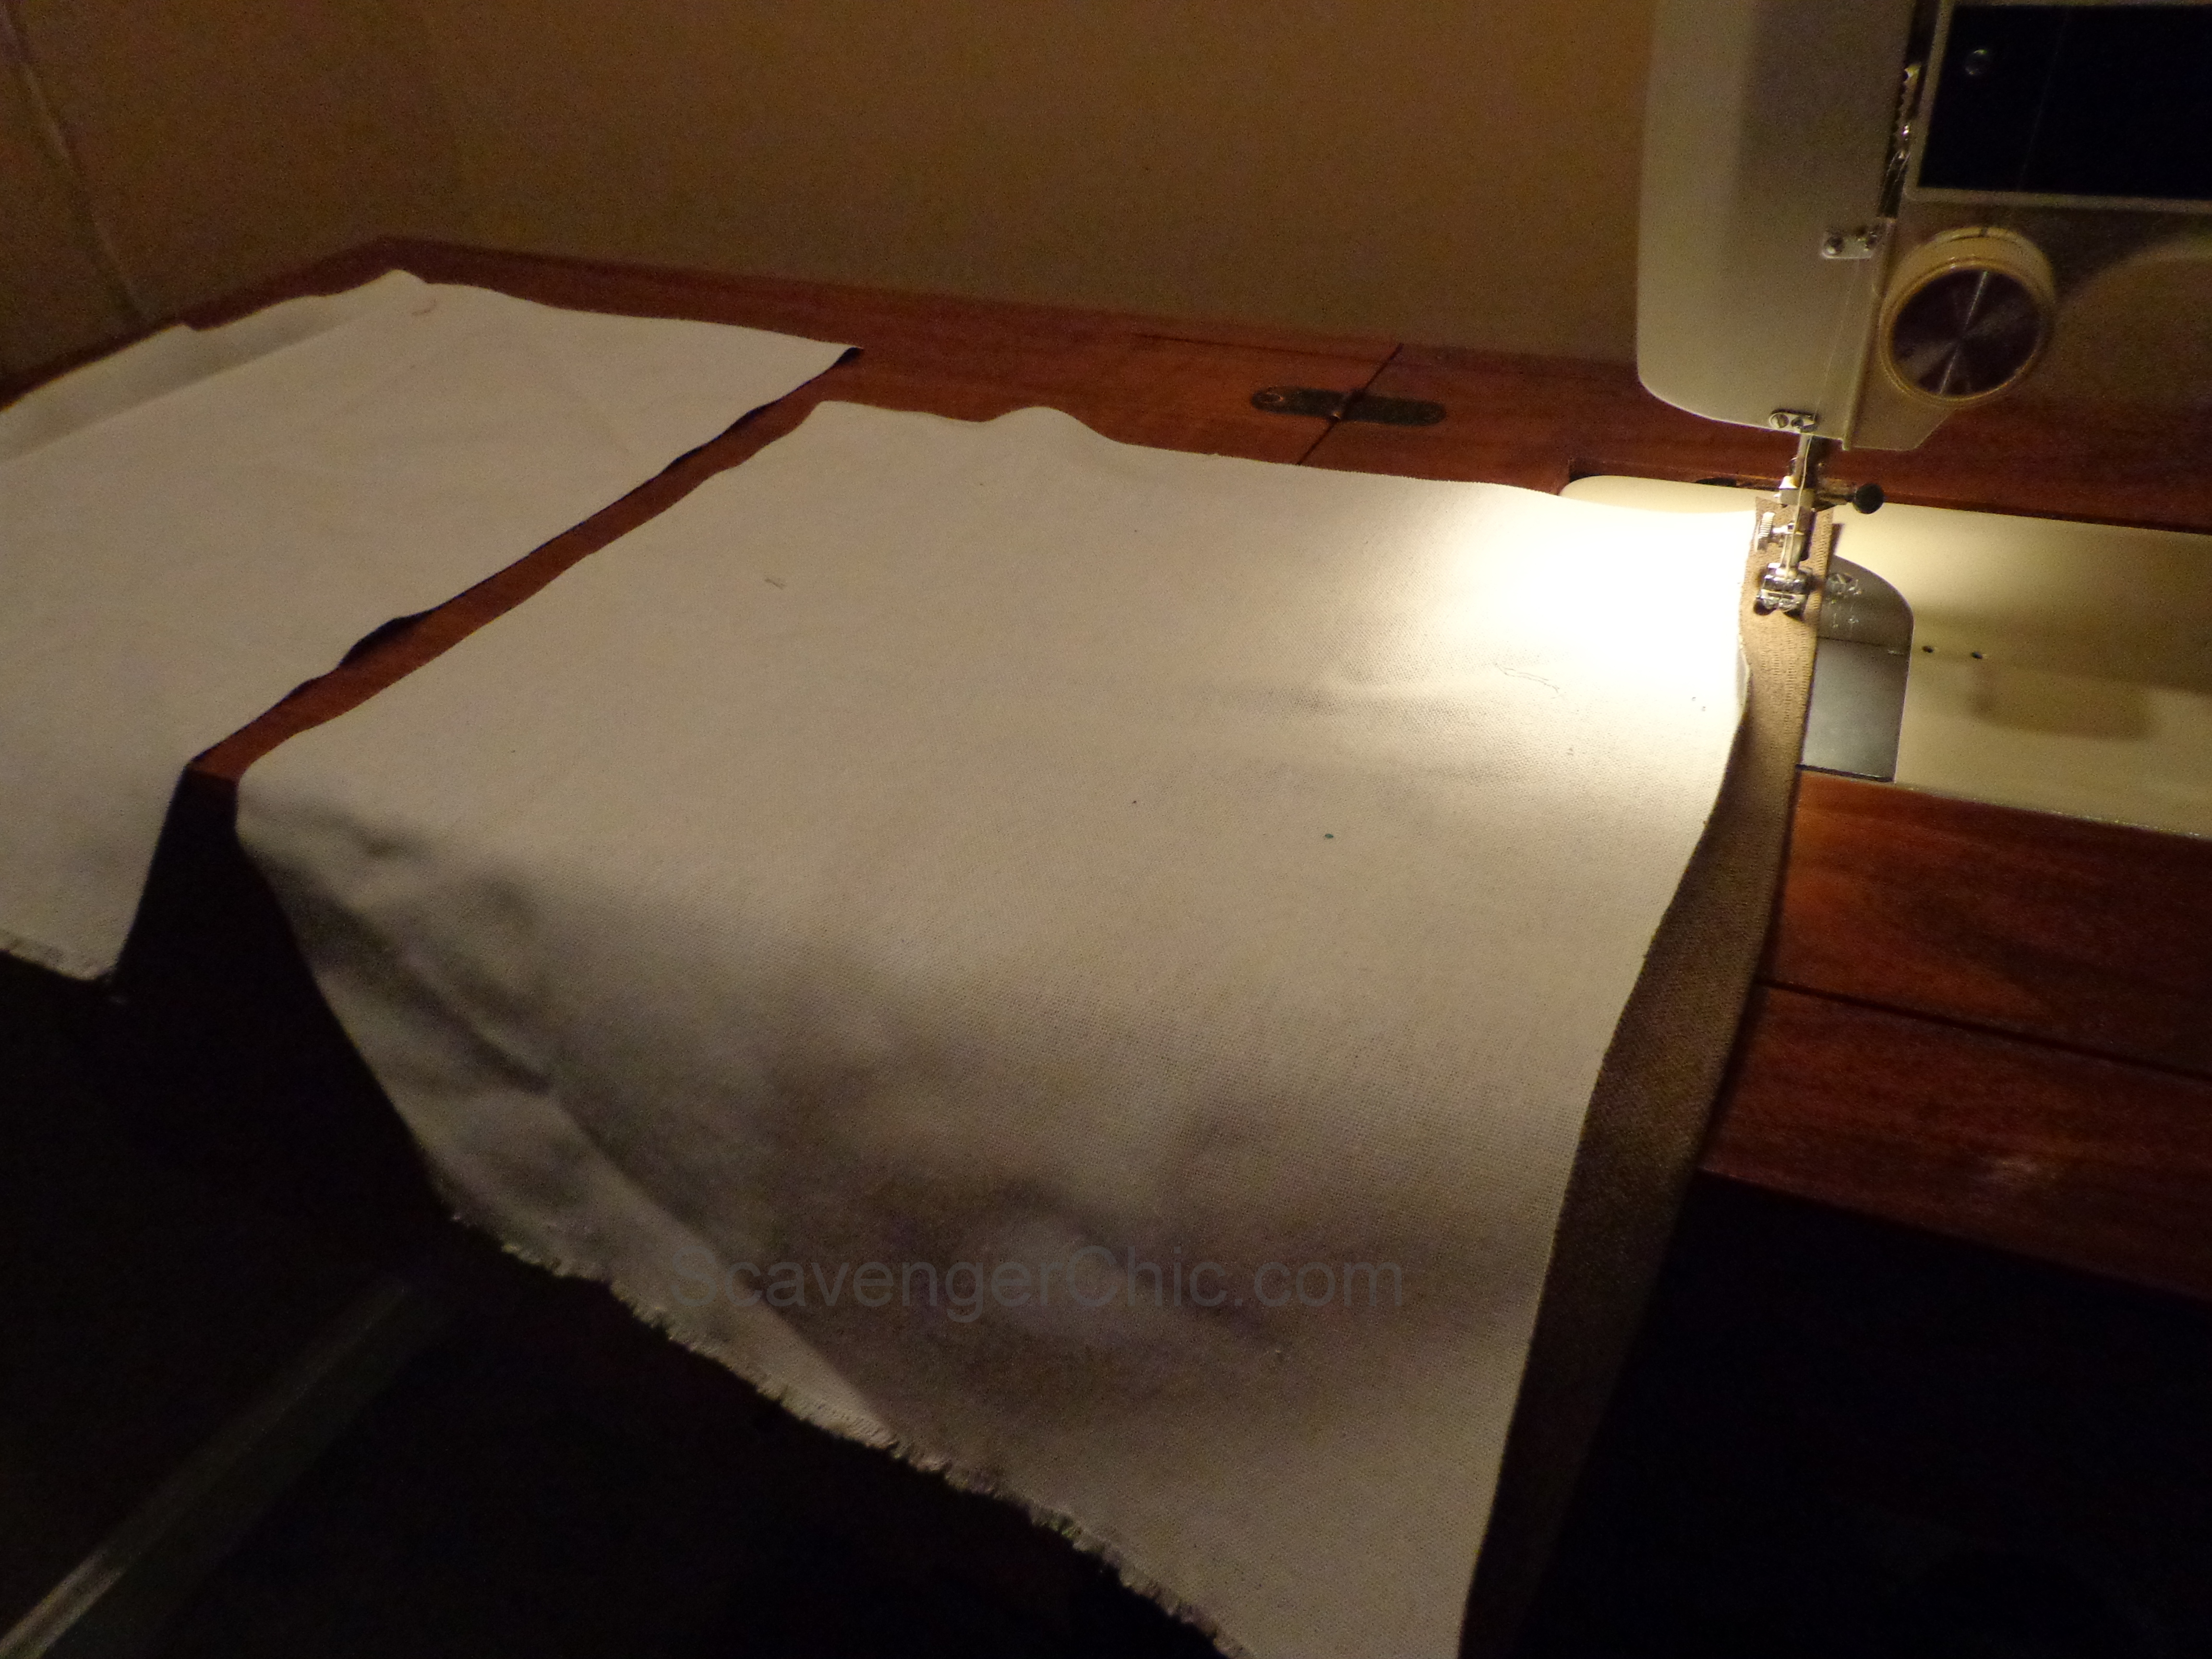
Iron your canvas ahead of time if there are any wrinkles, then attach the shipping label to the canvas.
Scan your letters (postcards, tickets stubs, envelopes or whatever cool stuff you have) into your computer and size them so that they are about 6 inches wide and 7 inches in height. You may want to play around with placement ahead of time. On the computer , you can always make your letter bigger or smaller to fit your pillow.
You are then going to print directly onto your canvas. The attached shipping label will give the fabric the stiffness it needs to go through the printer.
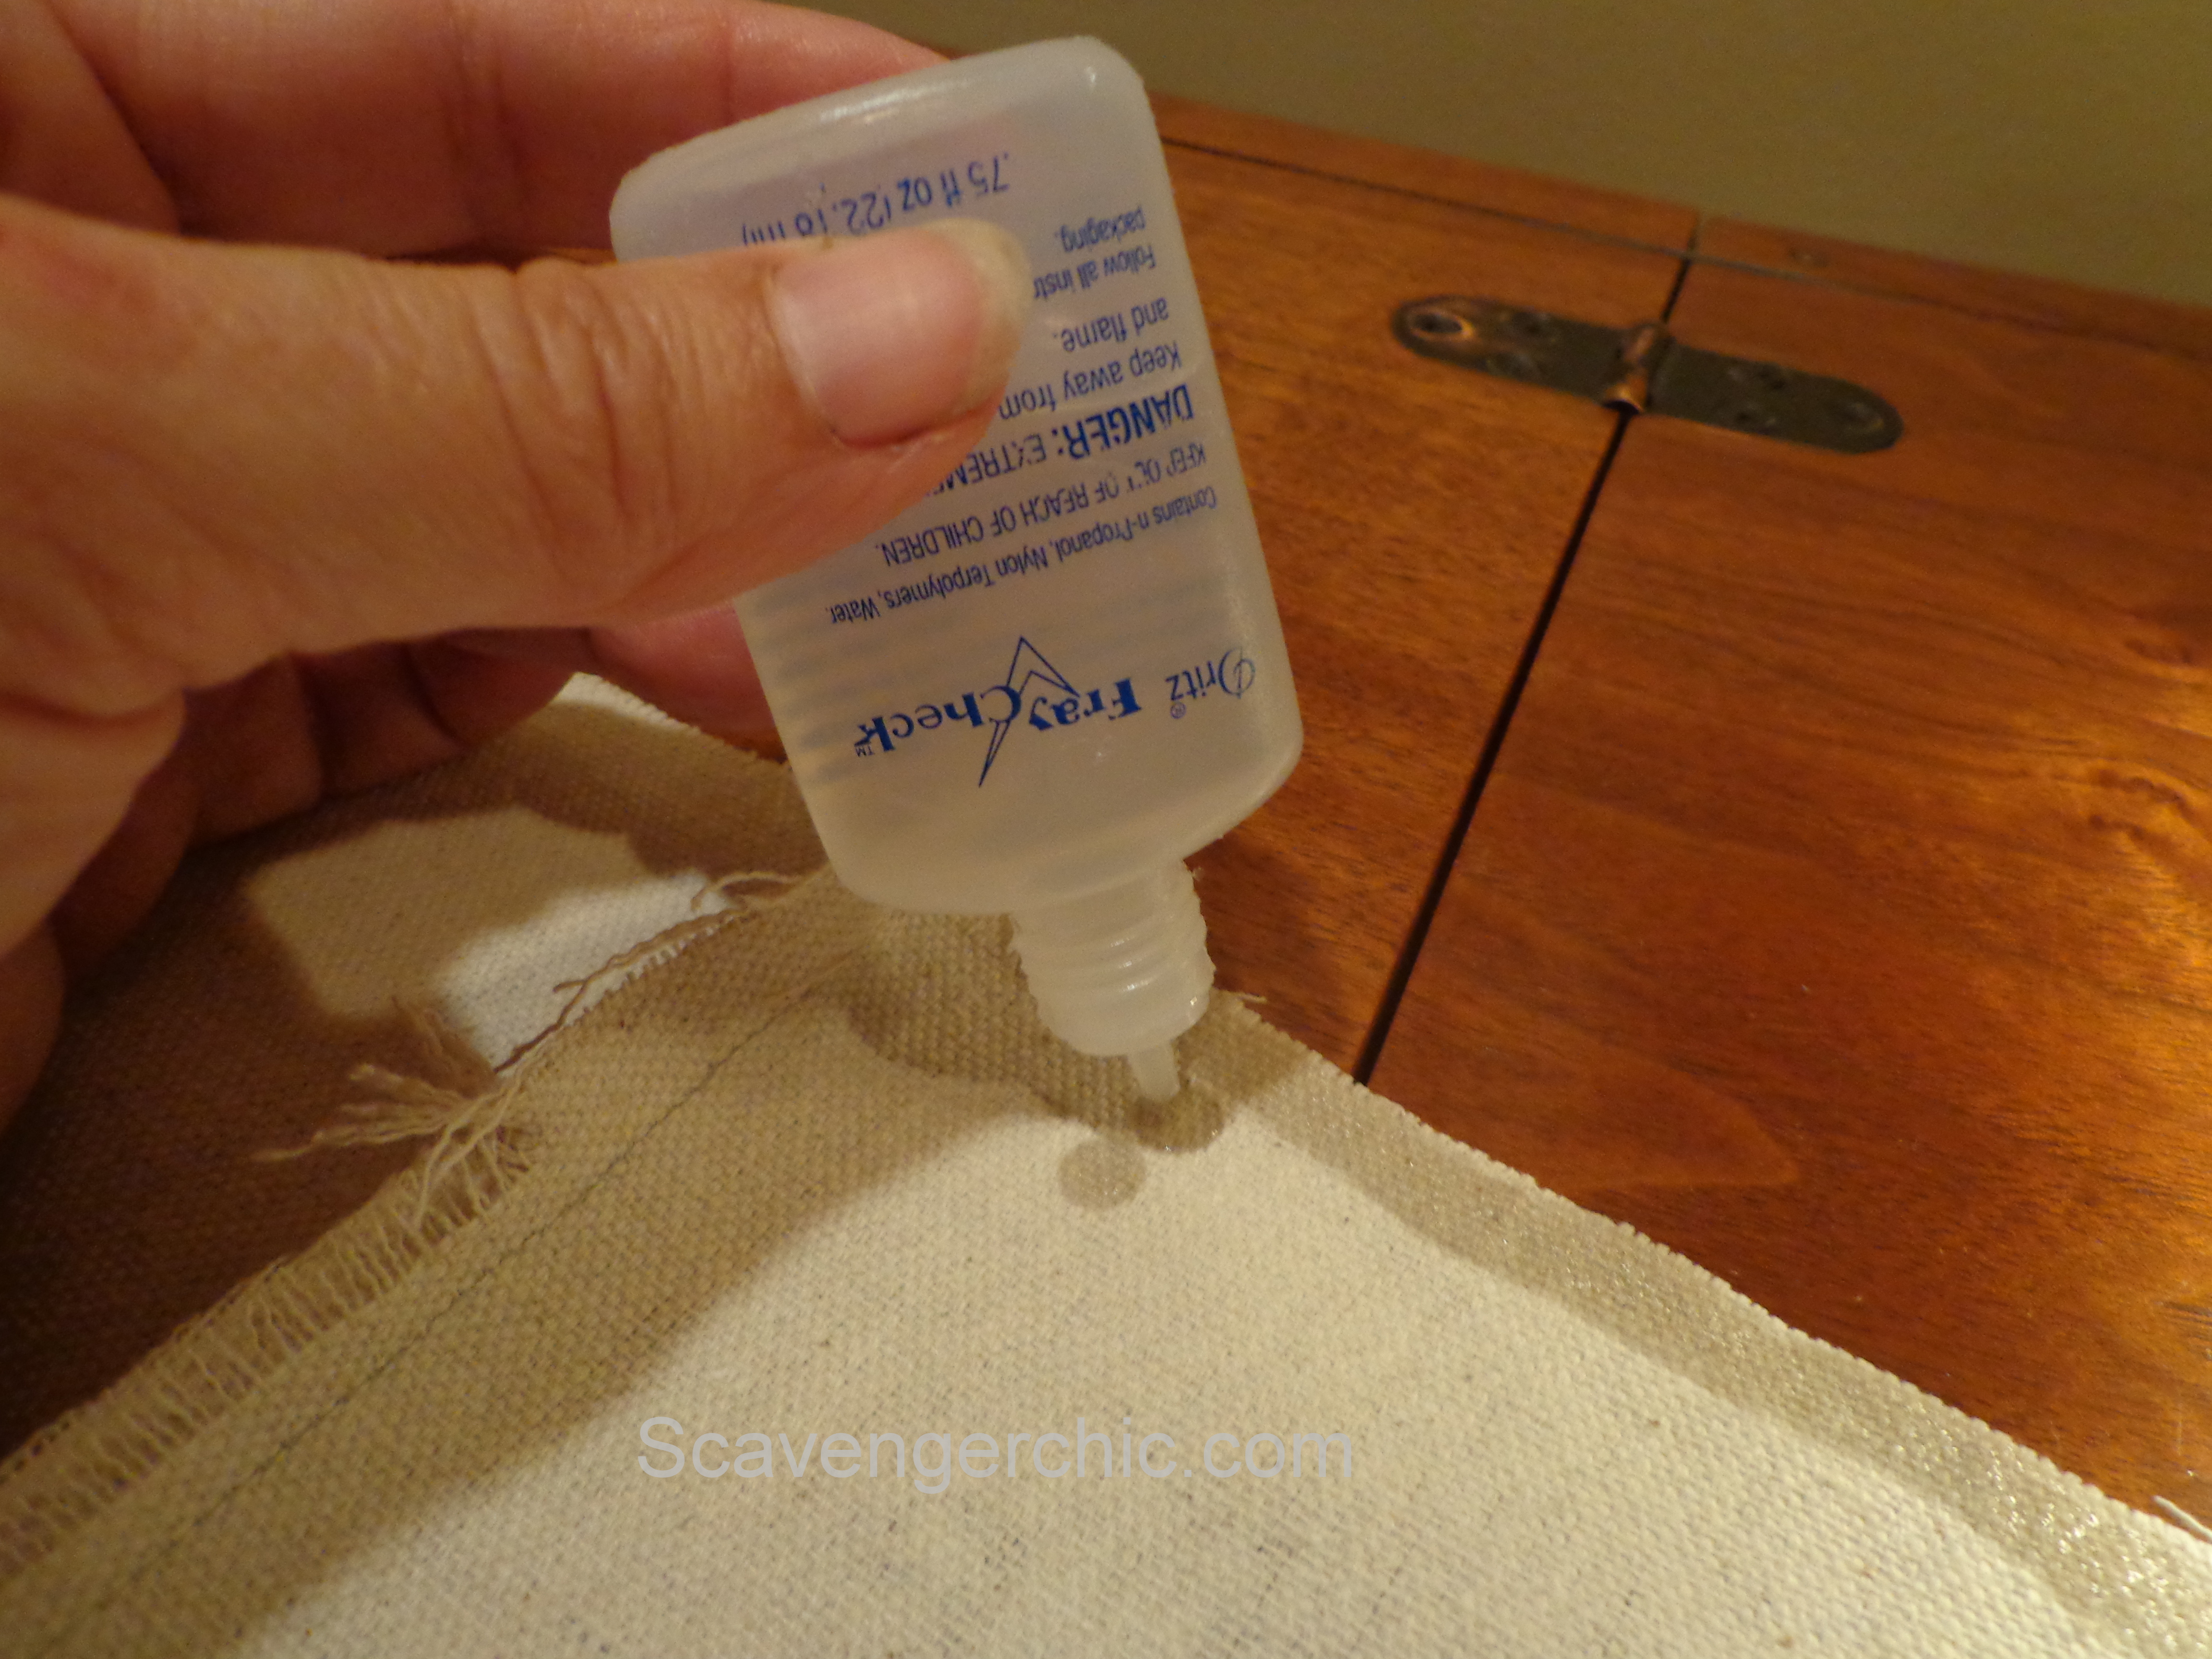
Once your letters are printed you can pull off the backing. This is when you’ll probably need the fray check. Just apply a bead around the edge of the entire piece. If you have fabric that frays a lot, put the fray check on before you pull off the backing, the shipping labels tend to pull all the little strings.
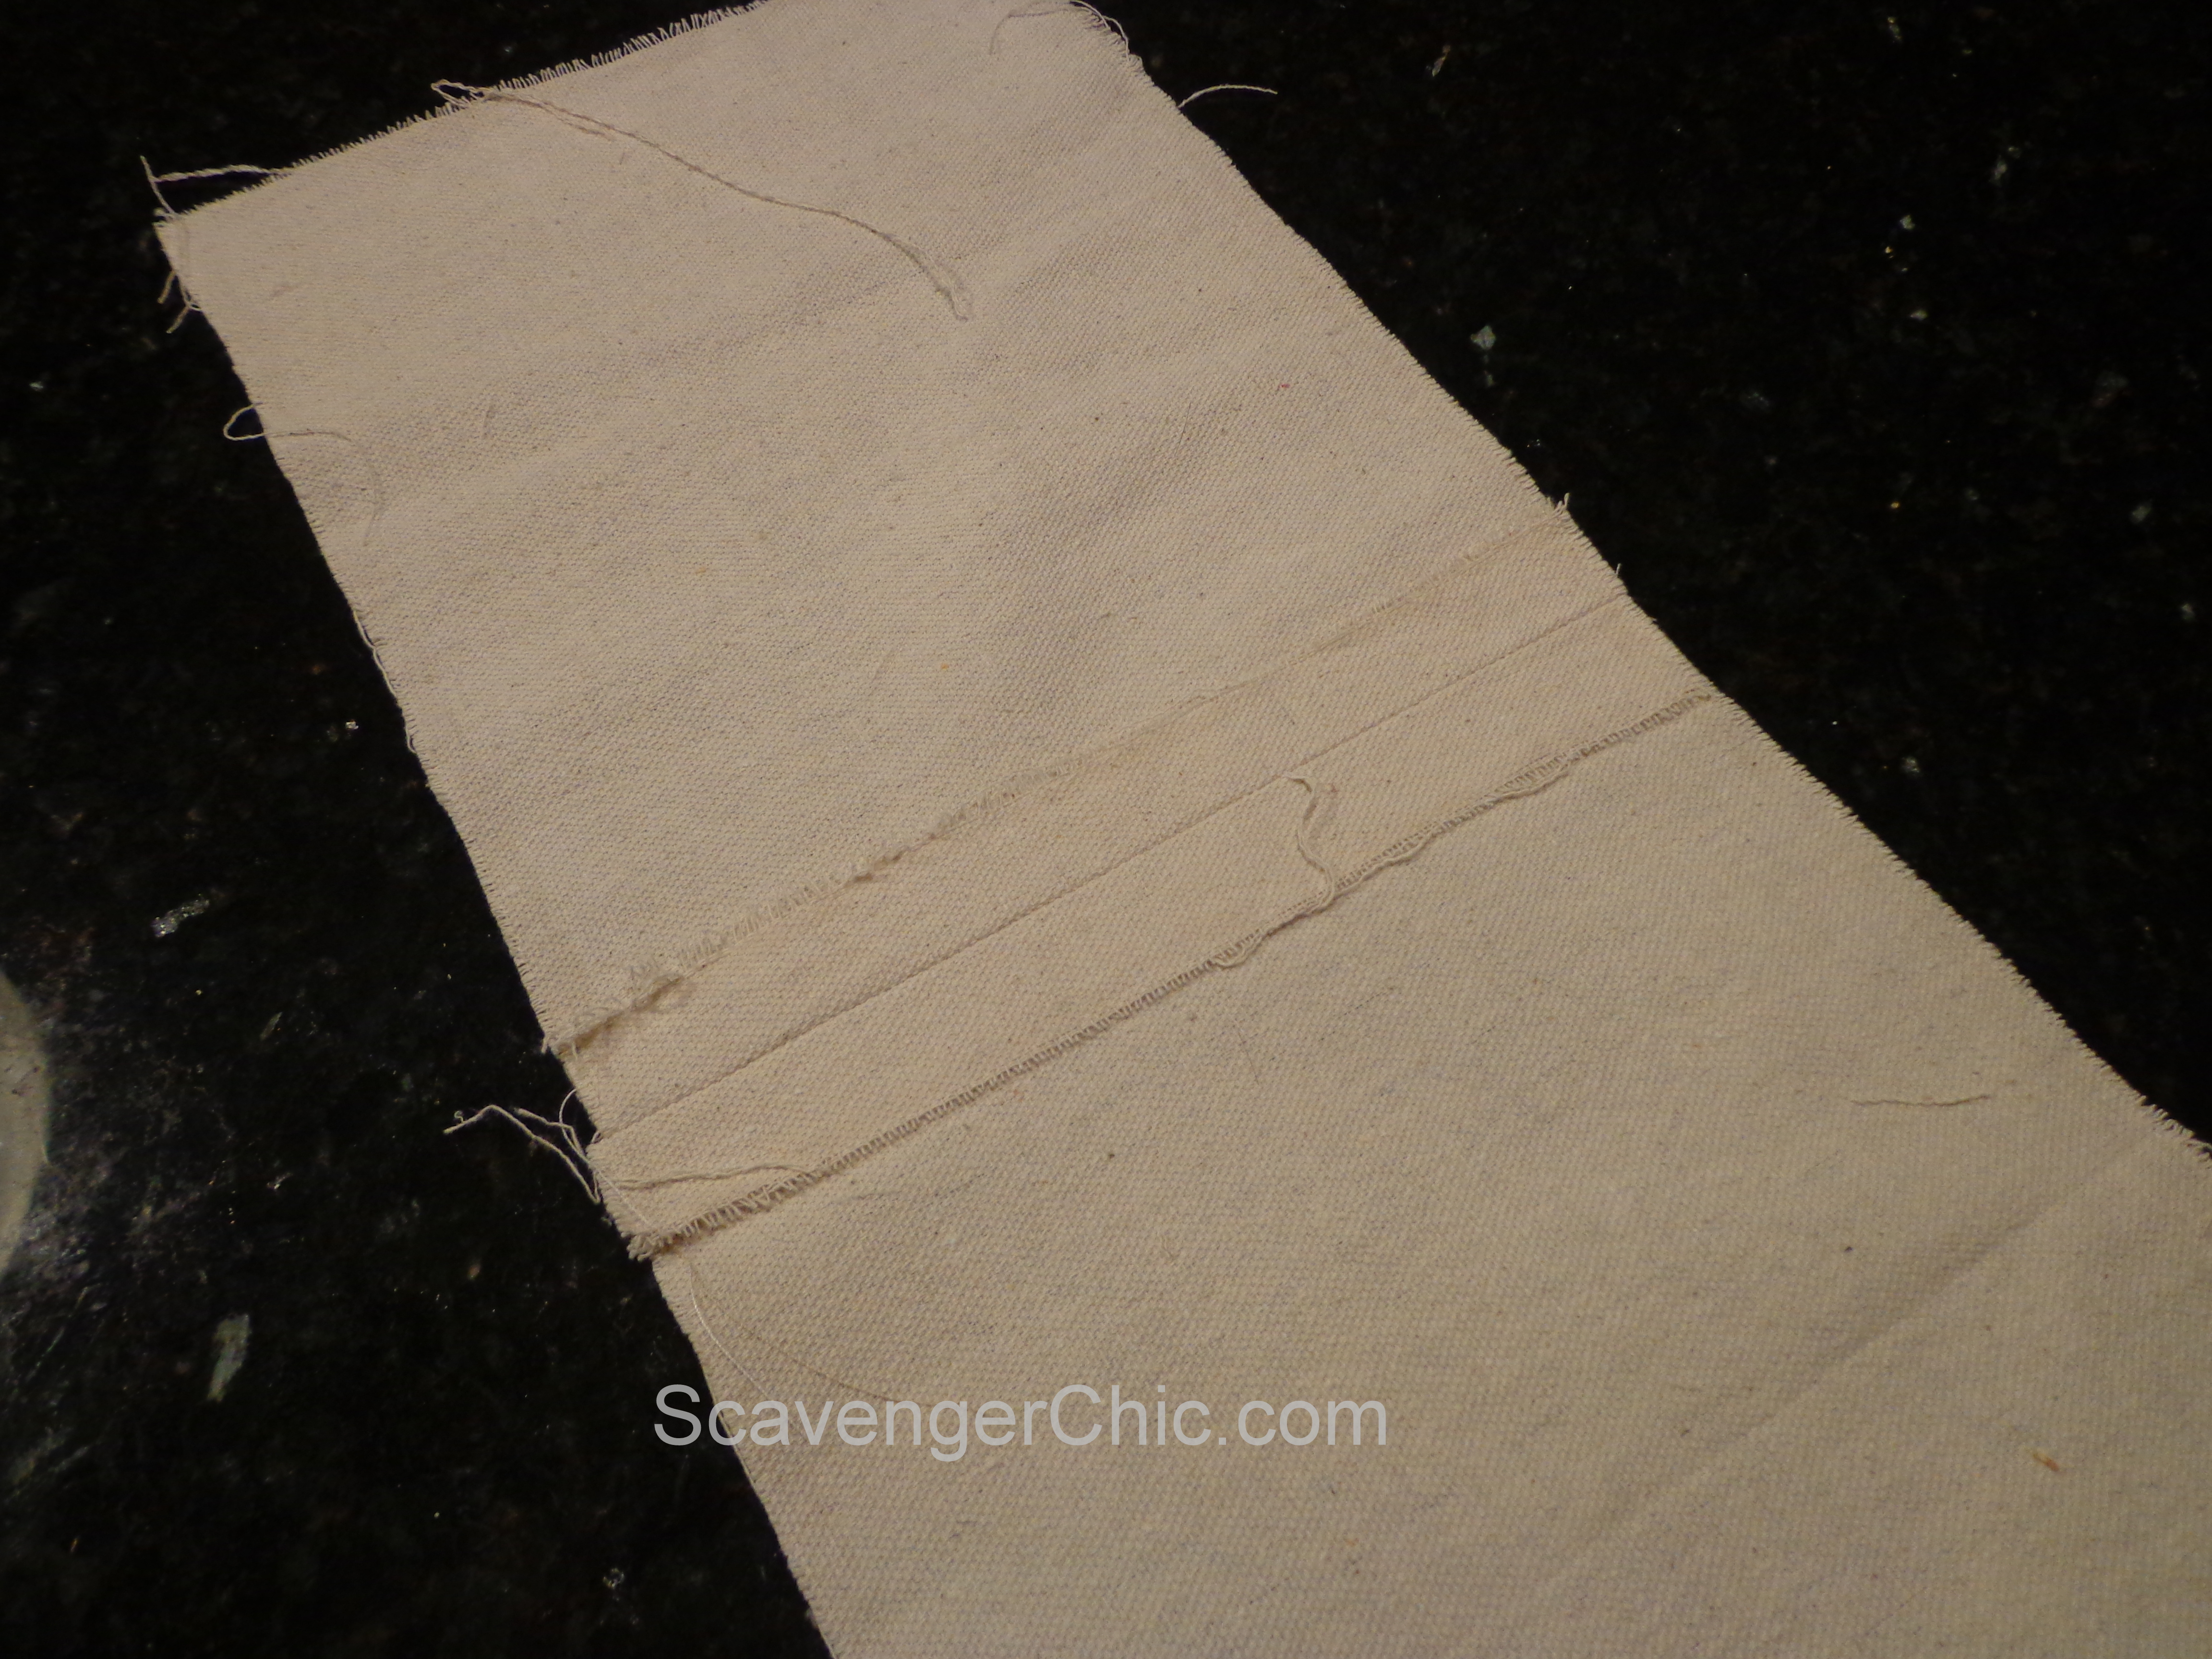
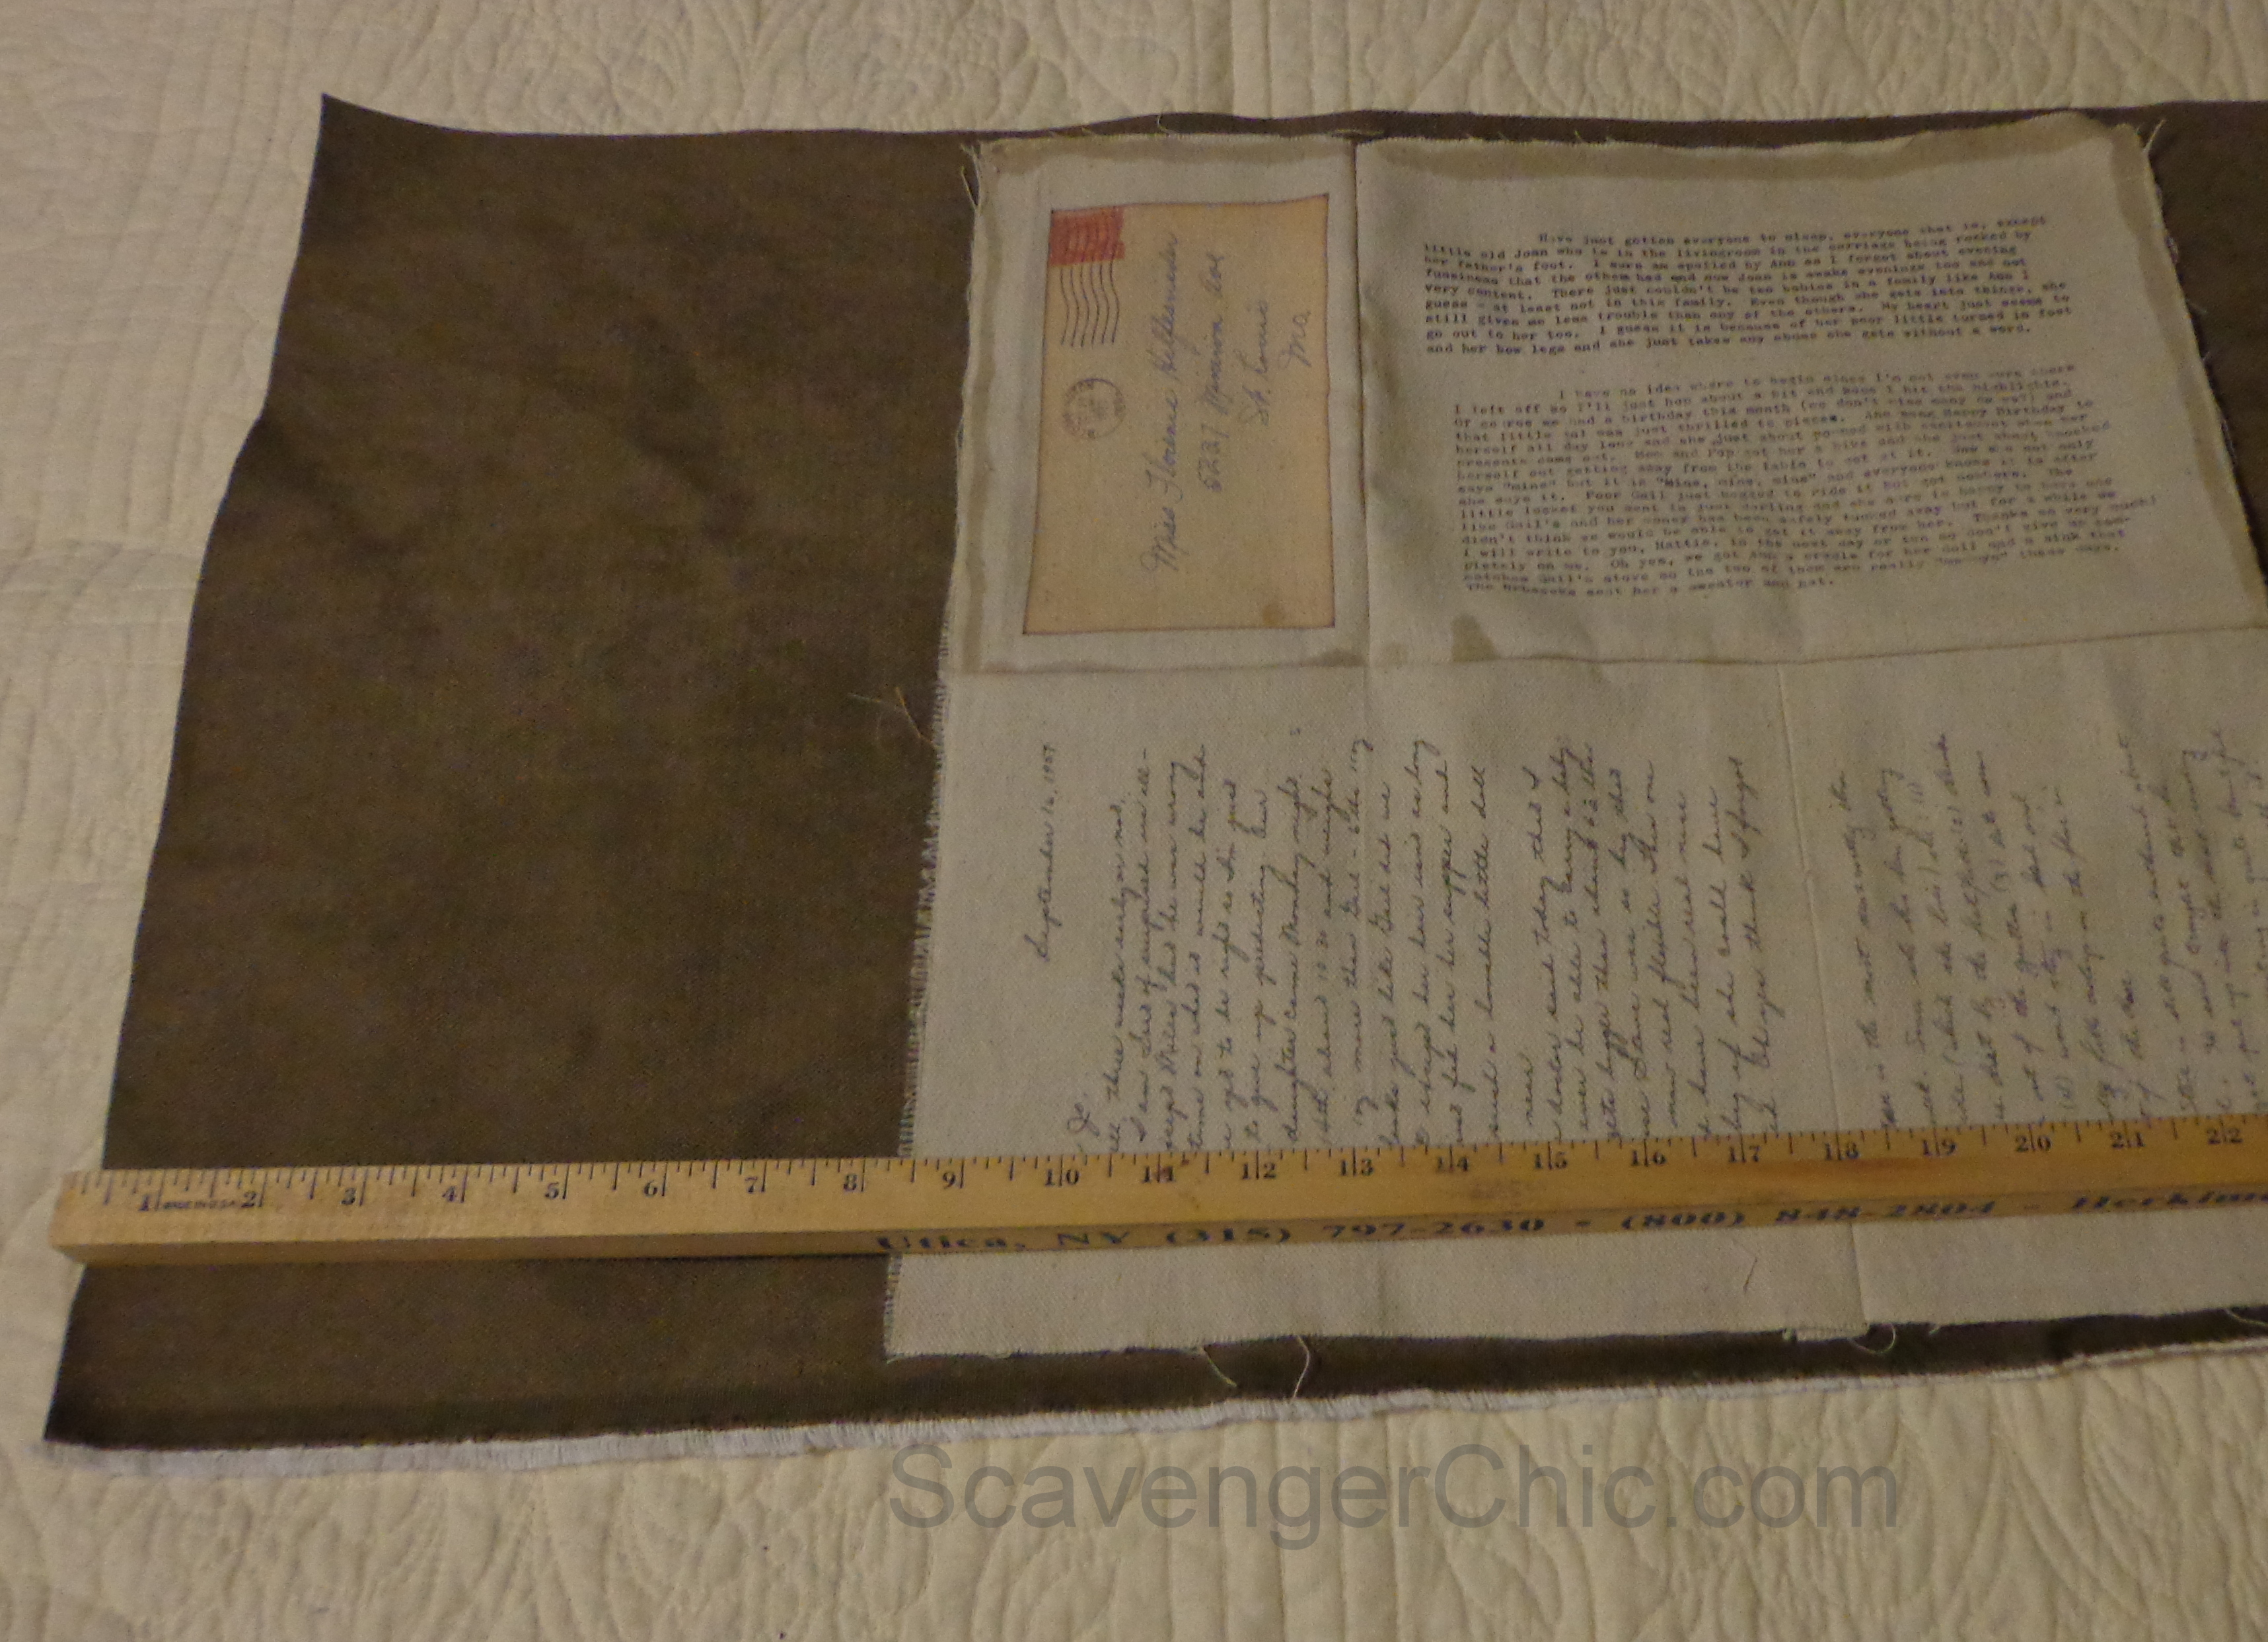
You’re ready to sew. While 2 pieces of canvas together will give you a piece of fabric 22 inches in length, you’ll only need about 18 inches , so position your letters so the parts you want shown are visible.
Sew the 2 pieces together and press the seam open. Do the same with the other 2 pieces.
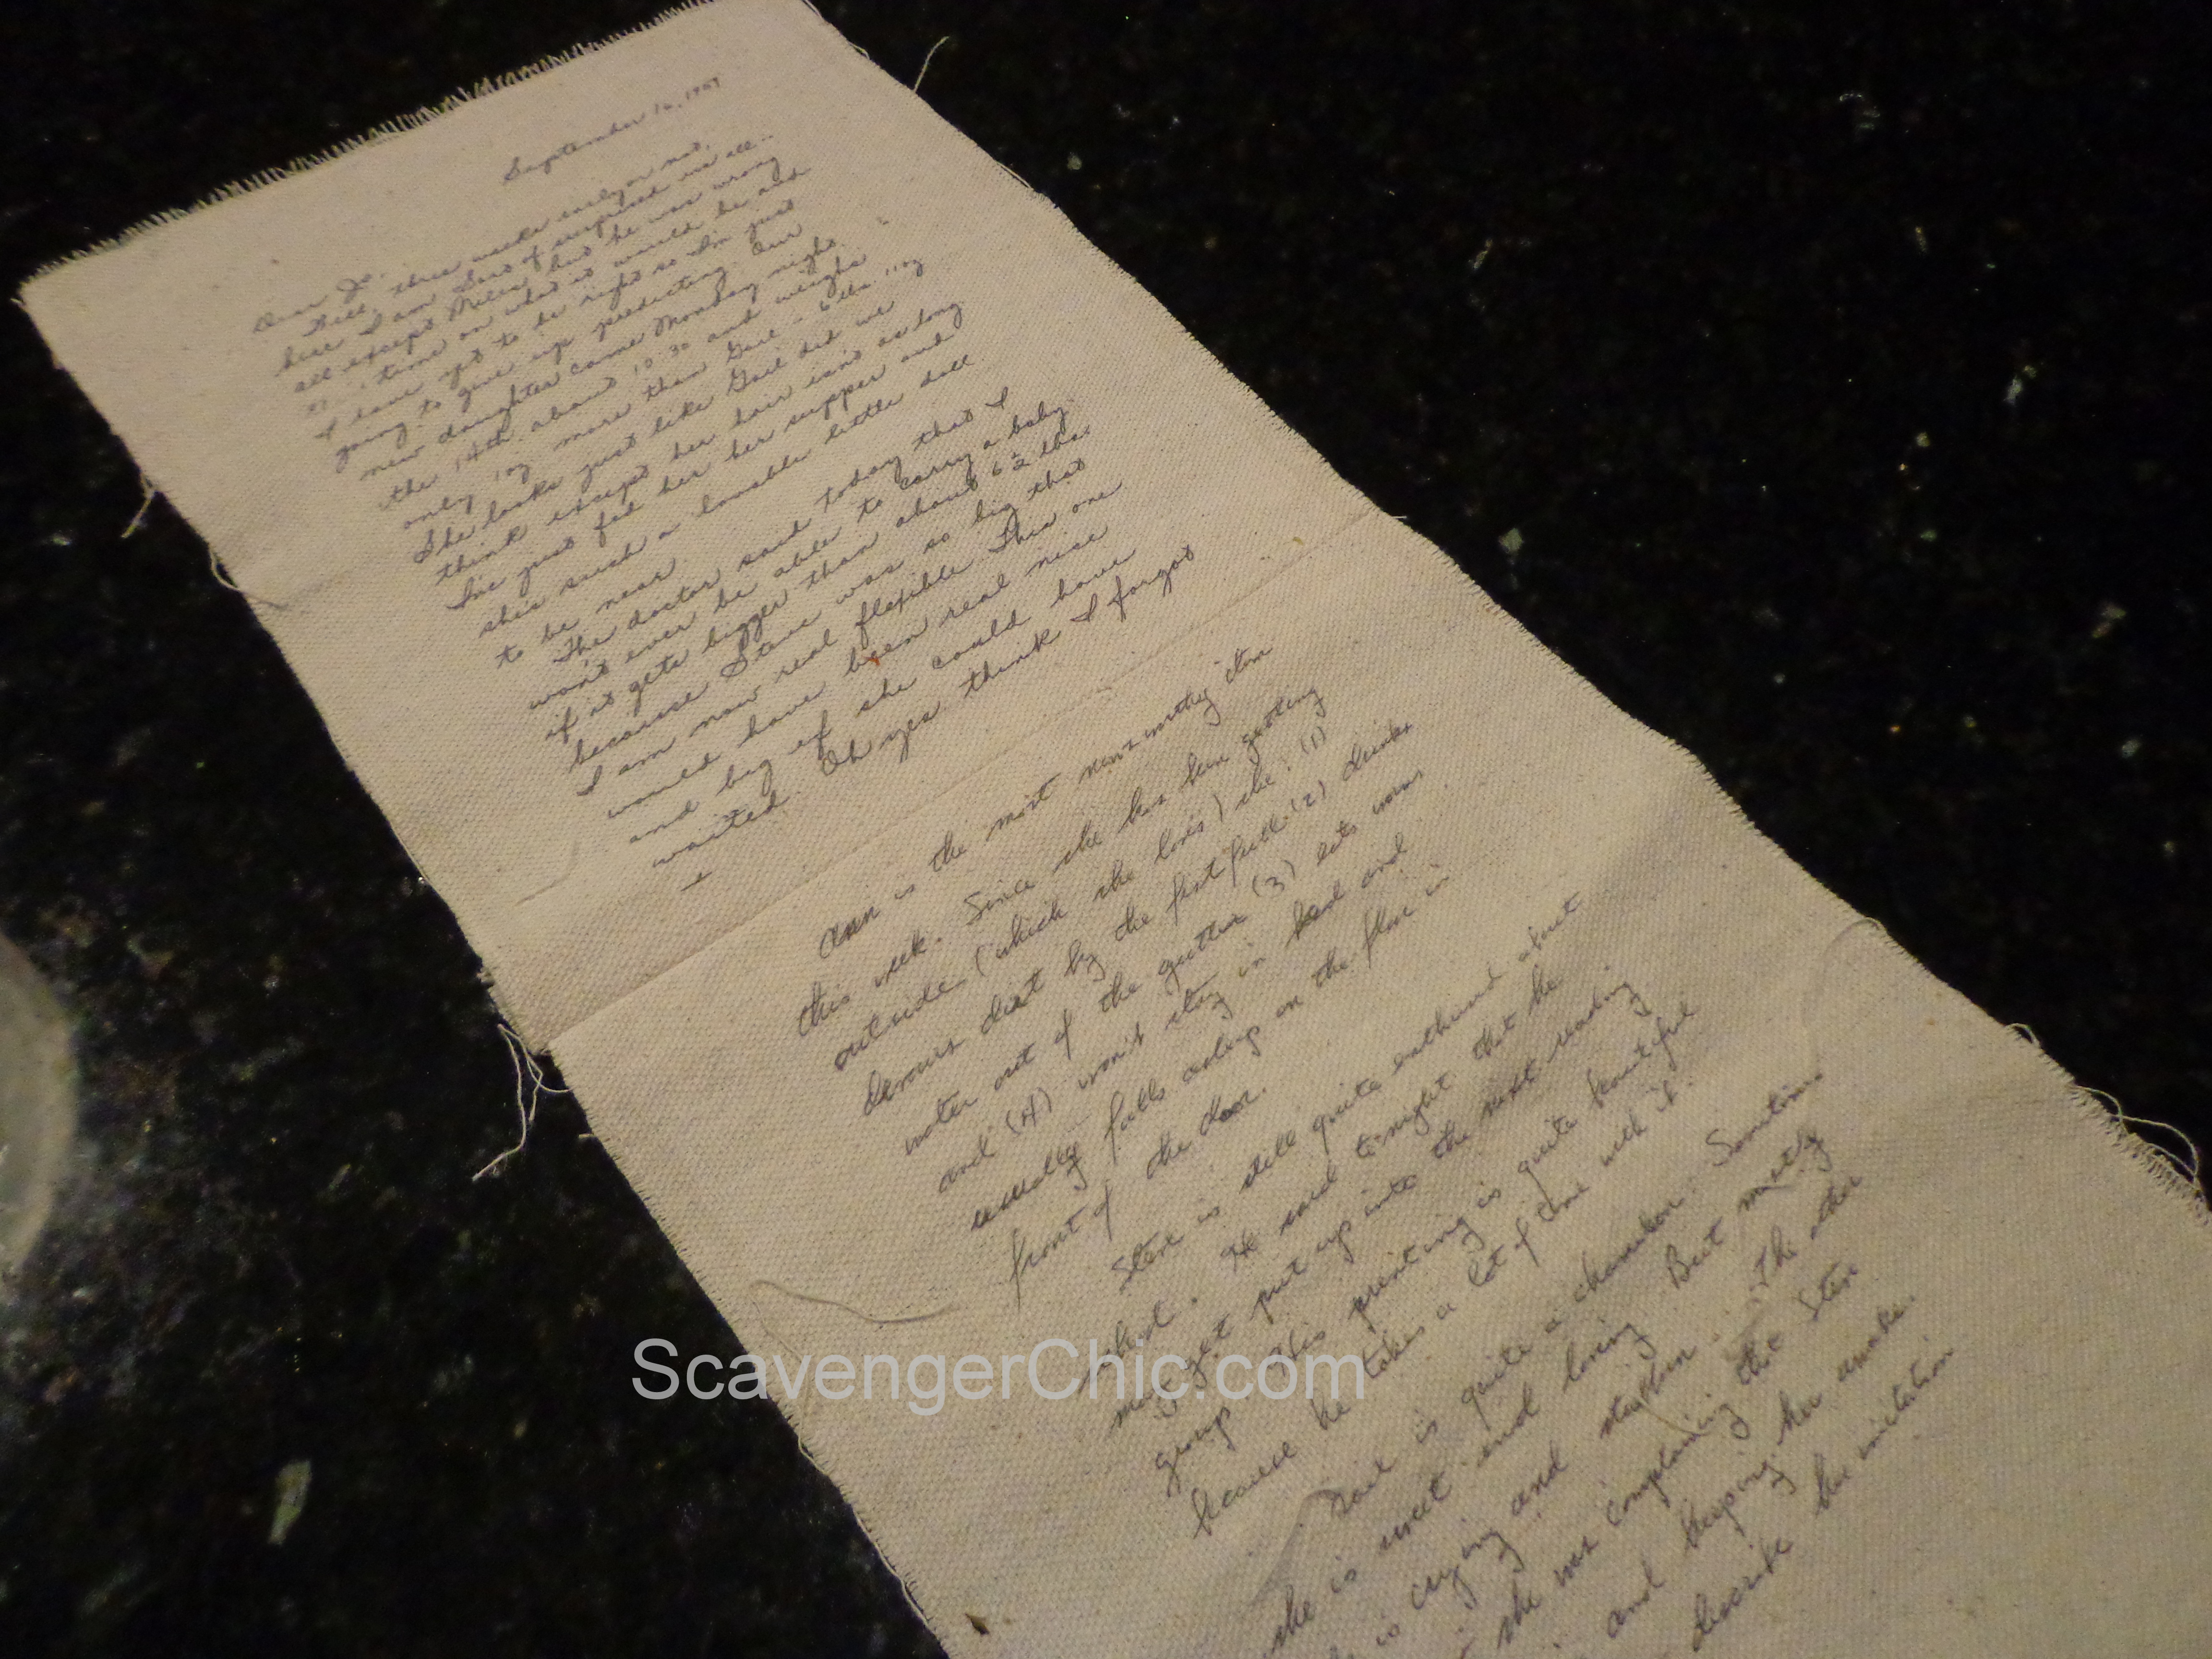
It should look a bit like this. While these 2 letters are too long for my pillow, it’s the top portion of the second letter that I wanted.
When you have 2 strips done ,you can sew them together. (Right sides together, 1/2 inch seam allowance, ironing the seam again)
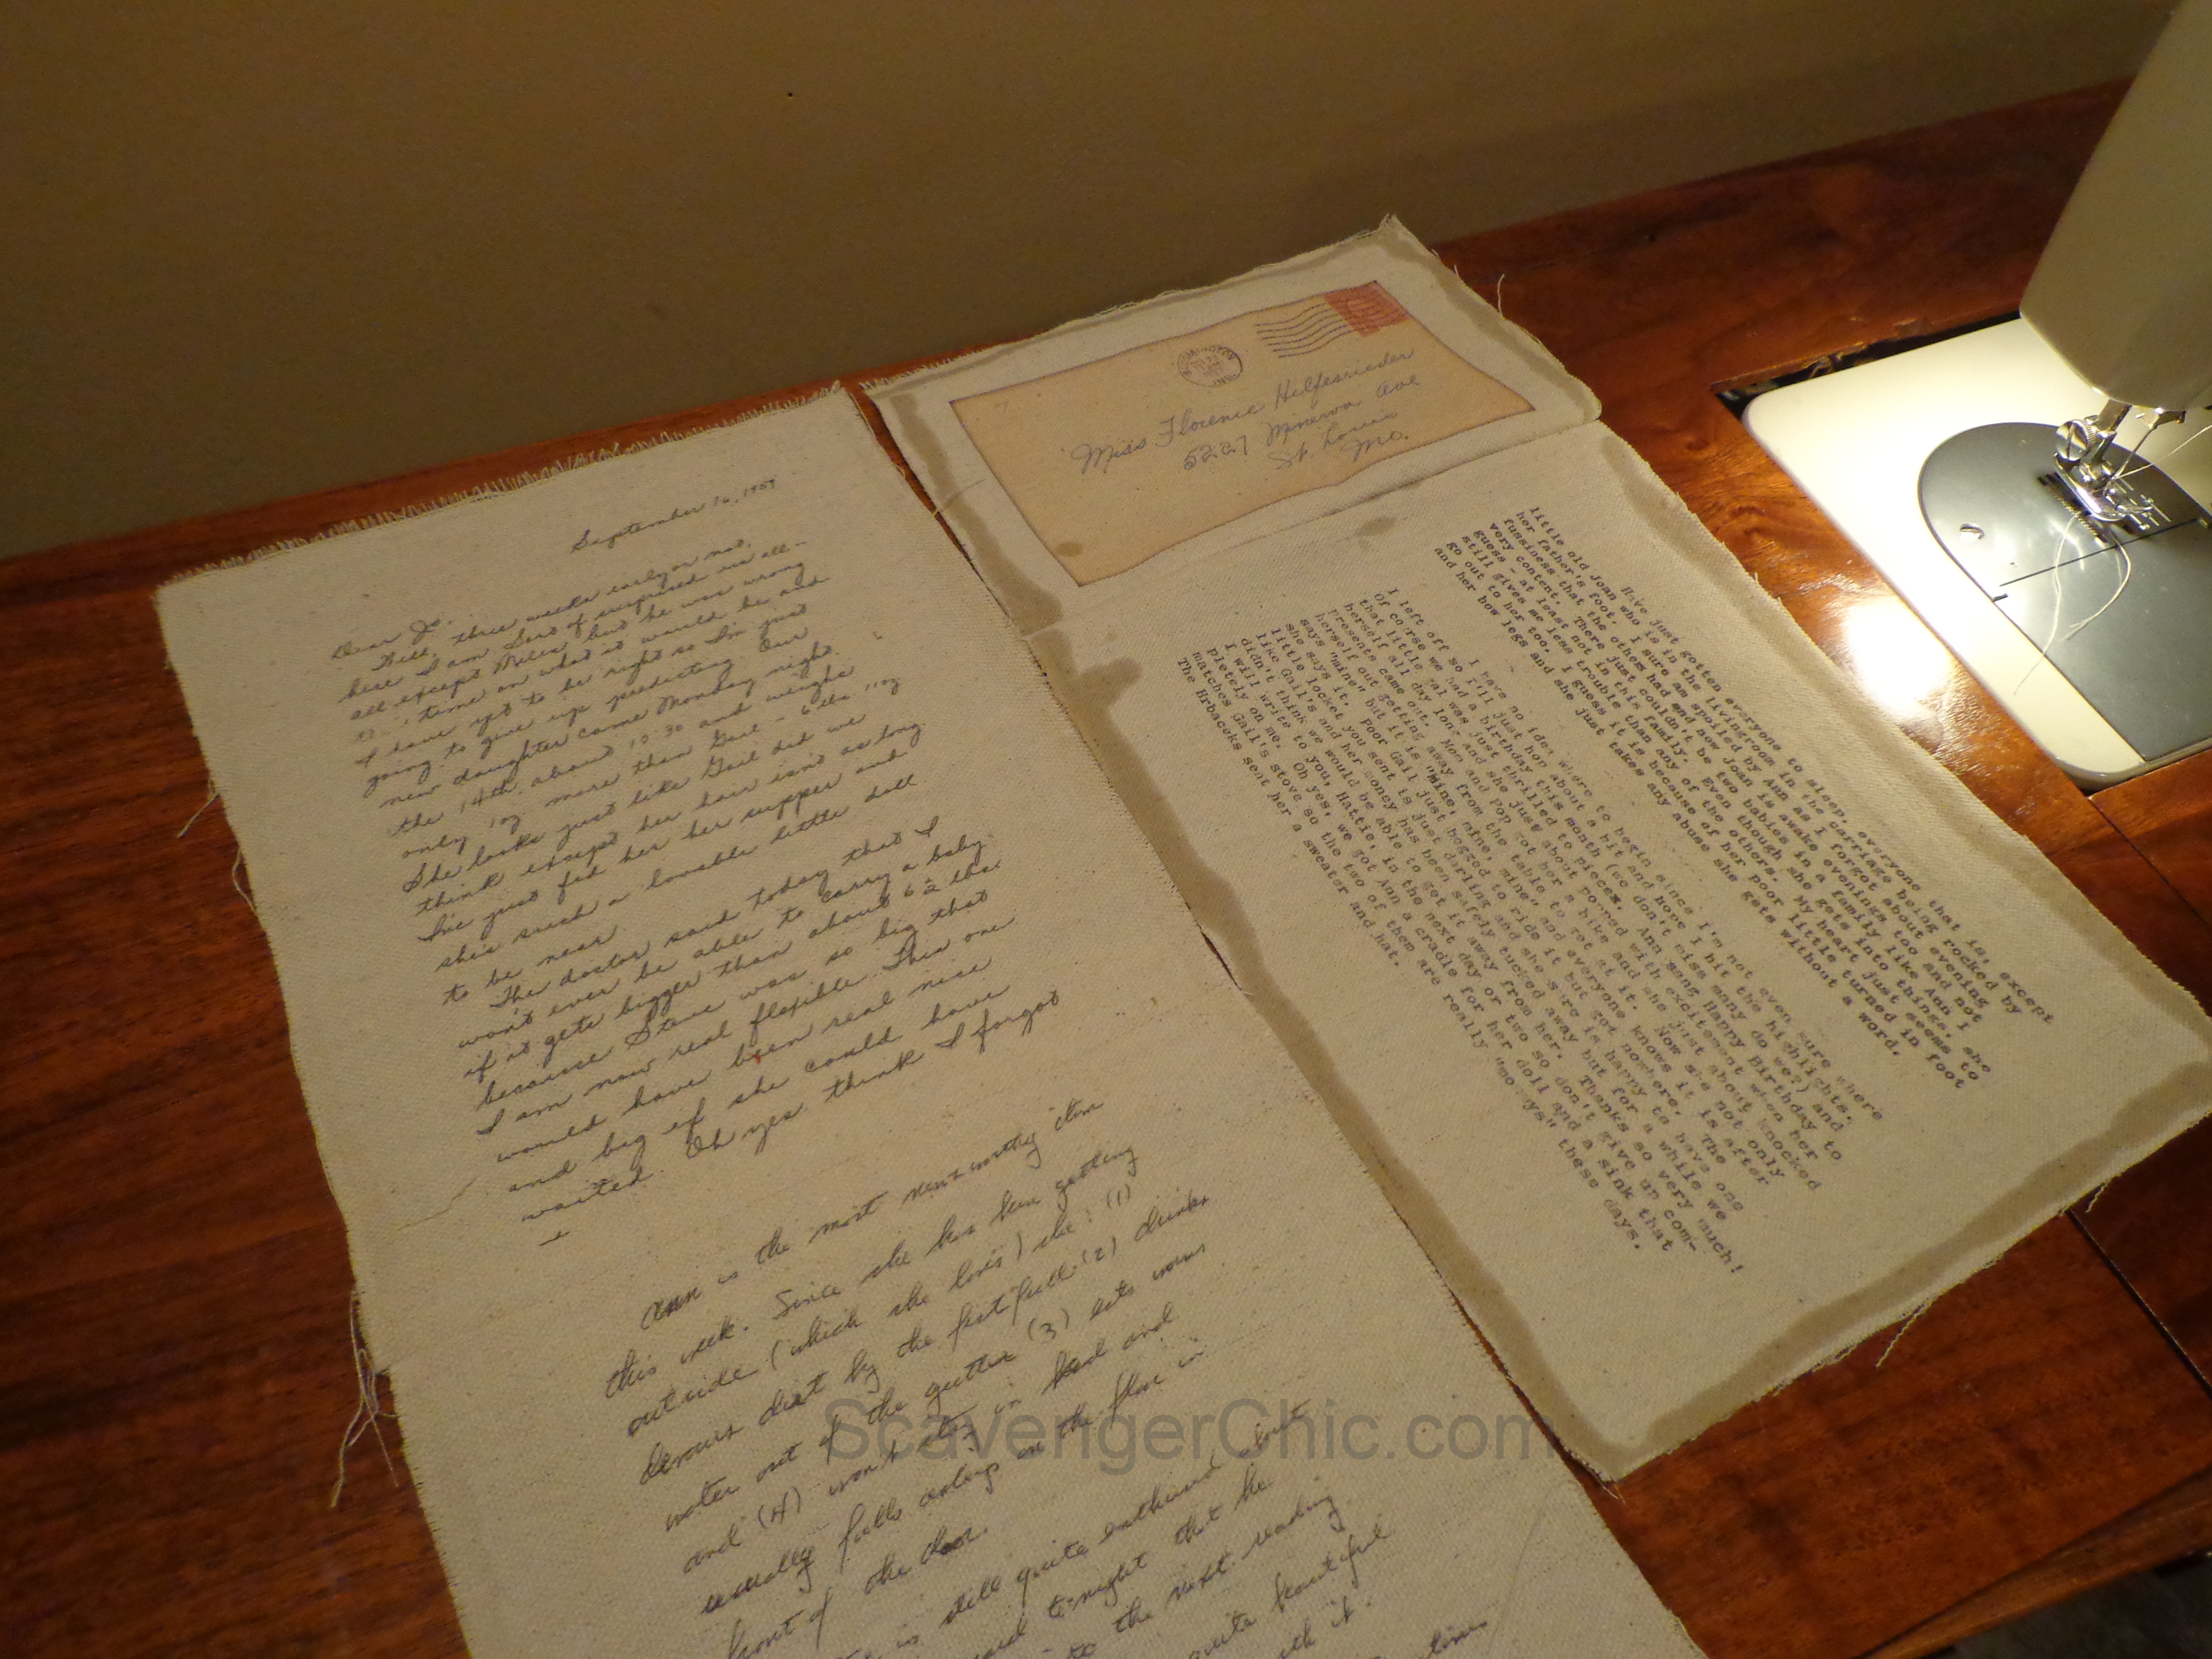
In the picture above, I had already cut down the envelope portion.
After sewing all four pieces together, make a square.

If you fold corner to corner, as above, you will see which part of your fabric doesn’t fit. Cut that away.
Cut your backing fabric the same width as your printed letters (about 16 inches) and about 8 inches longer (about 24 inches).
Cut the backing fabric in half, keeping the width at about 16 inches, so that you have 2 pieces 16 inches by 12 inches. Fold over the edge on one of the 16 inch lengths and machine hem. Do the same with the other backing piece.
Turn your 2 backing pieces right side up and overlap the center until you have a 16″ square. The overlap in the center will be about 3 1/2 “

Lay your printed letters upside down on your backing piece. On this pillow, I actually cut the backing larger , but it was all trimmed off in the end.
You’re now ready to sew around the entire pillow using 1/2″ seam allowance. Where the fabric overlaps in the back is where you’ll stick your pillow form.


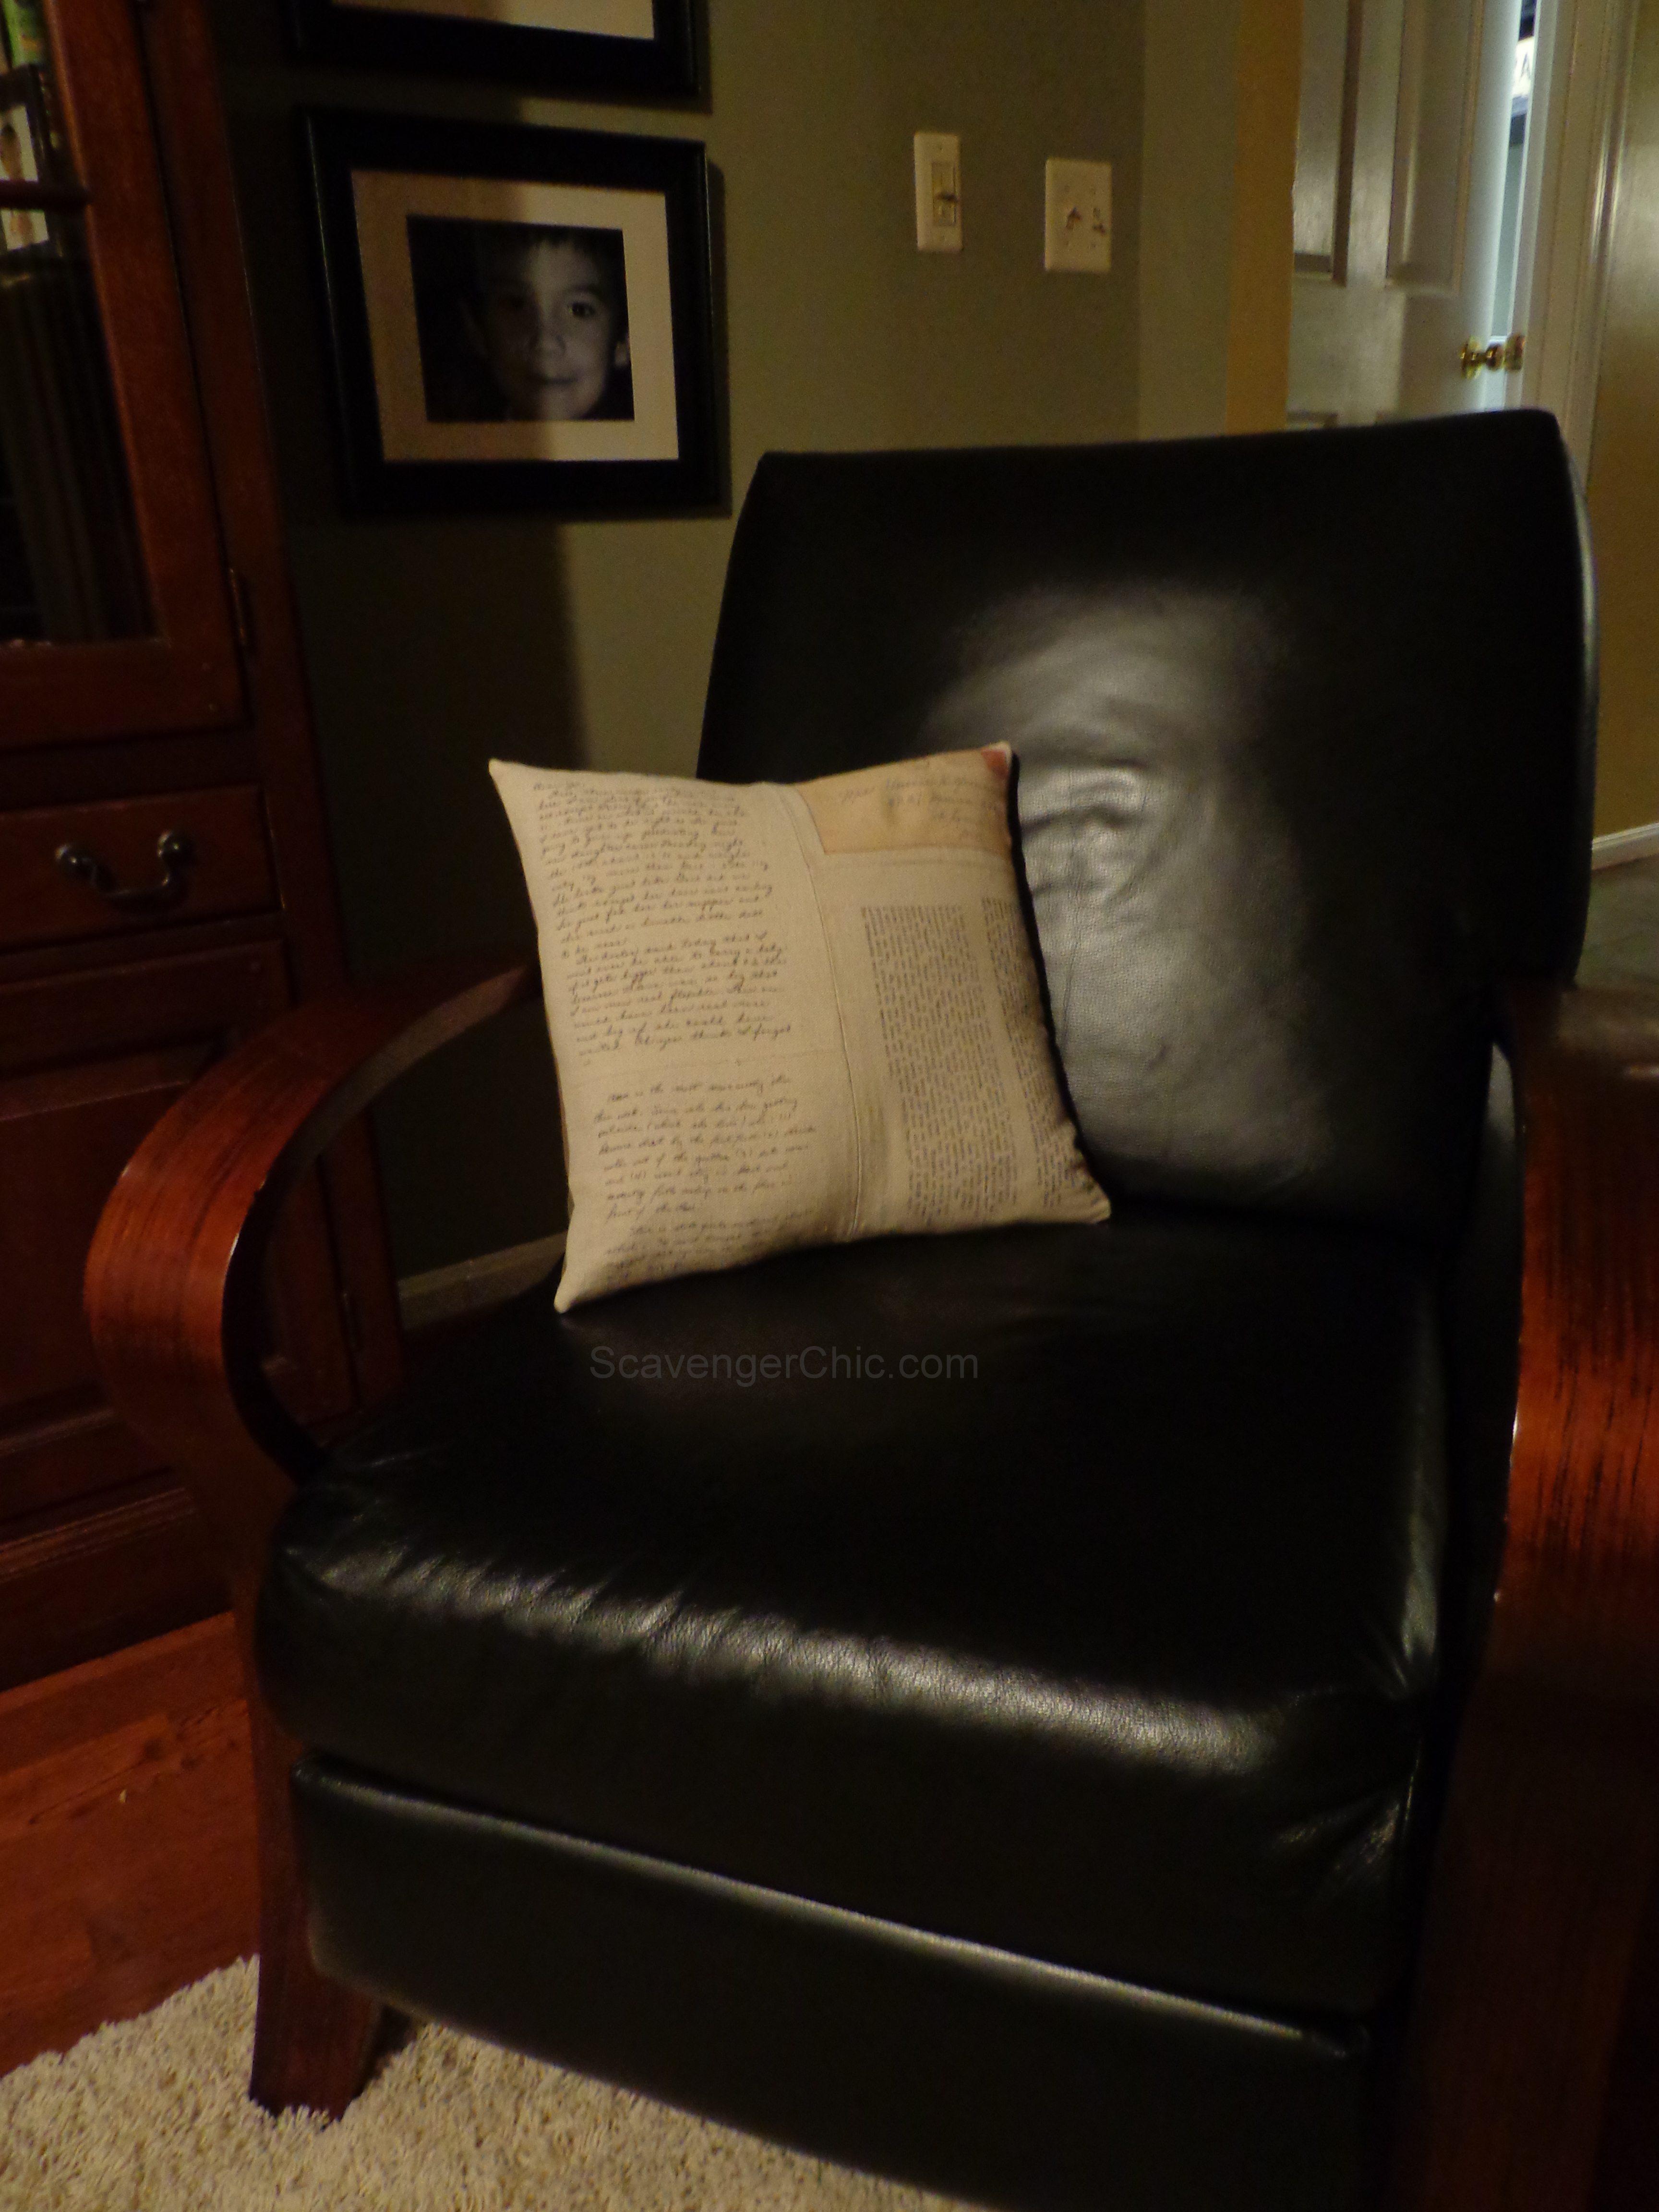
Trim off any excess fabric and the corners. Turn right side out and insert your pillow form.
My brothers and sisters loved them and we all had a lot of fun laughing at what mom and sometimes dad wrote about. Of course she loved me best 🙂
Note…The fray check is optional depending on how much your fabric frays. When pulling the shipping labels off, they have a tendency to grab at the threads but to varying degrees depending on the fabric.
If you liked that pillow, I have one more using the same technique but with newspaper clippings, tickets, receipts…my heirloom pillow.

Linked up at Between Naps on the Porch , the Vintage Inspiration Party, Outside the Box ,
That DIY Party , Handmade Hangout Party , Share it Sunday , Create it Thursday
Mod Vintage Life, Wildly Original Wednesday , Get Your DIY On,
Inspire me Tuesday and Mix it up Monday


Discover more from Scavenger Chic
Subscribe to get the latest posts sent to your email.


I love this pillow. It made me cry. SOmething so precious as a note or a letter is thrown away and you have brought back the loving memories of yor family. Your work is beautiful. SO far. THis is my favorite, but I have only begun to loo at the priceless things you have created. I love this. Most interesting in our post was that my Mom loved me best too! 🙂
Like Anita, I absolutely love this. My husband was just given copies of love letters written between his great-grandparents over many years. He treasures them, and I know something like this would mean the world to him. Unfortunately, I am missing the artistic gene. That’s why I so admire people like you, Joan. I’m in awe…truly.
What a wonderful idea and perfect execution! Saving and making memories are passions we share. Did you simply use a regular printer or a laser printer? I can think of so many things to print with your idea. Love it!
These were printed on my Canon printer which is not a laser printer. It’s only limitations are its size 8 1/2 x 11 max. Would love to see your ideas.
like the others I absolutely LOVE this idea!
Absolutely beautiful!! Wow!! I’m going to search for my love letters from my husband and I want you to make me one or two. I’ll pay you, because I can’t make anything including dinner. LOL It will be something I can keep forever. Also, after 29 years I can remind myself that I used to get these type of letters. LOL Great stuff Joan!! You are so talented.
This is gorgeous and so special. And unique. And loving. Love the letters on the pillow idea and I’m thinking Christmas gifts.
This is the most charming idea! Thanks so much for sharing it at the Vintage Inspiration Party. I’m giving you a shout-out on FB page here – https://www.facebook.com/KnickofTime
Thanks for the shout out and hosting such a nice link party. Just last week I did a couple more pillows for a friend using her grandparents old love letters. The possibilities are endless.
What a great pillow. I love how it turned out but how it’s special. Lovely. Found your lovely blog from the Black and White link party. Have a lovely week.
[…] adore this pillow by Scavenger Chic! She transferred vintage letters onto fabric to make […]
Joan, what a thoughtful gift giving idea! My mind is on “over-drive” thinking up personal gifts I could do for family and friends. Don’t know if my Epson printer is up to the job? As you, my printer is limited to 8.5 x 11 then printing on cloth might be impossible. But, I’ll be sure to do my best. Thank you from the bottom of my heart for sharing your lovely pillow and the “how to”
What a great way of preserving fond memories of the love and caring your mom had for not only her husband, but also both of their parents. Giving each of your siblings one of these for a Christmas or birthday gift is such a loving way of sharing the treasures you found. I am sure that each family member will cherish this for years to come and hopefully one day will pass this beautiful pillow on to family members of their own.
Such a fantastic idea! Like you, I grew up a military brat (Air Force) so I have loads of my daddy’s transfer papers, plus the permission paper given to us for my foster sister to go with us to England and her father’s permission for my family to adopt her! I live with her temporarily until my cottage is built next door, so that one paper will make an AWESOME Christmas present! I am saving this page to my “Cottage” folder so I don’t lose it. Unfortunately, her father changed his mind when we got back from England, and I lost contact with her for almost 52 years. I finally found her….in Fair Grove Missouri, while I was living in Springfield Missouri! Funny how both stories either started or stopped in Missouri. God bless you and yours. 🙂
Just lovely. Makes me wish I had old letters from my parents. Good instructions. Thanks.