

Wood Countertop DIY
- By Joan
- October 1, 2014
- 20 Comments

If you’ve been following my blog, I spent all of last week in my laundry room showing my cabinet transformation. From transforming laminate cabinets to the diy pallet crates you see above. I was now ready for the countertop. Now, I’ve had no problem using the tops of my washer and dryer as storage, but if you think about it, that only gives you about 8 sq feet of countertop but more importantly, things are always falling off the back of the machines or in between. The distance from the fronts of my washer and dryer to the back is 2 and 2/3 feet and if I went all the way to the right wall, just over 6ft. Total square footage, about 16 feet. I’ve been missing out.
First step was to decide what my countertop would be made of. I considered granite tiles, very classy, or butcher block, very country…..and eventually decided on my own, diy wood, semi-butcher block.
One might think, that with a countertop width of around 32 inches I could get away with 4, 8 inch width boards. One would be wrong. A 1 x 8 inch board is actually 3/4″ x 7 1/4″. If you have a hard time picturing what it would look like, just lay it out on the hardware store floor and measure.
My shopping trip ended up having:
3 1 x 8 by 6ft
1 1 x 10 by 6ft
3 1 x 2 by 8ft (for the trim)

Starting to lay out the wood. The overhang on the trim piece would serve two purposes. It would make the wood appear more substantial than it actually was and it would hide my cross supports. The trim also succeeds in holding everything together.
I cut all the wood to the proper length at this point and mitered the edges of my trim boards.

Turned everything over and from the back started attaching my pieces. Between the boards I used wood glue pushing the joints close together. If I had a clamp large enough at this point I would have used it but settled for my cross pieces to hold everything together. For my cross supports, I think there is a piece of pallet wood there but mostly I used unused leftover hardwood flooring. These were all nailed down with a nail gun using 1 inch finishing nails, a lot of them. Could have used screws, or hammer by hand, but a nail gun is soooo much more fun and quick. Trim was also attached with finishing nails. If you have a kreg jig, this would be a great time to use it.
Once everything was secure, I turned the entire piece over before the glue was dried. Any glue that seeped out was wiped off with a damp rag. Stain does not do well with wood glue.

Now I wanted a logo on my countertop, if you don’t, you can skip right by this section.
1. Found a cool vintage logo on google and enlarged it to the size I wanted.
2. Where the logo was, I scribbled on the back with pencil, this will act as carbon paper.
3. Positioned and taped the logo to my countertop.
4. Traced around the lettering with pen to transfer the logo outline to my boards. Kind of light, but if you look closely you’ll see the outline of my logo.
5. Using my paint by number skills, filled in my outlines with black paint.
6. Lightly sanded the logo with my palm sander to give a slightly worn finish.

Now was the time to sand my countertop. This could have been done by hand sanding but I prefer to use the electric version, my handy dandy palm sander again. Had to pay close attention to the edges, corners, where the wood was uneven and the rough spots…..this was the time to sand down any imperfections. After my first coat of stain, I wouldn’t want to be going back and sanding that back off. Wiped down the wood to get rid of any excess sawdust.
Before staining, I beat up the wood a bit with the claw part of my hammer, a screwdriver and a meat tenderizer. Those dents and marks would really be obvious with the first coat of stain. The above picture was after one coat of dark walnut stain, rubbed on with a rag in the direction of the woodgrain. Filled in all of those little dents I just made. If you notice, there are a couple of light spots in between a couple of the boards, those are glue spots. Obviously I didn’t do a good job of rubbing off my excess glue. For the time being, I ignored those until I got a coat of varnish on. Let the stain dry completely.
The next coat was Varathane’s Stain + Poly, Light Walnut, semi-gloss. Brushed on, this starts giving the wood a nice warm glow.
Now was the time to fix those glue spots. Since my finish was so dark, I used a small brush dipped in black paint and lightly painted those spots, in the direction of the wood grain, letting some of the wood shine through. This was a very light coat, not a solid black line. Where it went on too dark, just wiped off with my finger.
One more coat of the Light Walnut varnish and I got the shade I wanted. I finished off with a couple more coats of clear varnish. If this was a kitchen installation I would probably have a few more coats of varnish.
Note: If you notice any bumps or rough spots in your finish, buff them out between coats with fine steel wool. Remove any steel wool bits with a damp cloth or tack cloth before the next coat of varnish.

All ready for installation. Because this was the laundry room and there are times when the washer and dryer have to be removed, sometimes quickly, I didn’t want this permanently attached. I chose instead to install a ledger board to the wall behind and on the right wall behind my machines. The boards were screwed into the studs and leveled.
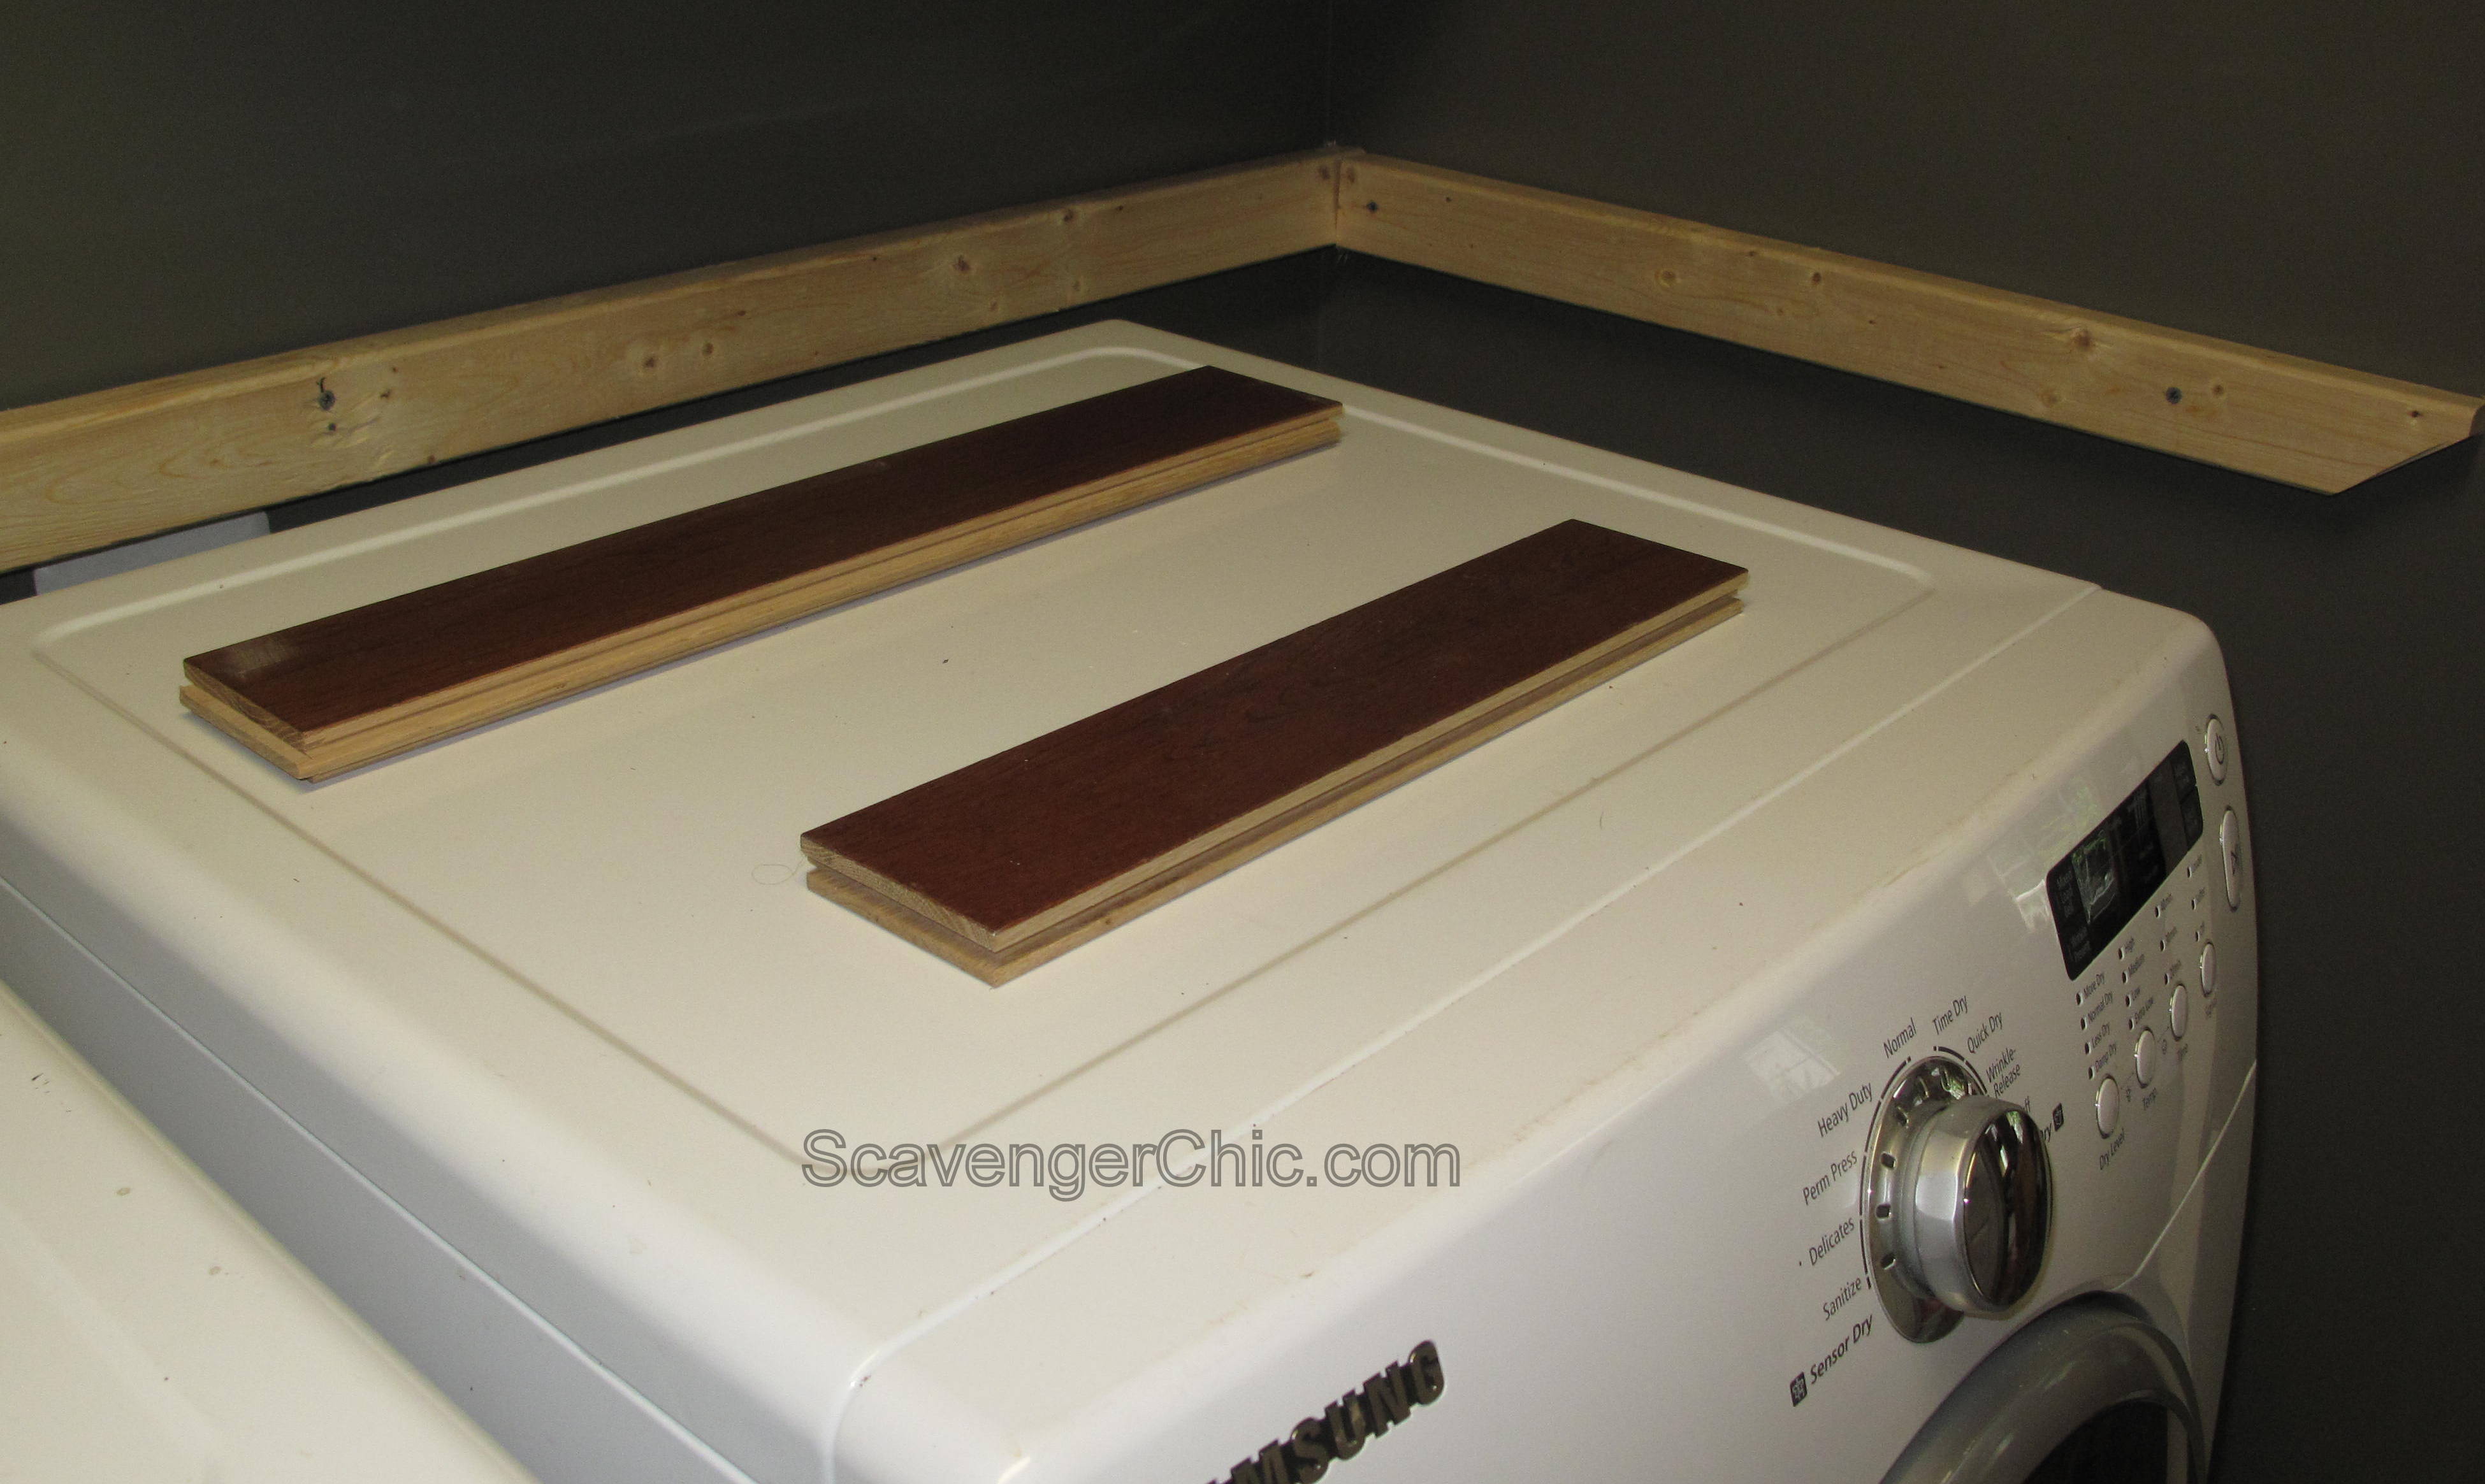
Used unused hardwood flooring boards to elevate my counter slightly. When I placed the counter in position I marked off where the hoses would go.
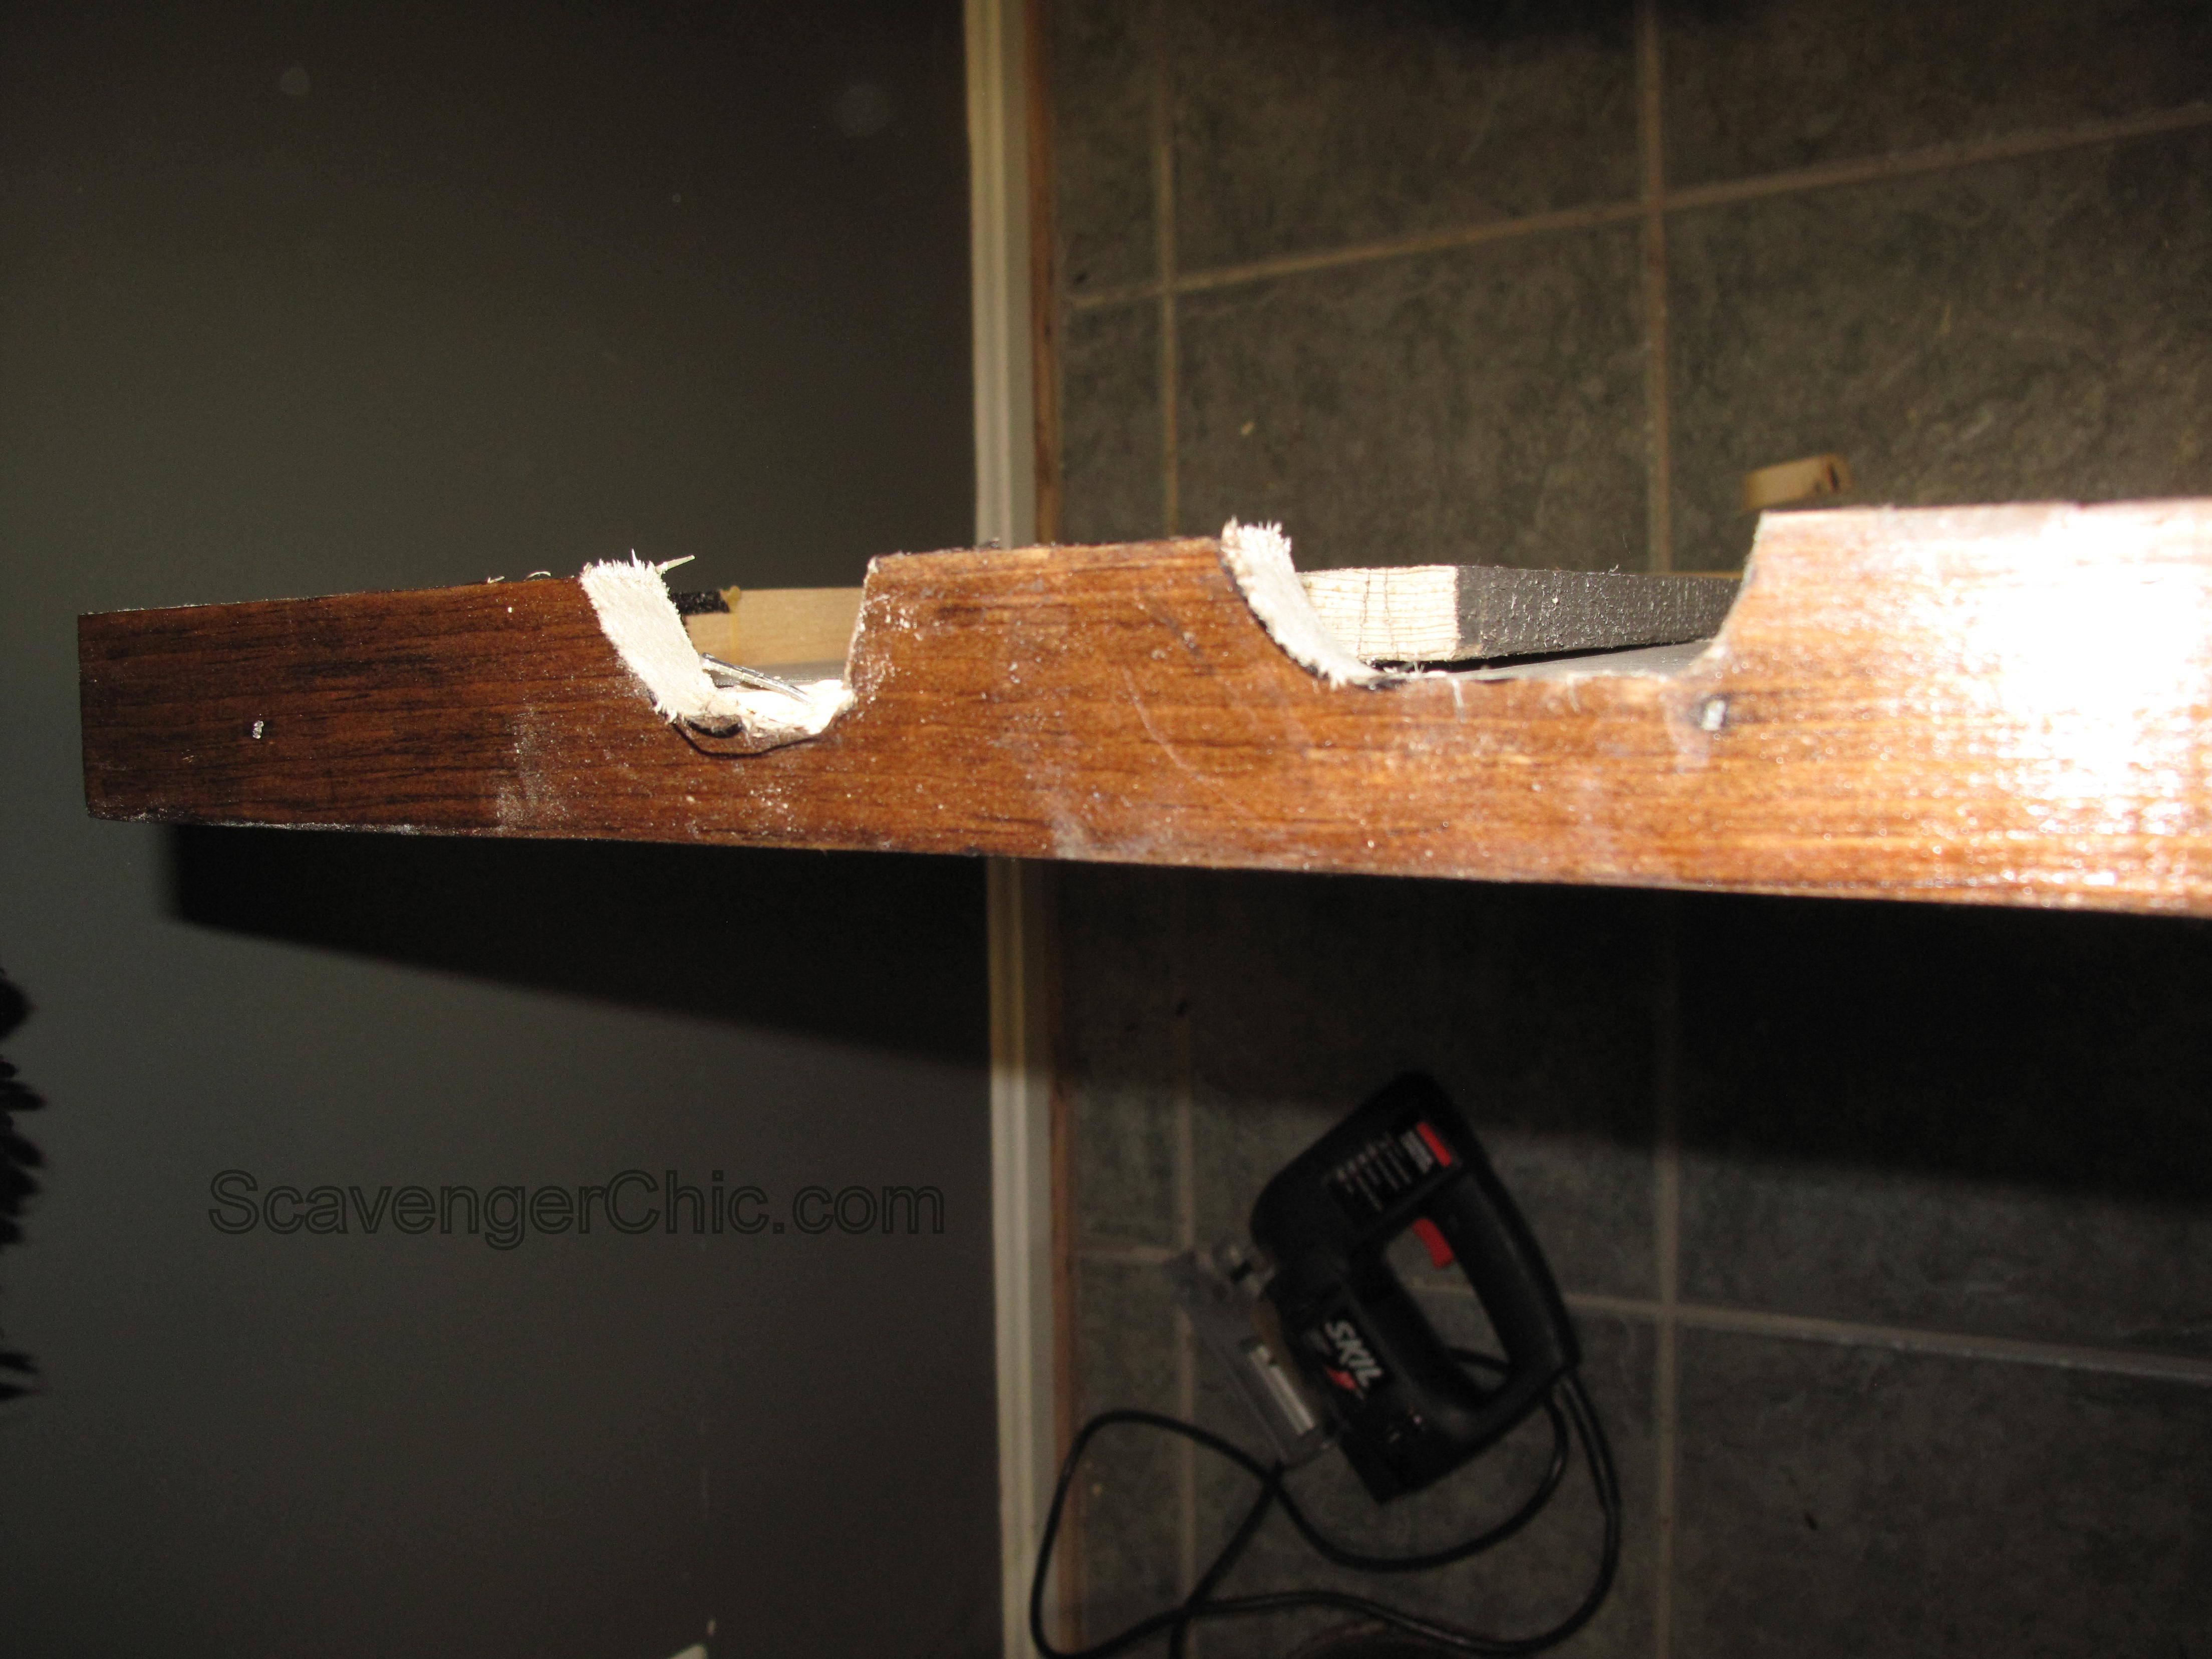
Cut out where the hoses would go with a jigsaw. I would like to think that if these cuts were going to be seen I would have been a little neater. As it is, these cuts will be along the back wall out of sight.

Turned over and set into position.


Love it! Now I don’t know why it has taken me so long to get a countertop in there. If you like the Farmers market tin you can find that here. Or if you are in need of a crate and can’t find just the right size check out how to make a pallet crate with any logo here.
Shared with Treasure Hunt Thursday, Link Party Palooza, Funky Junk Party Junk ,
Vintage Inspiration Party , DIY Sunday Showcase, Thrifty Decor Chick , Worthwhile Wednesdays
Wow us Wednesdays , Thank Goodness its Thursday Show Stopper Saturday
Inspire me Tuesday, Inspire us Thursday and That DIY Party


 Copyright © 2024
Ridonkulous
From you, I’m taking that as a compliment.
Wow, that looks really great! I just bought a new front load washer/dryer set and was thinking of making a counter for them, this looks like a great tutorial, Thanks for the inspiration!
Tania
Love this idea!! I’ve been wanting to create a desk for myself using this same technique since I want something longer. Thank you for documenting the process – this is great. I hope to complete my desk sometime soon. Pinning!
[…] Past, Present, and Patina turned a laundry cart into a fantastic, industrial styled table. Scavenger Chic shows us how to make a wood counter–love the look and the price! An easy, unique fall […]
Hi, I just discovered your blog and I absolutely love what you did in your laundry room. I would love to do the same to mine. You are very creative and also expert with power tools which I am not but so want to learn. Great blog!
Thanks for stopping by. I couldn’t live without my nail gun and miter saw. I had given the compressor and nail gun to my husband a couple of years ago for Christmas but once I found out how to use it, I use it way more than he does.
[…] Wood Countertop DIY from Joan at Scavenger Chic Sarah’s Pick: Barb has me thinking that I’m going to use some of the gluten free flour in my pantry! Cupboard Cake from Barb at Sparkles in the Everyday Becky’s Pick: Sugar Skull Decanter Knock-Off from Kat at Home Made Interest If you were featured, please grab a button. […]
Hello everyone, it’s my first look at this website and this piece of writing is actually informative for me, please keep posting these types of posts.
I believe you have noted some very interesting details , thankyou for the post.
I just got out of nap and I am already reading your post. This means something! Really useful information. Thnkx!
I stopped in to pin one of your other projects and spied the laundry room. Almost a whole year ago now we gave our oldest daughter a laundry room makeover for Christmas and what you have done was pretty much the description we gave to her. This might have inspired me to get moving on it… at least before Christmas ’14 rolls around!
[…] DIY’d a countertop for her laundry room and it turned out so […]
What type of wood did you use? Pine?
Yes it is pine.
Sorry if I missed this, but does the counter rest on the washer and dryer or is the weight fully supported by the ledges you attached to the walls? Love this project!
Both. I didn’t want the washer and dryer to fully support the countertop though it’s not that heavy so I took some of the weight off by attaching the ledgers. If you have room, you could also attach a post in the front left.
[…] Refacing Laminate and Oak Cabinet Doors DIY Laundry Room Makeover Cabinet Door – scavengerchic… […]
Does the counter slide around and need to be pushed back onto the corner because of vibration from the washer spinning or the dryer running?
I’ve never had a problem with the countertop moving. If you have a washing machine that jiggles a lot I’m guessing that could be an issue.