
A while ago, I came across a picture of an Open sign, with lights, with a red background, on wood. Being the Scavenger that I am, my first thought was, I can make that, how hard can that be?…. I filed that idea away in the back of my mind. I have no idea where I found that original idea and if you’ve seen something similar , let me know and I’ll give credit where credit is due. I have tried googling “Light up open signs”, “Vintage Open signs”, “Open signs that light up”, but I can’t seem to find that first picture that gave me a spark.
To begin this project I had to start with the lights. I had no idea if this is something that was sold in stores or if I would have to string together my own lights. If I couldn’t find the lights I was looking for this project would be finished before even beginning. First place I checked out for lights was Michaels. They had a nice selection of Halloween lights and they had just gotten their Christmas lights in. They didn’t have what I was looking for. Just a couple of doors down the shopping center is the local Target. Jackpot. They had the perfect lights.
If the globe lights are not in season at Target, I did find a set at Amazon, they can be found here… 25Ft G40 Globe String Lights with Clear Bulbs, UL listed Backyard Patio Lights, Hanging Indoor/Outdoor String Light for Bistro Pergola Deckyard Tents Market Cafe Gazebo Porch Letters Party Decor, Black

Apparently what I was looking for were these clear Globe Lights. A set of 25 for $12.99.
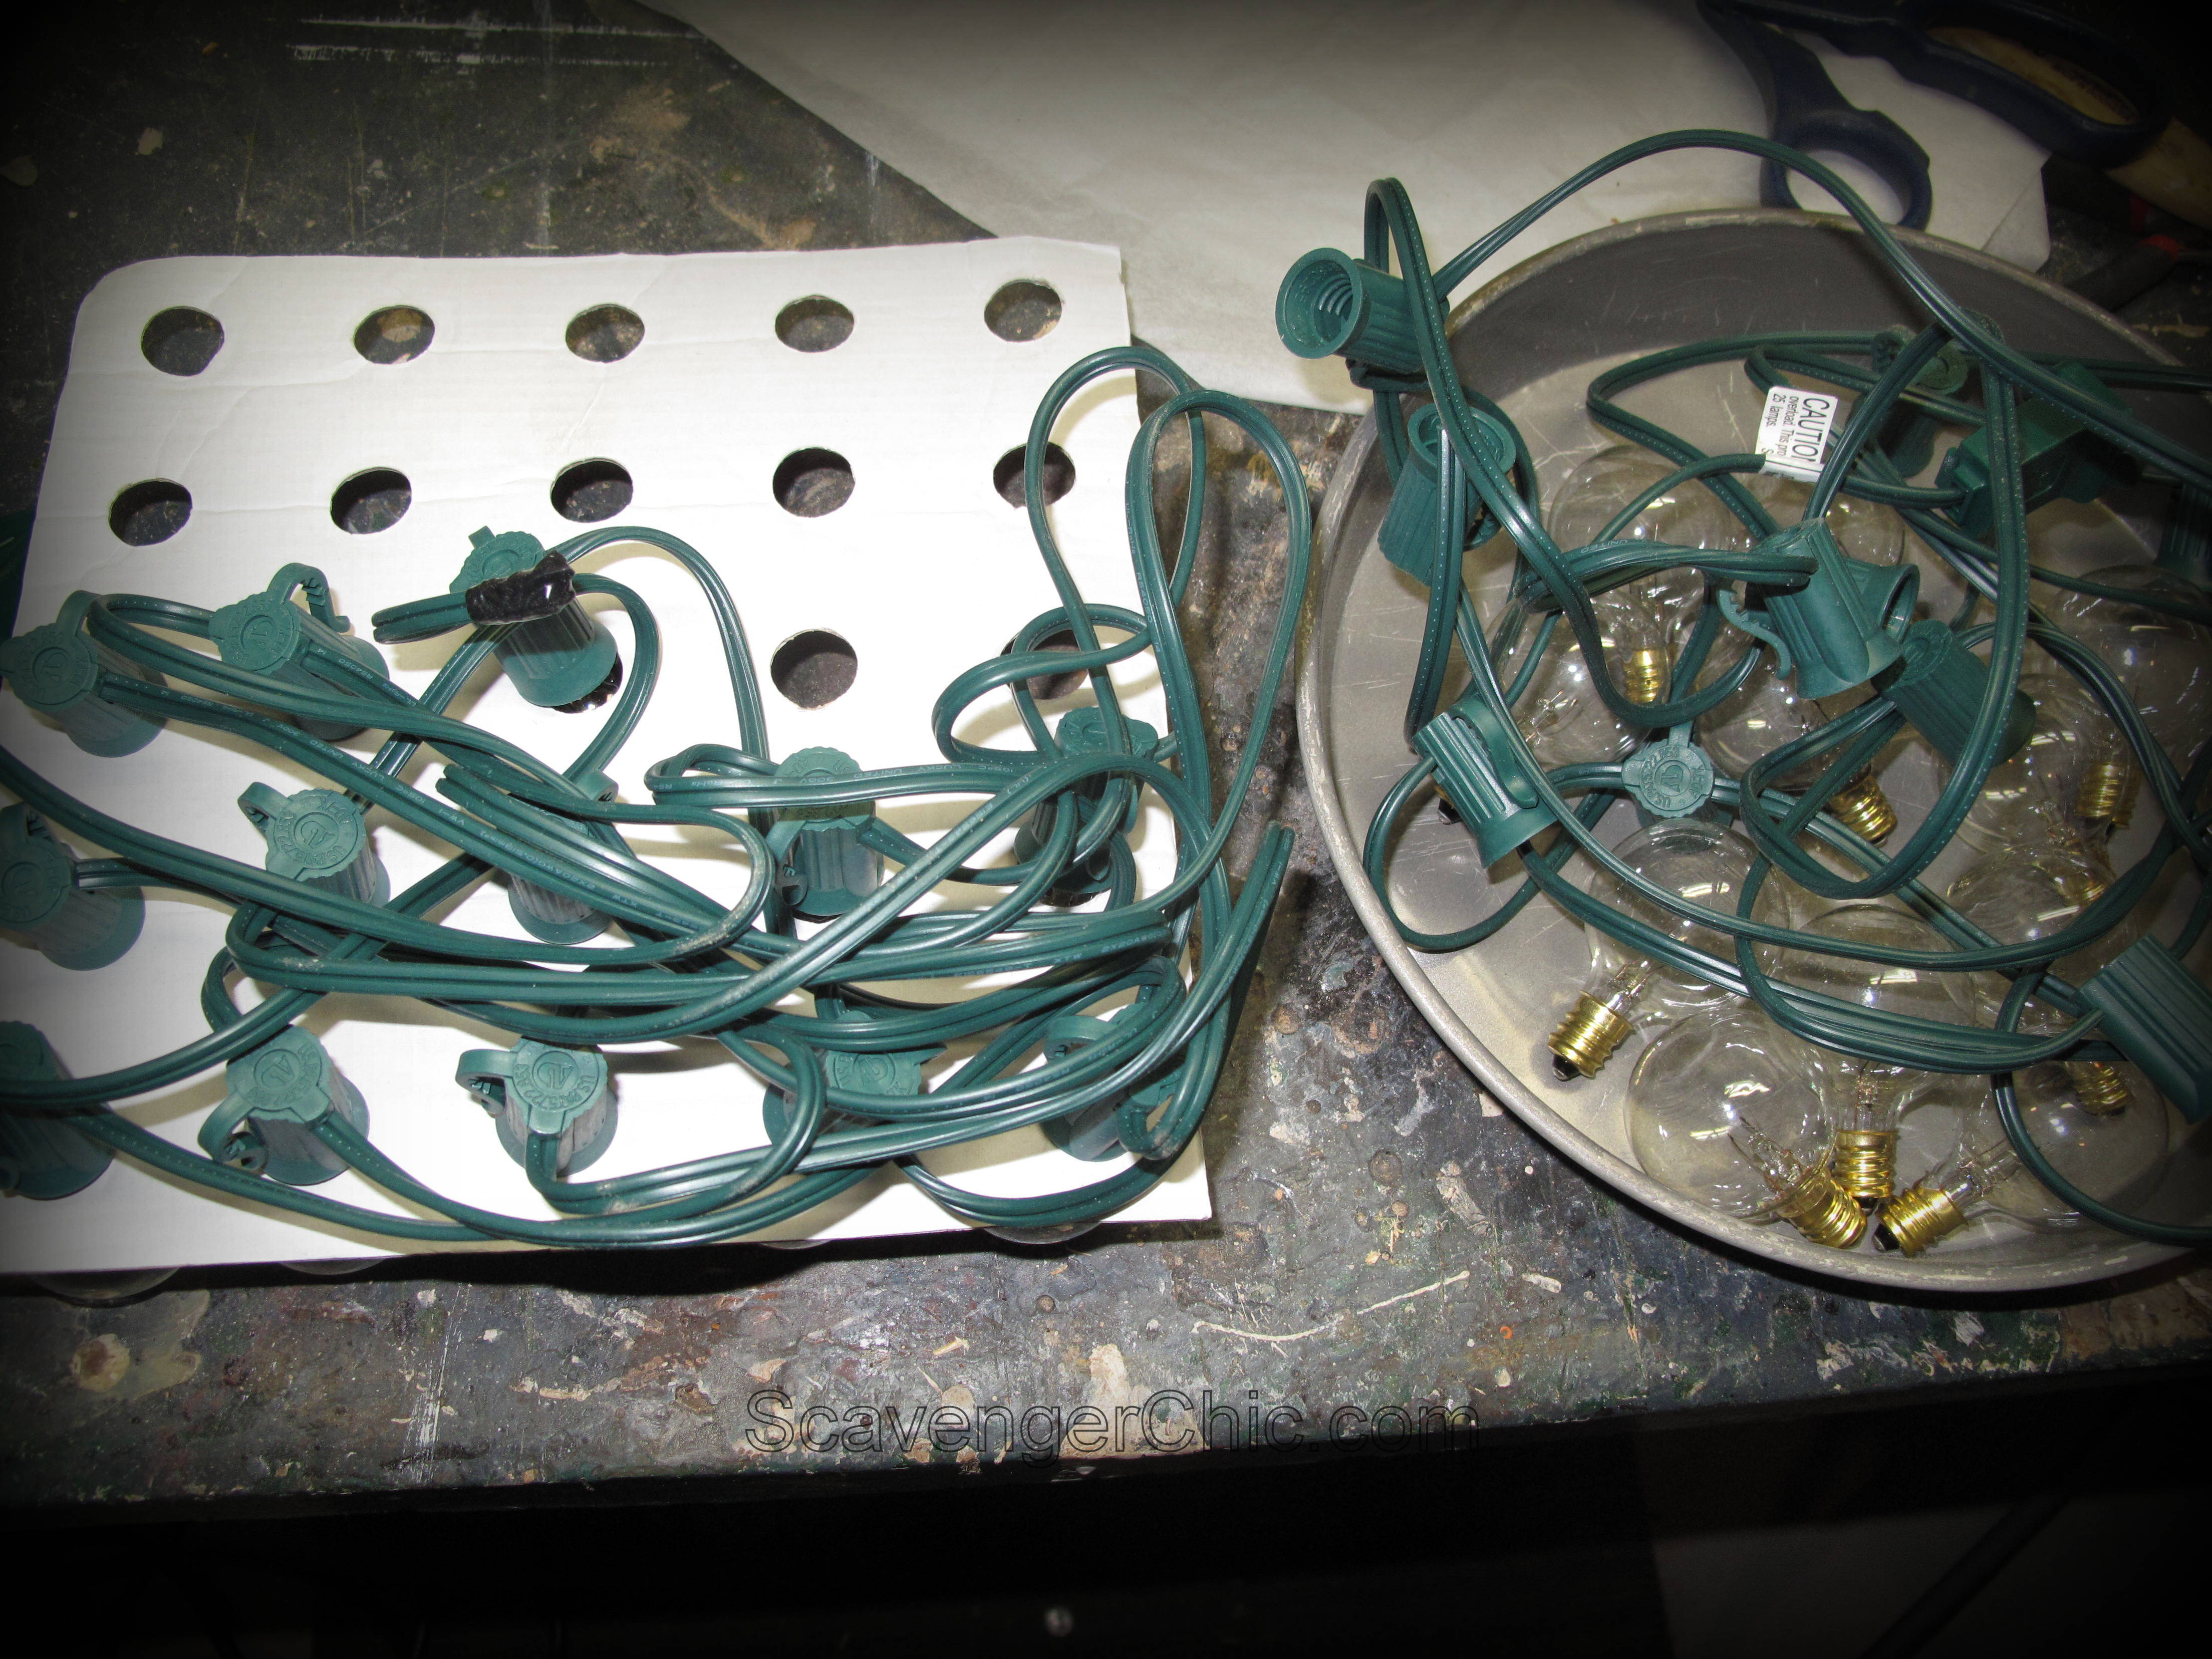
I only needed 13 of the lights and I didn’t really want 12 empty light sockets hanging out behind my sign. Could I cut the wire? I know if you take even one tiny bulb out of a string of Christmas lights, the whole darn thing won’t work. A lot of those Christmas light strings have multiple wires twisted together, this only had one. Well here goes nothing, snip. Well would you look at that, the lights string still works. I did tape the end with electrical tape so I had no loose wires. I do hope to use the remainder of the strand in the future, I’ll just see if I can find another wire with a plug.
With working lights…full speed ahead.

Googling OPEN signs, I did find an open sign I liked here . Perfect font for what I was looking for. After looking through 100 different fonts to try and replicate the sign I decided to just use this one. On the computer I enlarged the sign until the letters measured 9 inches high. These were printed out on plain paper.

The letters were cut out and placed on my 1/2 inch plywood. Only then did I come up with my final size of my arrow. The widest part of the arrow was 18″ and most of the length of the arrow was 14″, which gave me 2 1/2 inches above and below my letters for my lights. (Full size of the plywood needed was 45″ x 18″)
With the letters in place, I drew my arrow directly on the plywood. This would be my cut line.
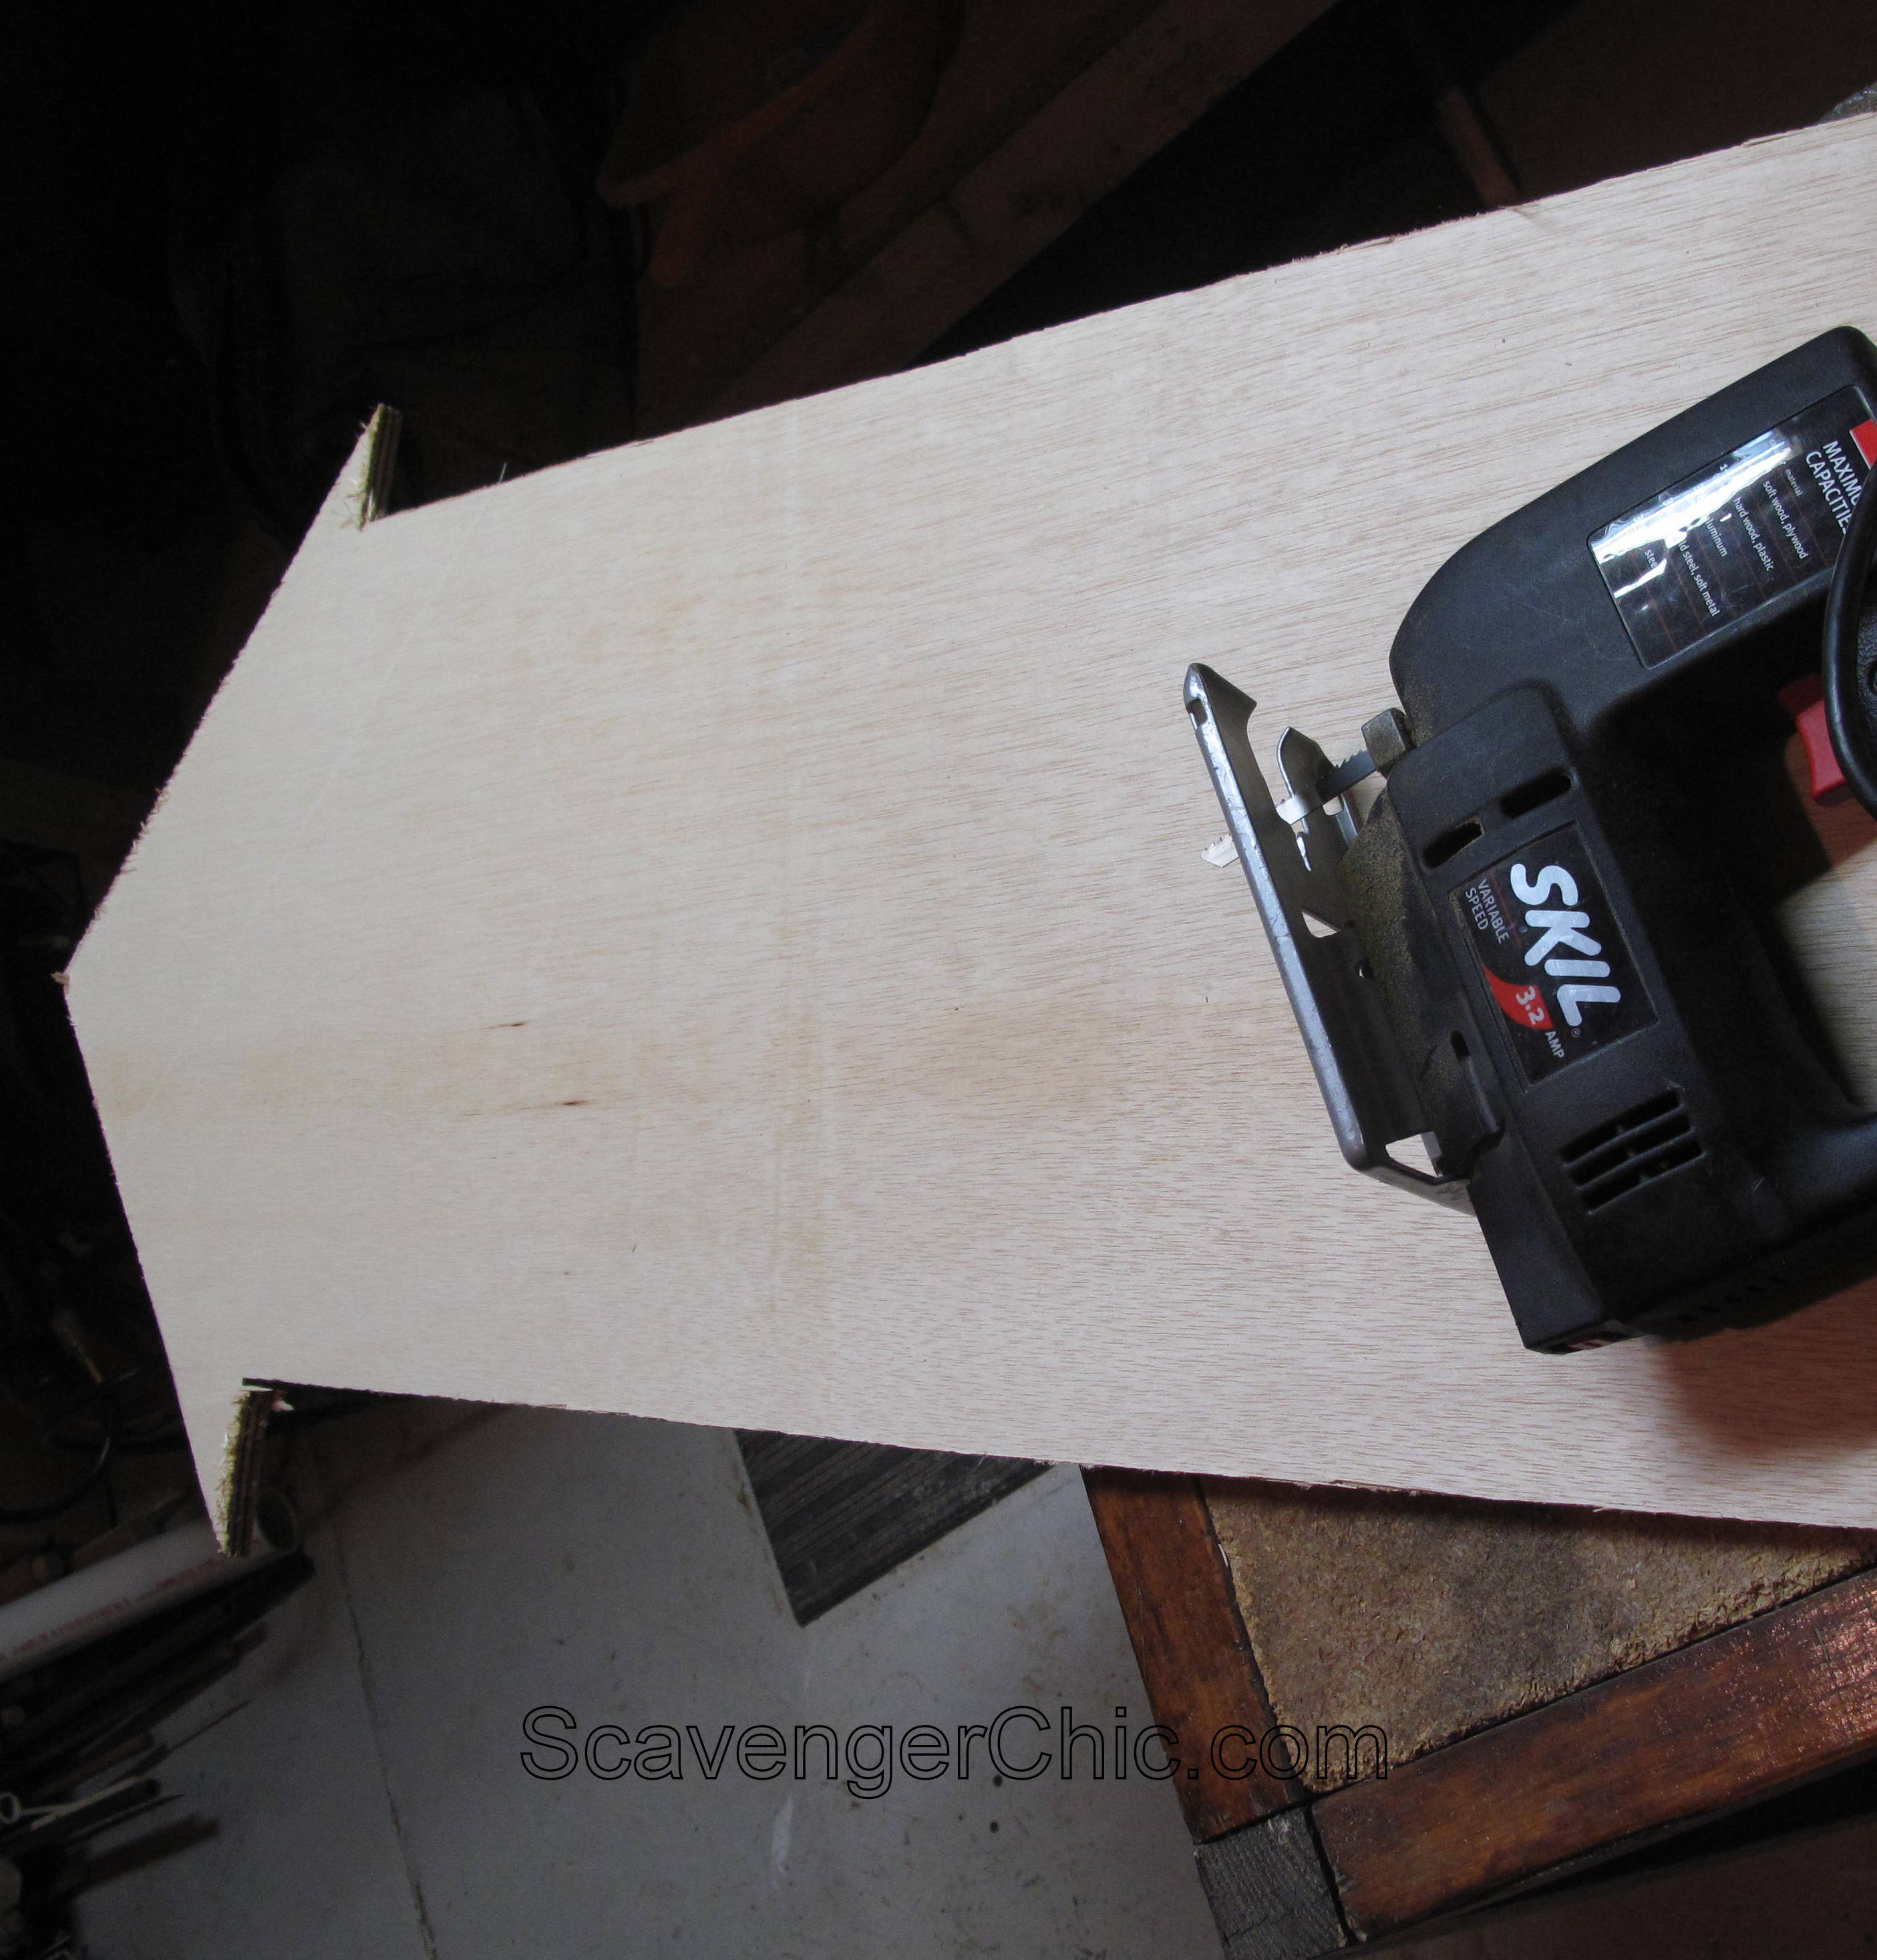
Cut out the plywood arrow with a circular saw for the long cuts and a handheld jigsaw.
.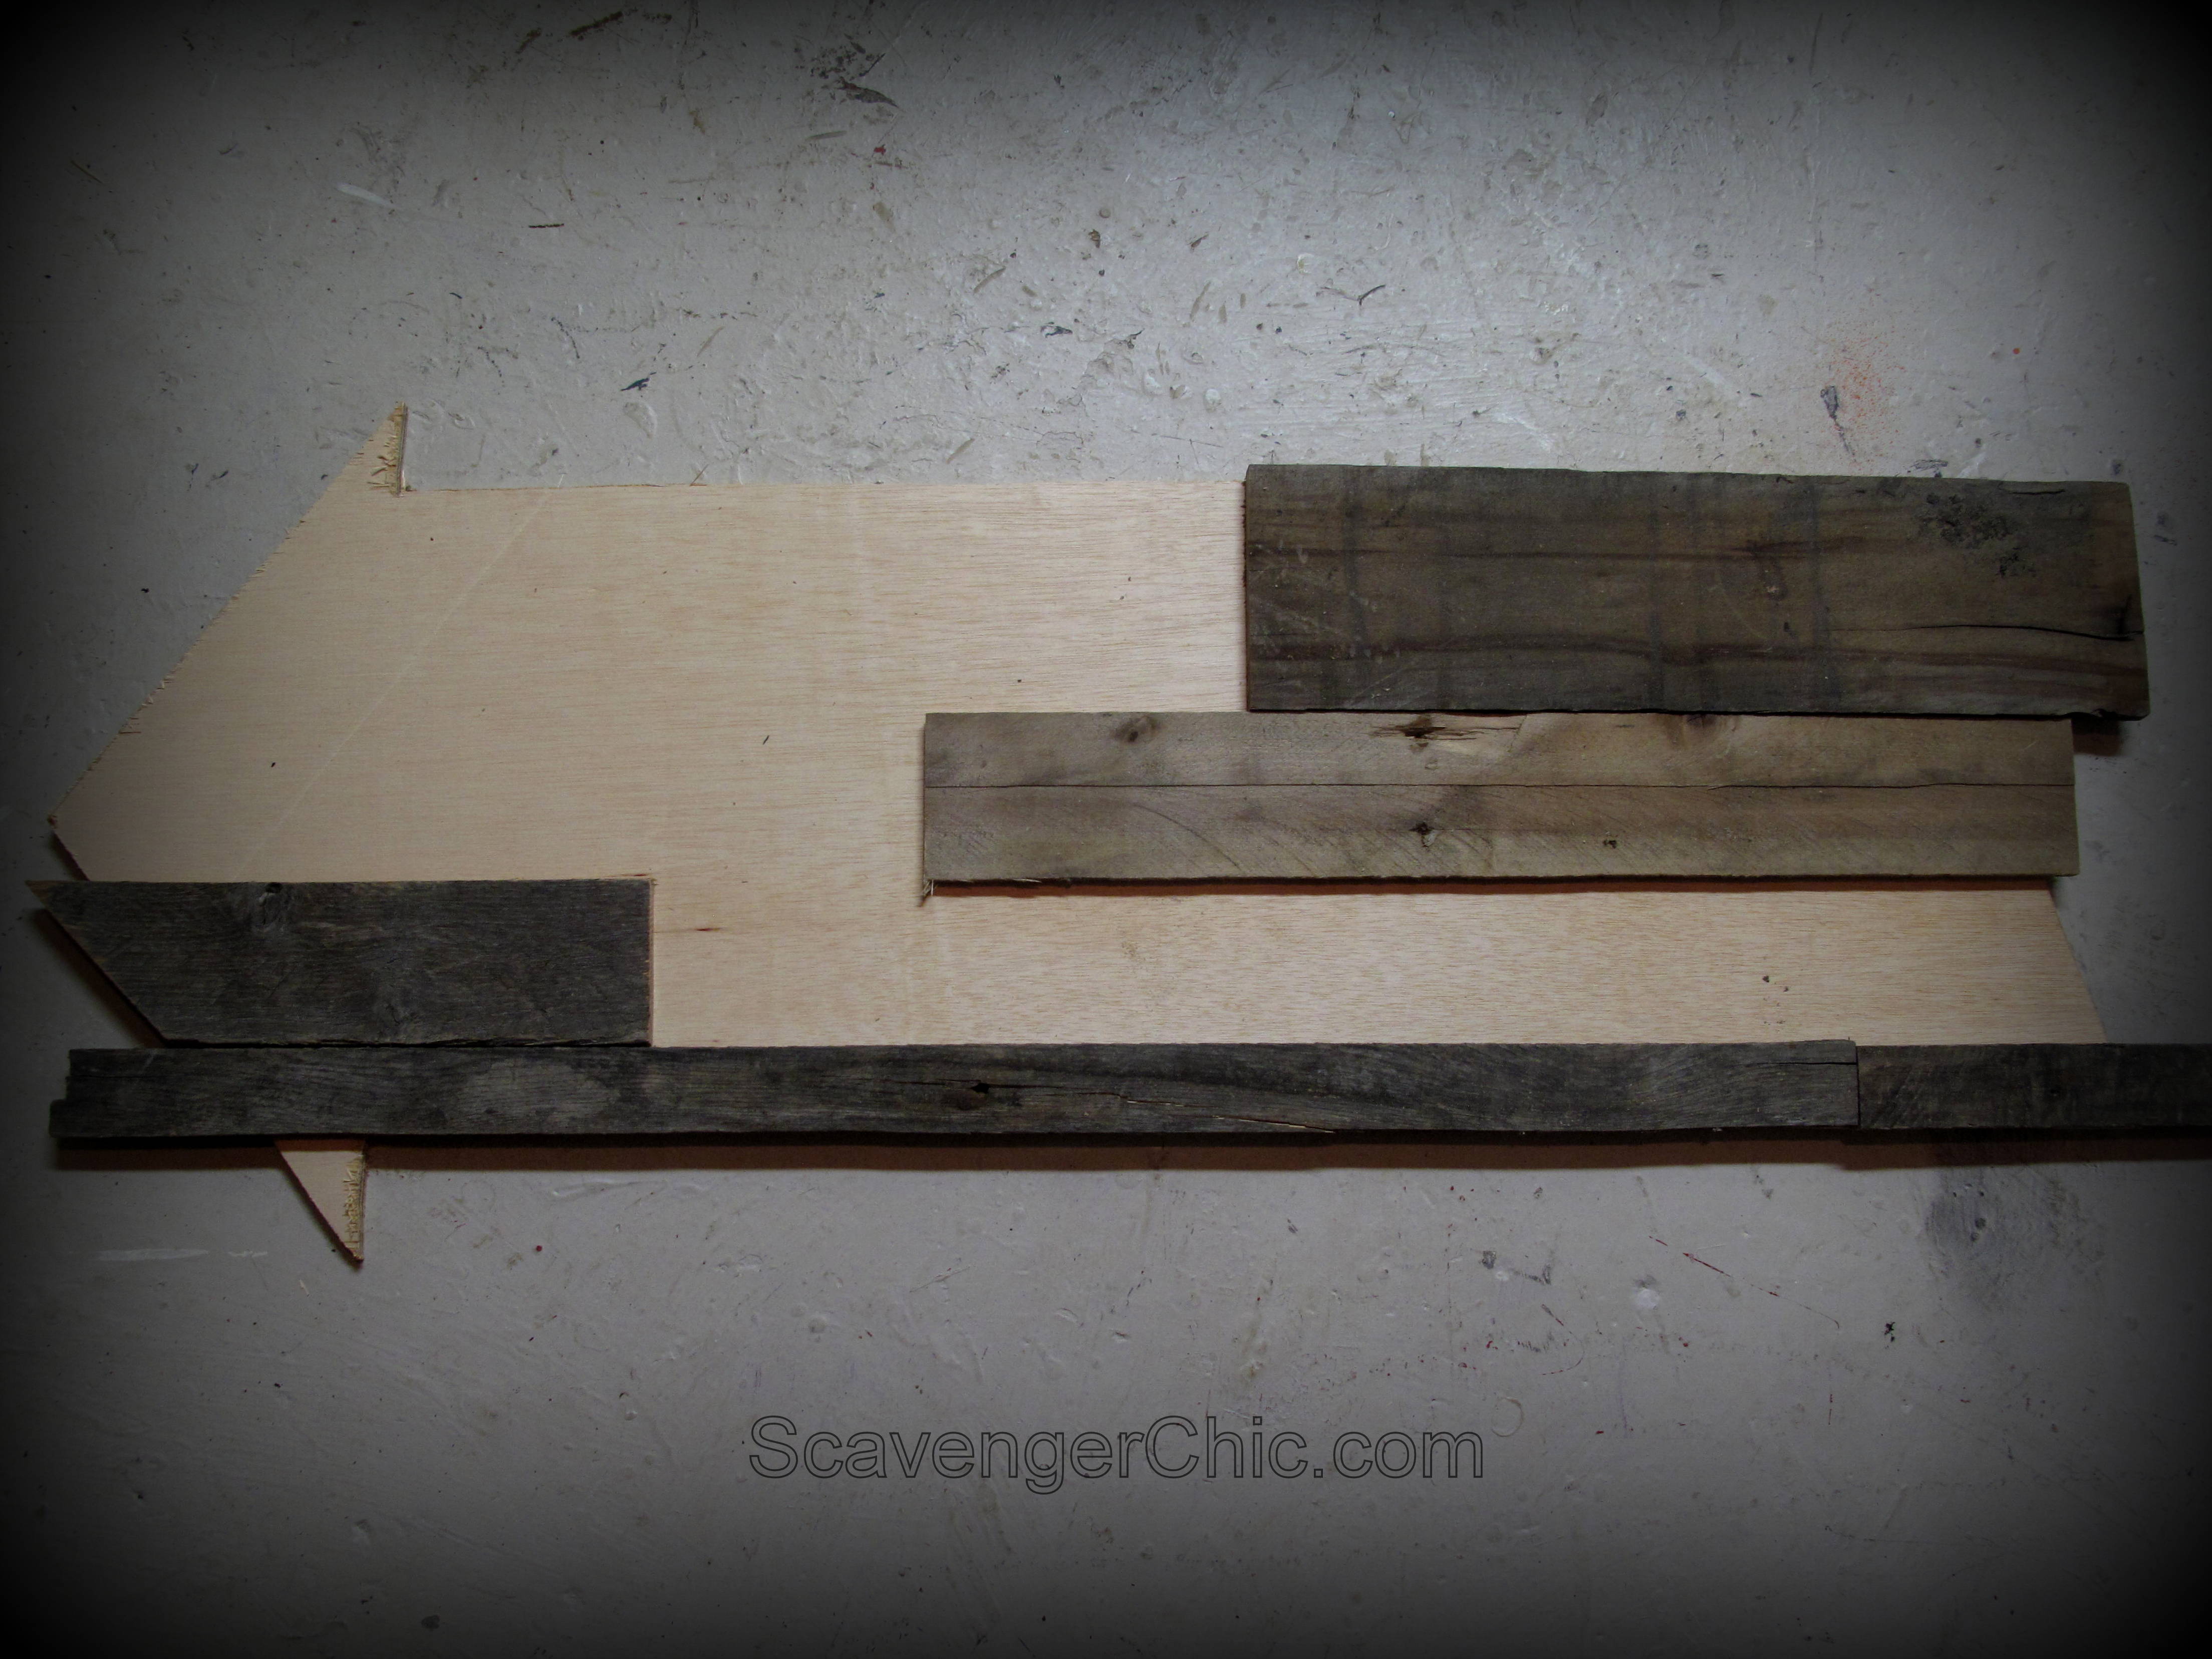
To give my arrow a little more rustic feel, I once again dove into my supply of pallet wood covering my plywood arrow completely. Once I was happy with the coverage…

…I used the arrow as a template and traced my cut lines onto the pallet wood.

The lines that were drawn with my arrow template were then cut. Used a finishing nailer to nail all my pieces into place. If you don’t have a nail gun, construction adhesive or finishing nails would do the trick, just make sure your finishing nails are shorter than the width of your pallet wood and backing together.
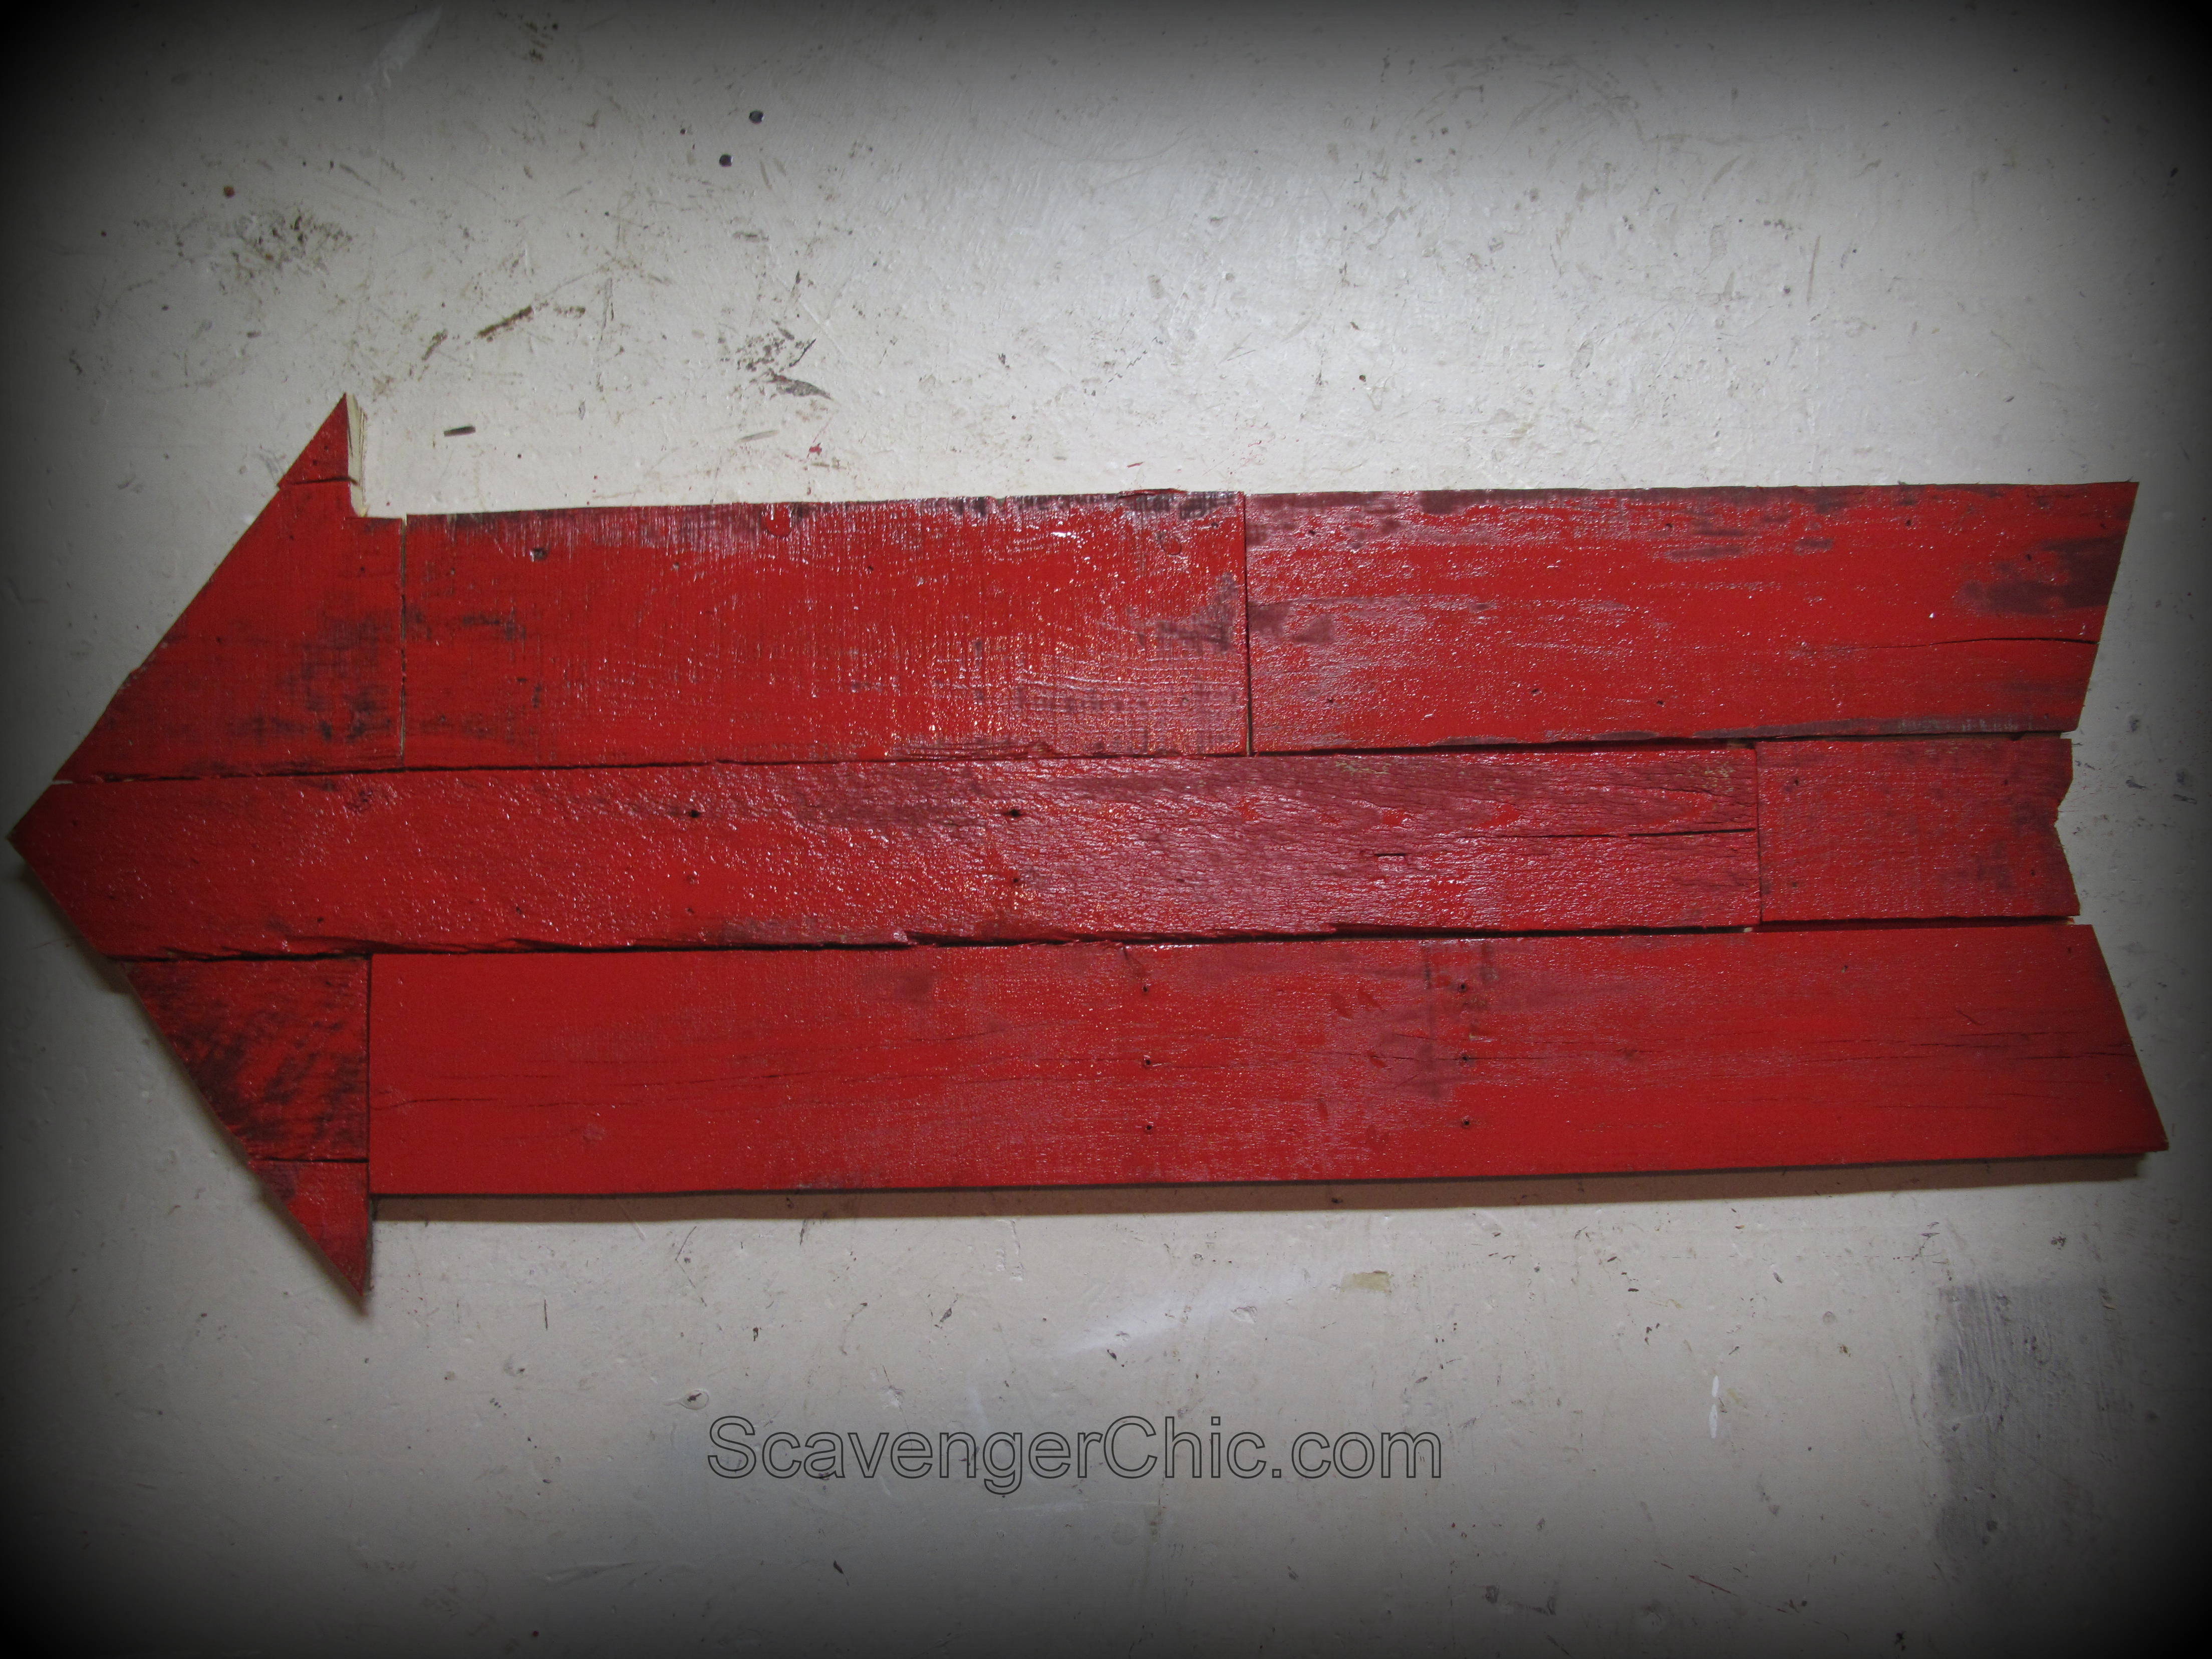
The whole piece was painted red.

The paper letters were once again placed over top of my arrow. This time they were taped in place and traced around. Once I had my outline, it was just a matter of painting in the lines.

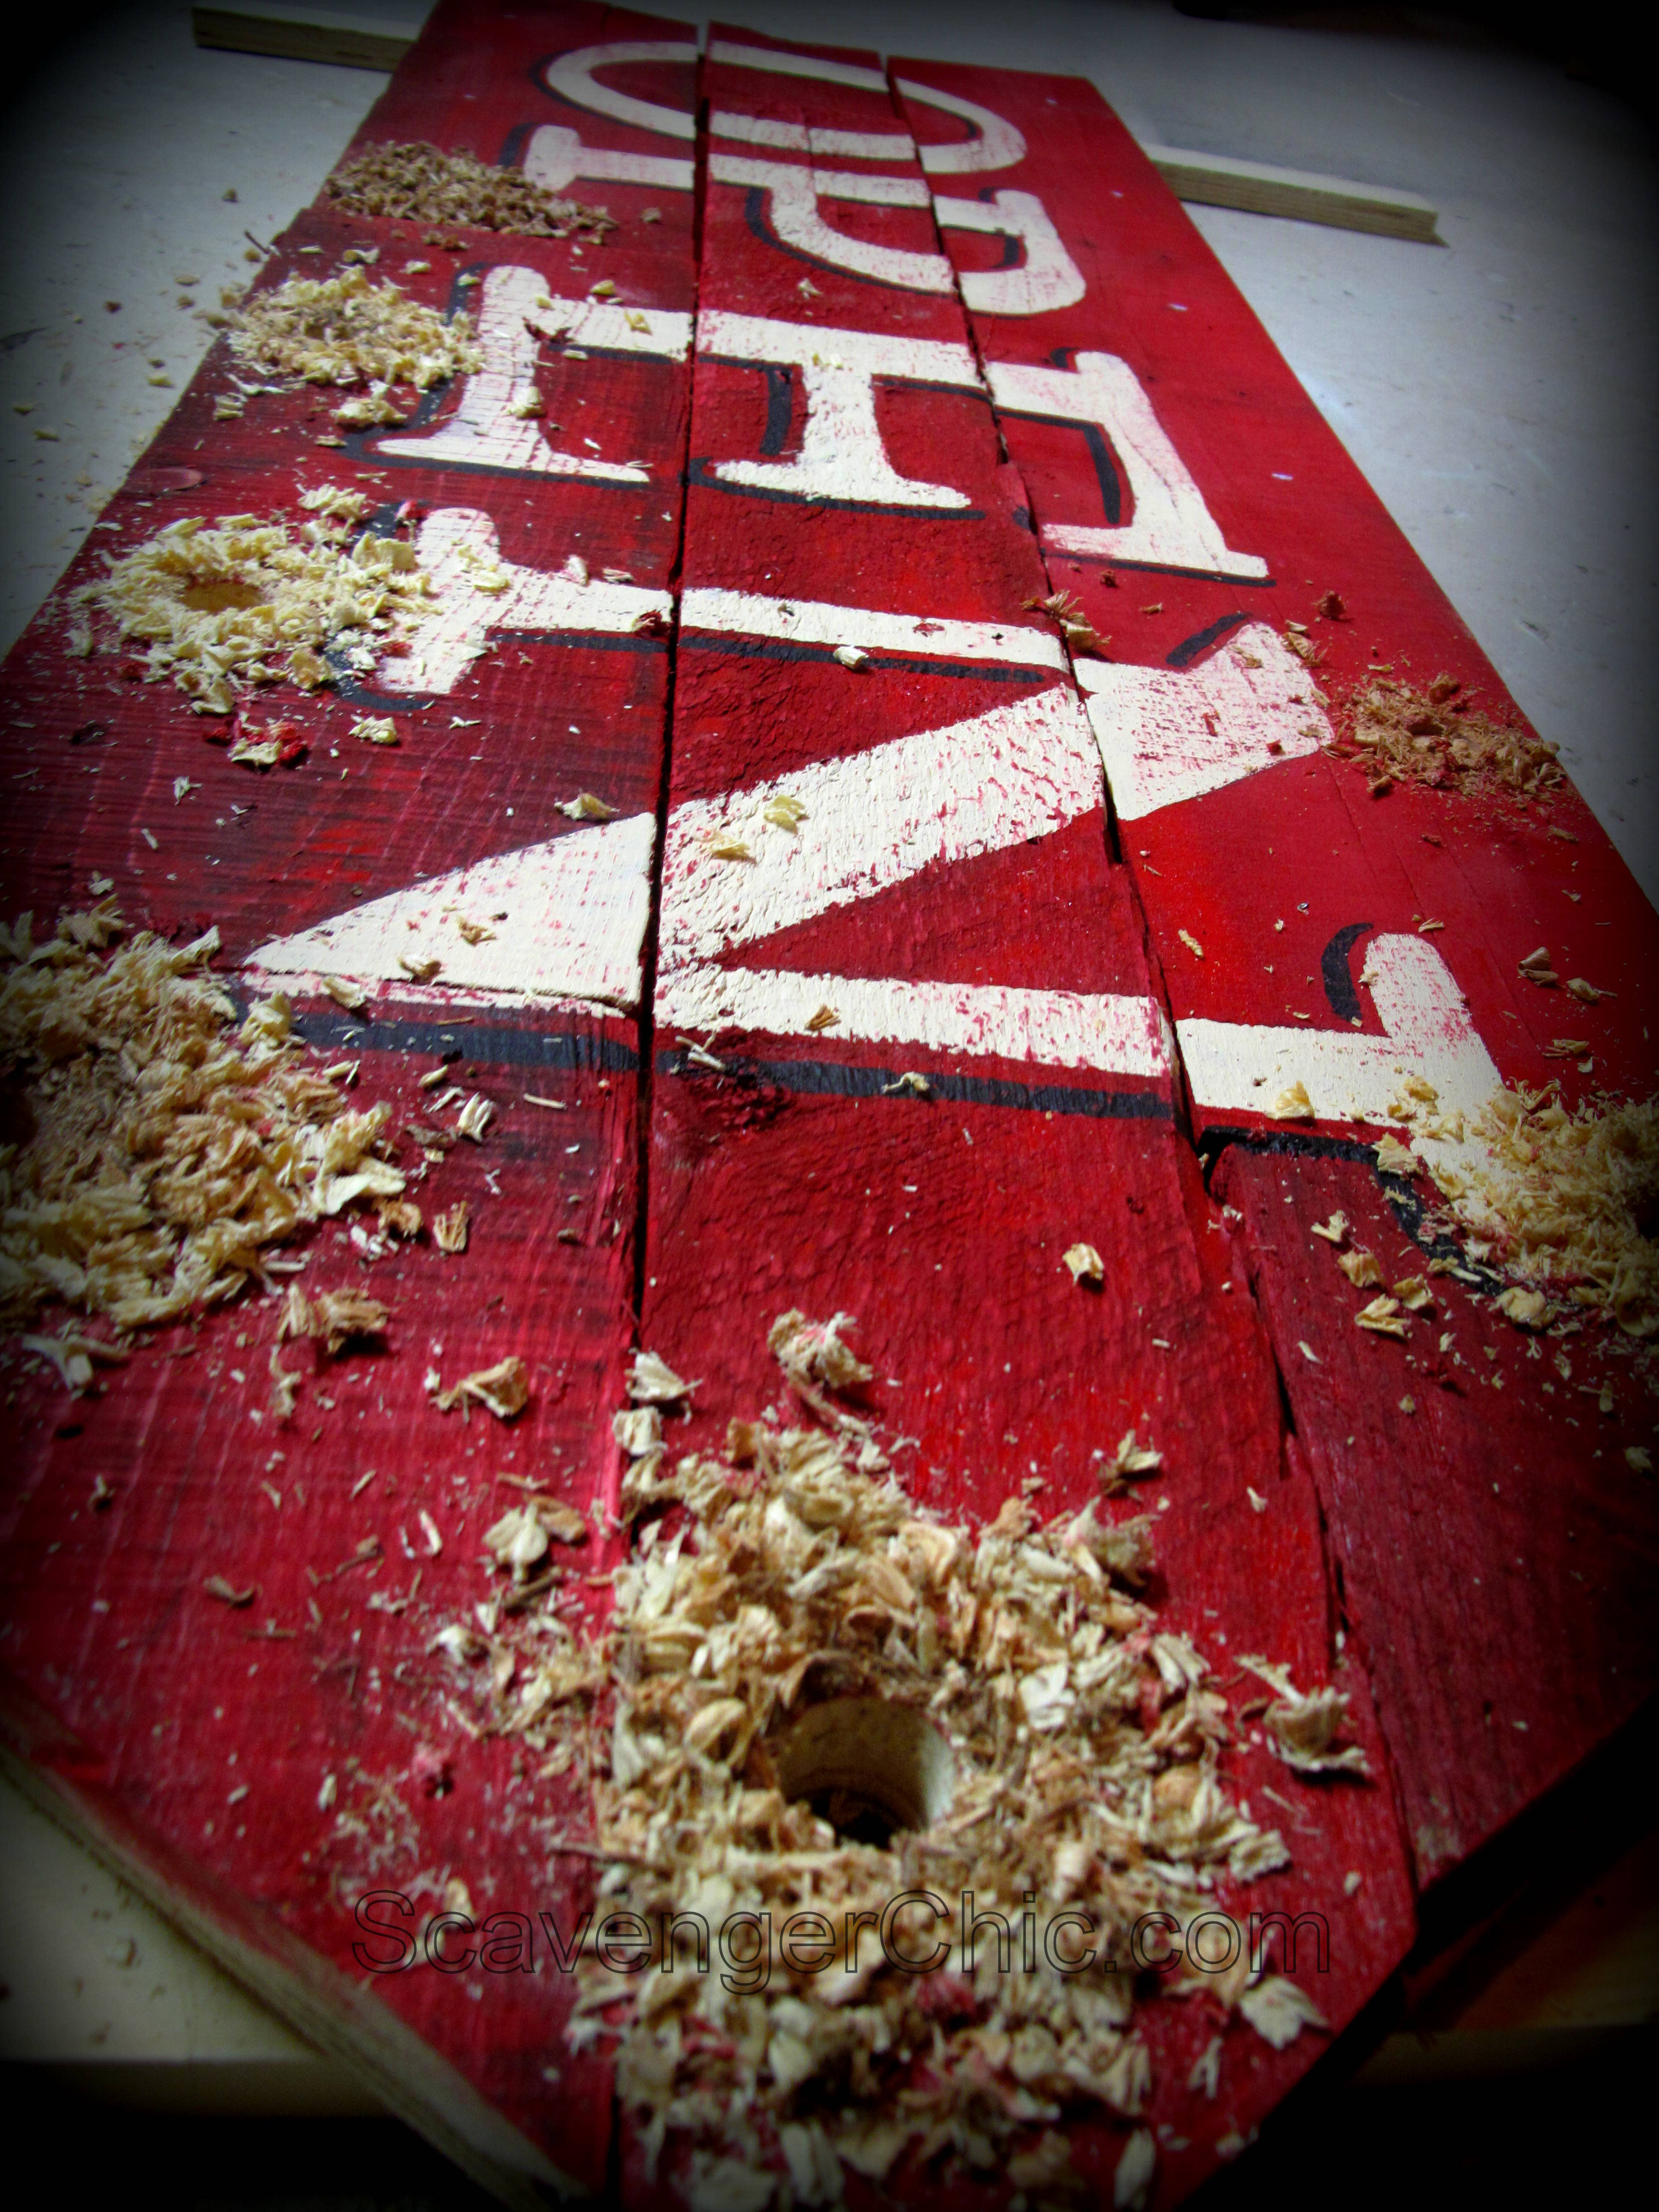
Like my OPEN sign inspiration picture, I added a black line for shadow effect and to give the letters a little depth.

Took a palm sander and sanded over the letters lightly to give a little more of that aged look.
Laid out where I thought the lights should go and adjusted them until they were about even around the entire sign. Marked with chalk and with a 3/4 inch drill bit, I drilled my marked holes.

As you can see, not all my holes are drilled, my battery died so I’m recharging.
Meanwhile, with scraps I had cut off the sides of my arrow, I nailed a ridge around the entire arrow. The ridge was placed outside the line of drilled holes, it will prevent the arrow from sitting on the wires while on the wall.

Battery finished charging and I was able to finish drilling the holes.
With pallet wood I edged the entire sign, this hid all the rough edges.

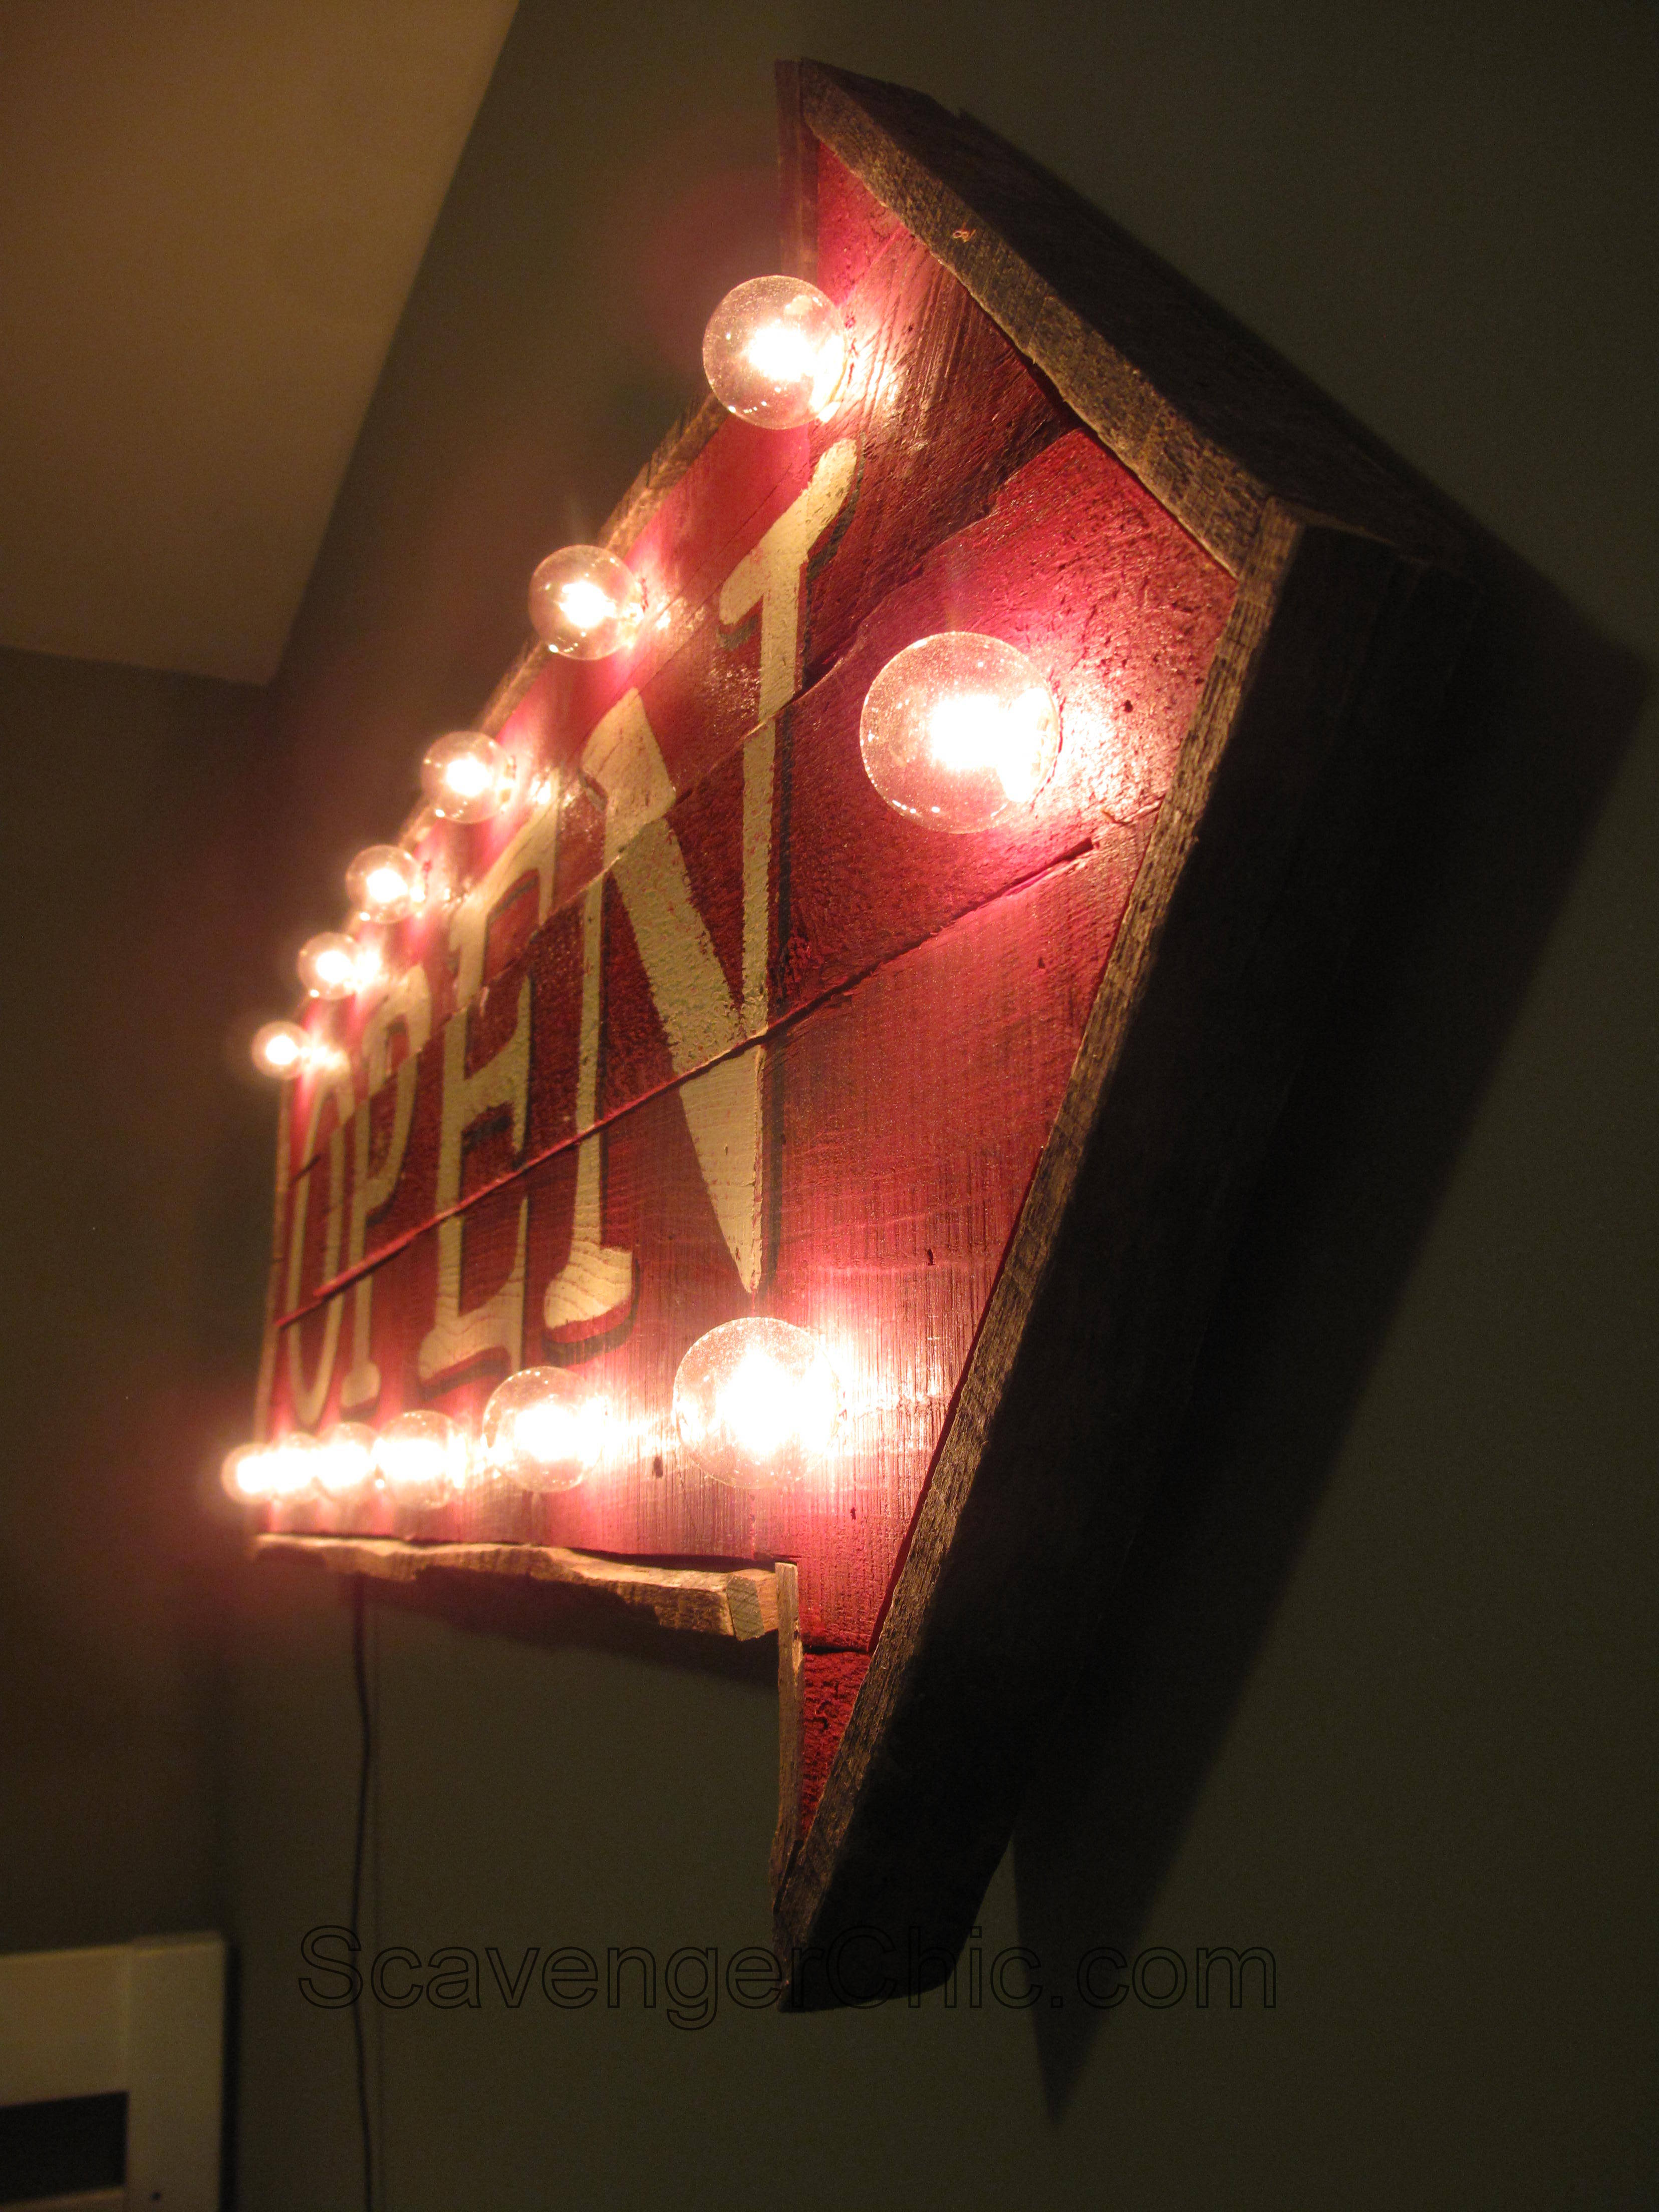
We’re onto the last step. Adding those globe lights. Sockets were pushed all the way into the holes and the wires stapled in place. I was considering adding another layer of plywood to conceal all my wires but I didn’t have a scrap piece large enough. As long as it’s mounted securely on a wall it shouldn’t be needed.


Shared with Catch as Catch Can , Show me Saturday,Inspire me Monday,
Metamorphosis Monday, Inspiration Monday, Best of the Nest, Much ado About Monday,
Show and Share , DIY Showoff, Wow us Wednesdays . Vintage Inspiration Party
Link Party Palooza , Frugal Friday , Feathered Nest Friday, Bewitchin Projects,
Thrifty Decor Chick , Wildly Original Wednesday, Artsy Fartsy Mama, Amaze me Monday and
I was featured at


Discover more from Scavenger Chic
Subscribe to get the latest posts sent to your email.


Super! I love it!
Wow! How cool is that! I want one…hmmm…..
Oh, this is so great! I love the vintage-rustic quality of it, the upycling, and the plain awesomeness. Thanks so much for the step-by-steps. Wonderful idea and fabulous results.
Joan, this sign is so sooooo awesome! I want one! I’ve featured this beauty in this weekend’s Party Junk. Thanks for bringing it over! 🙂
Donna, I did think of you when I was doing this project. What could be better, pallet wood and a sign in 1 project?
Such a cute idea!
Looks awesome! Wanted to personally tell you. Saw you over on FunkyJunk with Donna.
[…] Pallet wood illuminated open sign / Scavenger Chic […]
OMG I am in love with this. Found you on Pink When link up. I have to ask though…did you add a battery pack…or where did you hide the wire to plug it in lol.
It does have an extension cord which was hidden with photo editing. It can be hardwired or just paint the cord the same color as the wall to blend in better. If you look closely you can see the cord on one of the photos.
ohhh my gosh! love, love, love your sign.
catching you this week!
gail
Thanks so much Gail, looking forward to the party!
Absolutely loving it! The prettiest DIY pallet wood sign I’ve seen so far.
xx
Mila
milaslittlethings.com
milawayable@gmail.com
Thanks Mila, It really was a lot of fun to create and goes together rather quickly especially if you have a supply of pallet wood hanging around.
Love the lights you added! Thanks for linking up at Show Me Saturday! Hope to see you there again this week.
I think I have featured you every week! What can I say, love it!!
What can I say, we have the same taste., I was just working on a pallet wood bench and in the back of my mind I’m envisioning your bench. Absolutely love the way you finish your pieces. And of course thank you so much for featuring me.
I love it. I love it. I LOVE IT!
Hey there Joan, just wanted to let you know this is my feature pick on DIY Sunday Showcase!! Come on over and check it out!
You did such an awesome job on this!!
Shelly@Minettesmaze
Thanks Shelly, just got back from your party which of course I had to link up with. I’m thinking we have similar tastes since I love so many of your projects.
[…] Pallet Wood ‘Open’ Sign with Lights from Scavenger Chic […]
[…] how I want to make one of these DIY OPEN marquee sign that Scavenger Chic made. My favorite part is the shadowing of the letters—that gives it […]
Consider me super impressed! I love that you’re a girl who isn’t afraid of power tools 🙂 Your sign turned out amazing – just love it! Thanks for sharing it on Best of the Nest.
Thanks Kris, I love my power tools. I used to sew a bit more, but I find it far easier to rip out a nail that doesn’t go quite straight rather than a seam.
LOVE!
I just found 2 boxes of these lights on clearance in the summer section at Target! Love the detailed instructions-you really made me feel like I can tackle this project! I just shared it on my FB page and thanks for sharing at Handmade Hangout this week:)
xxx
Kim
I always find the hardest part of any project is getting started, the rest just falls into place. Two boxes…I’m seeing great things.
[…] would love this sign from Scavenger Chic in my entryway. She shared so many great tips and detailed instructions so you CAN make your […]
This is great! My son has been taking apart pallets for the last several days. This is a project just right for him! Thanks so much for sharing.
Taking apart pallets is the hard part. I know you’ll have fun with this project.
I can see several of this arrow being made. Hope I can find the lights. How lucky for one commentor to find two sets of them on clearance. Might not get to make mine til it warms up again as we don’t have basement or garage to work in, gets bit cold for hubs to be working outside. Will be project to look forward to. I’ll get the lights before tho so will have them handy at right time. This is such a great project, love, love it. Can be made for other words also, very versatile.
So glad you shared this now. We have lots of pallets and always on lookout for more. Yeah taking apart the pallets is hardest part but worth it to make incredible project with free wood. We’ve made lots of furniture with pallet wood. Have a rugged patio coffee table for one. Now that we have a camera we can put items on etsy or facebook to sell.
Really looking forward to making this “open” arrow, fantastic project.
Enjoy creating in this happy fun time of year.
LOVE THIS!! What a neat idea!! 🙂
This is just AWESOME!!! I LOVE it!!! pinned.
I am SO making this! any extra pallet wood you want to donate to me? LOL
Nice job!!
I sure hope you added an electrical end cap to replace the electrical wire. Especially, if you are making these for someone’s home.
[…] you’re running a bistro or just want this in your room, pallets will open up your imagination for more. Joan from Scavenger Chic once again shows us how she did […]
[…] https://scavengerchic.com/2014/10/22/pallet-wood-open-sign-with-lights-diy/ […]
[…] guide is all you need, so what are you waiting […]
[…] guide is all you need, so what are you waiting […]
[…] guide is all you need, so what are you waiting […]
[…] guide is all you need, so what are you waiting […]
[…] guide is all you need, so what are you waiting […]
[…] guide is all you need, so what are you waiting […]
[…] guide is all you need, so what are you waiting […]