

Recycled Post Lamp
- By Joan
- July 26, 2014
- 4 Comments
DIY Upcycled Wooden Post Lamp
Recently I’ve been updating my living room. It was mostly done but in dire need of lamps. I shopped all of my normal spots for lamps, Home Goods, Target, JC Penney …but no one had exactly what I was looking for. It wasn’t until I was browsing around my local antique store that I spied my target, a beautiful old post with just the right amount of flaky paint. It was a little expensive but considering I was cutting it in half , the per lamp cost was cut in half.

Once you have your post , now you’ll have to cut it to the size you want. My lamp posts are nearly 17 inches high. Several inches had to be chopped off the bottom where the post had started to rot. You would think this would be the easy part, but my chop saw only opens to about 4 inches and this post was about 5. Luckily my brother Steve has a larger saw so I lugged my post to his house.
A few chops later I had the correct size but I still needed to drill a hole 17 inches, a little long for my normal 5 inch drill bit. Luckily my brother also had an industrial length drill bit. Borrowed that, and I was on my way. Best size for the hole is 3/8″

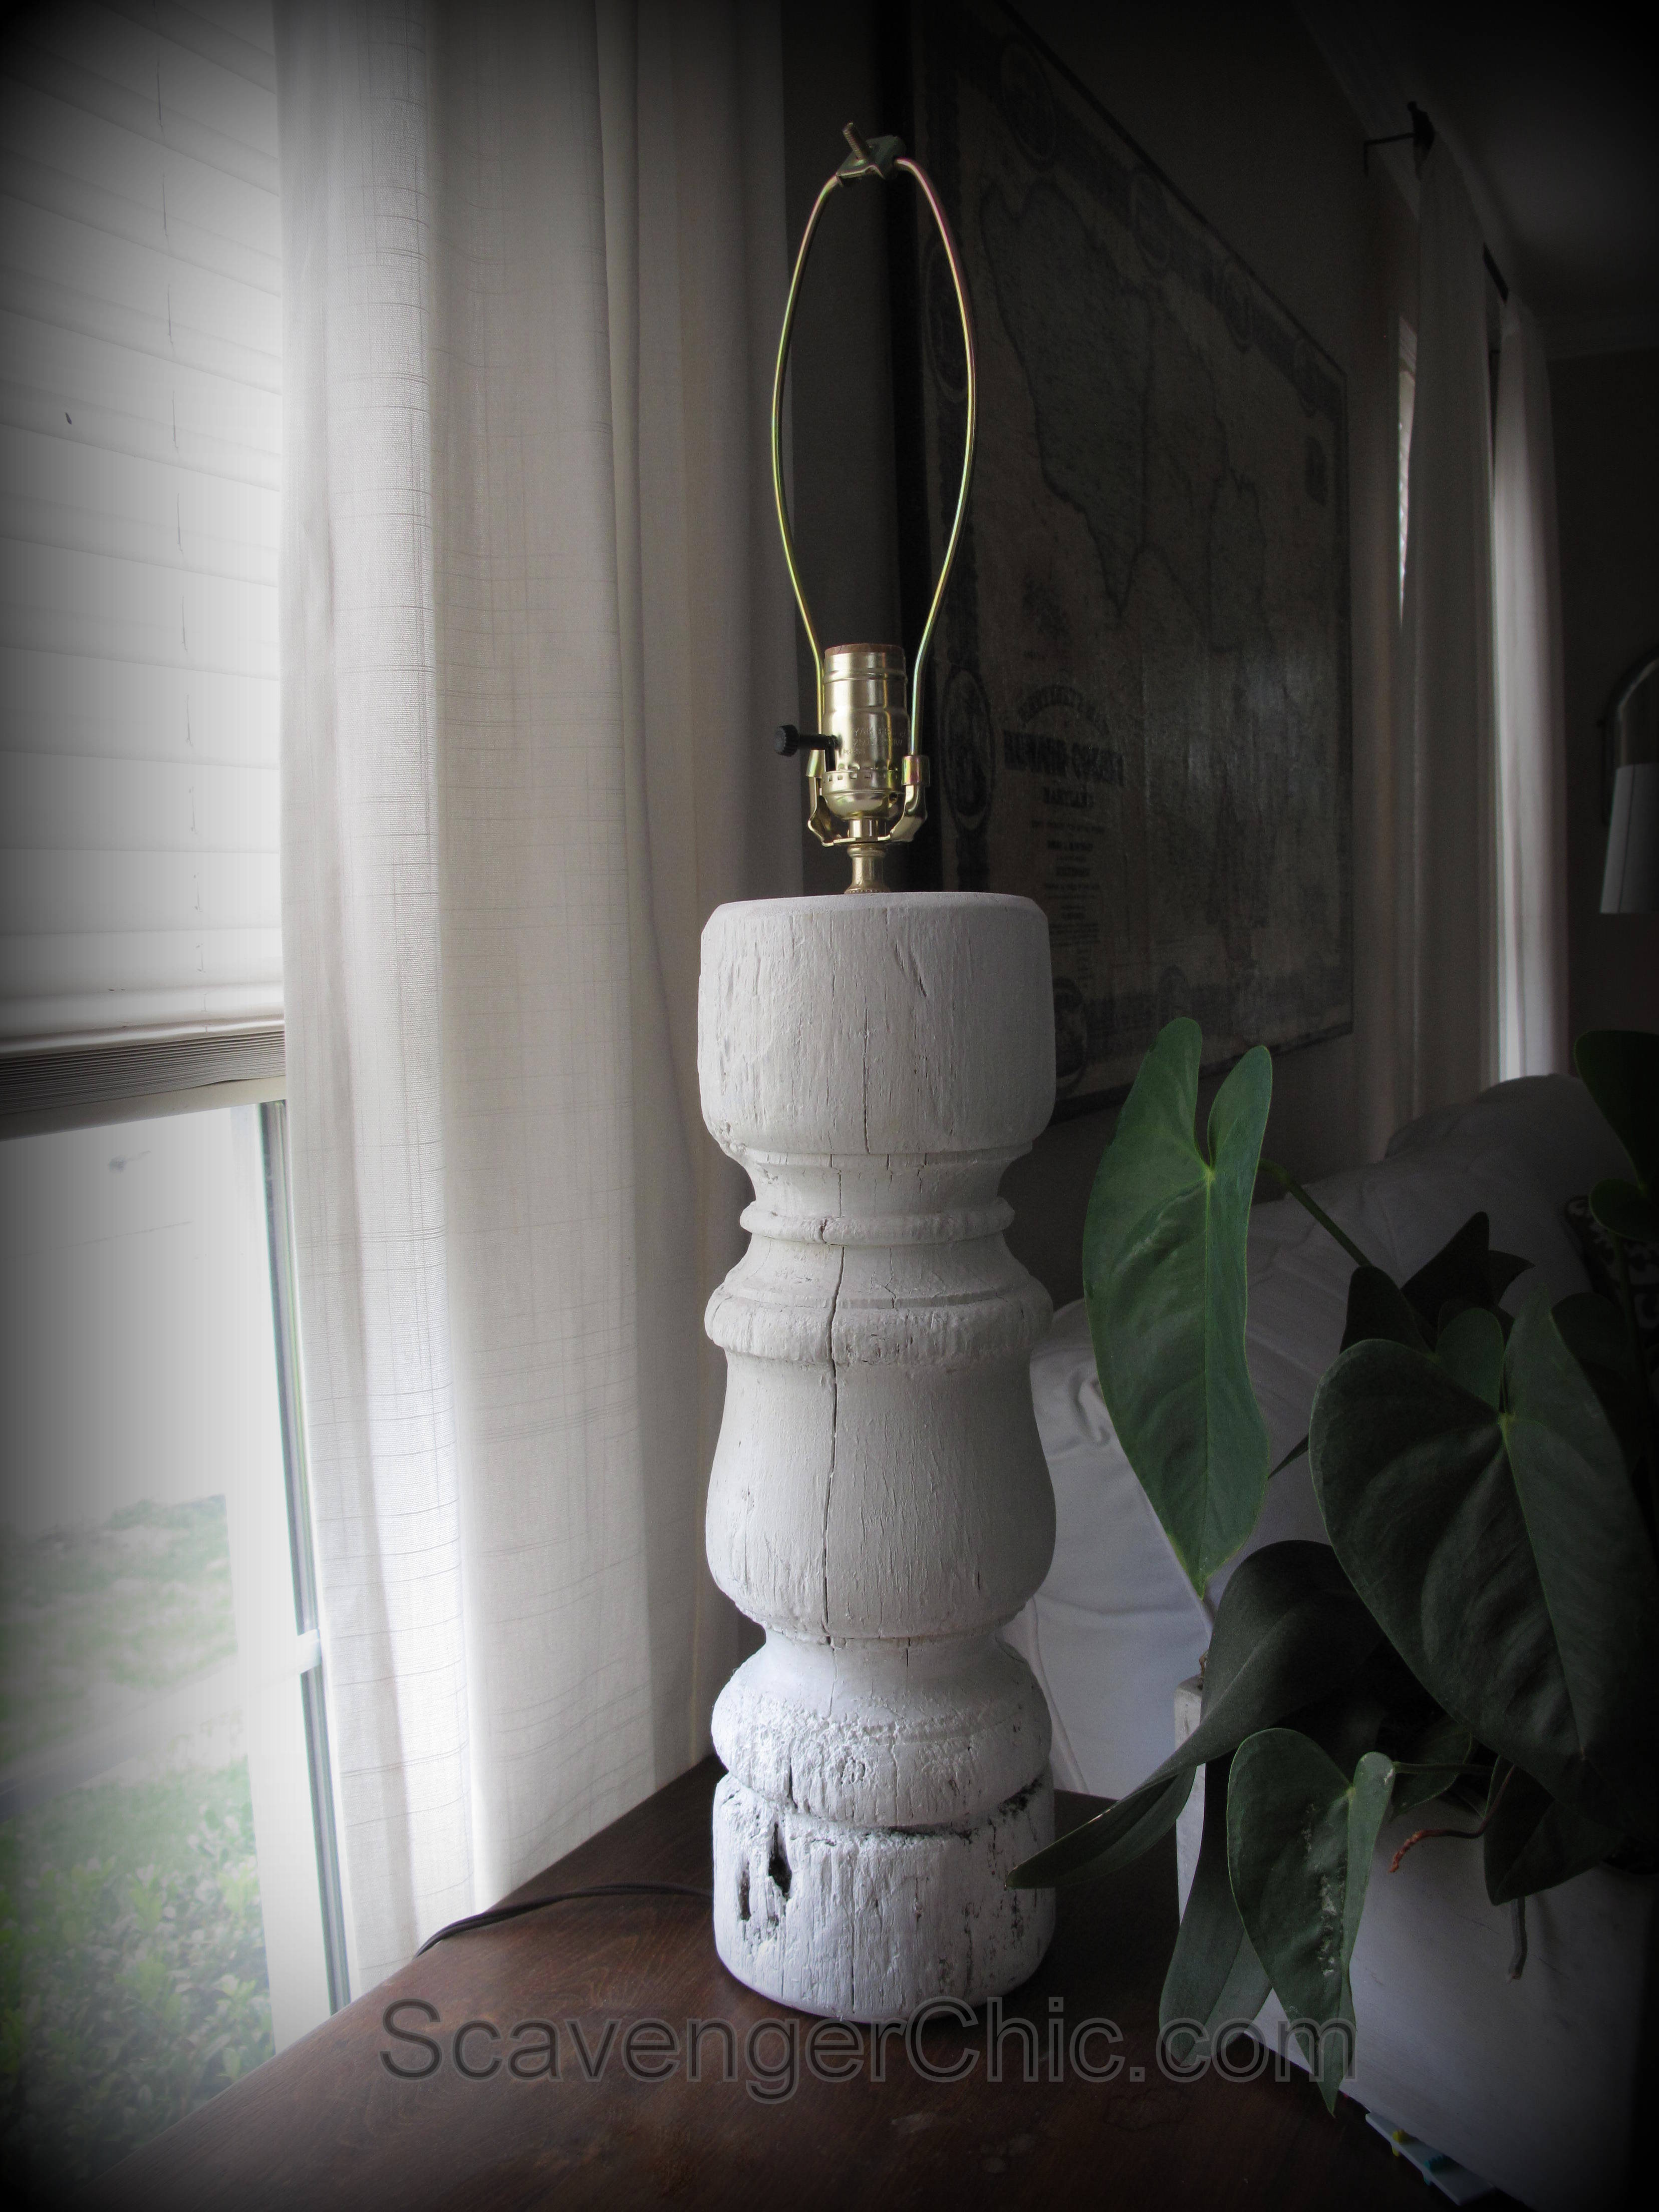
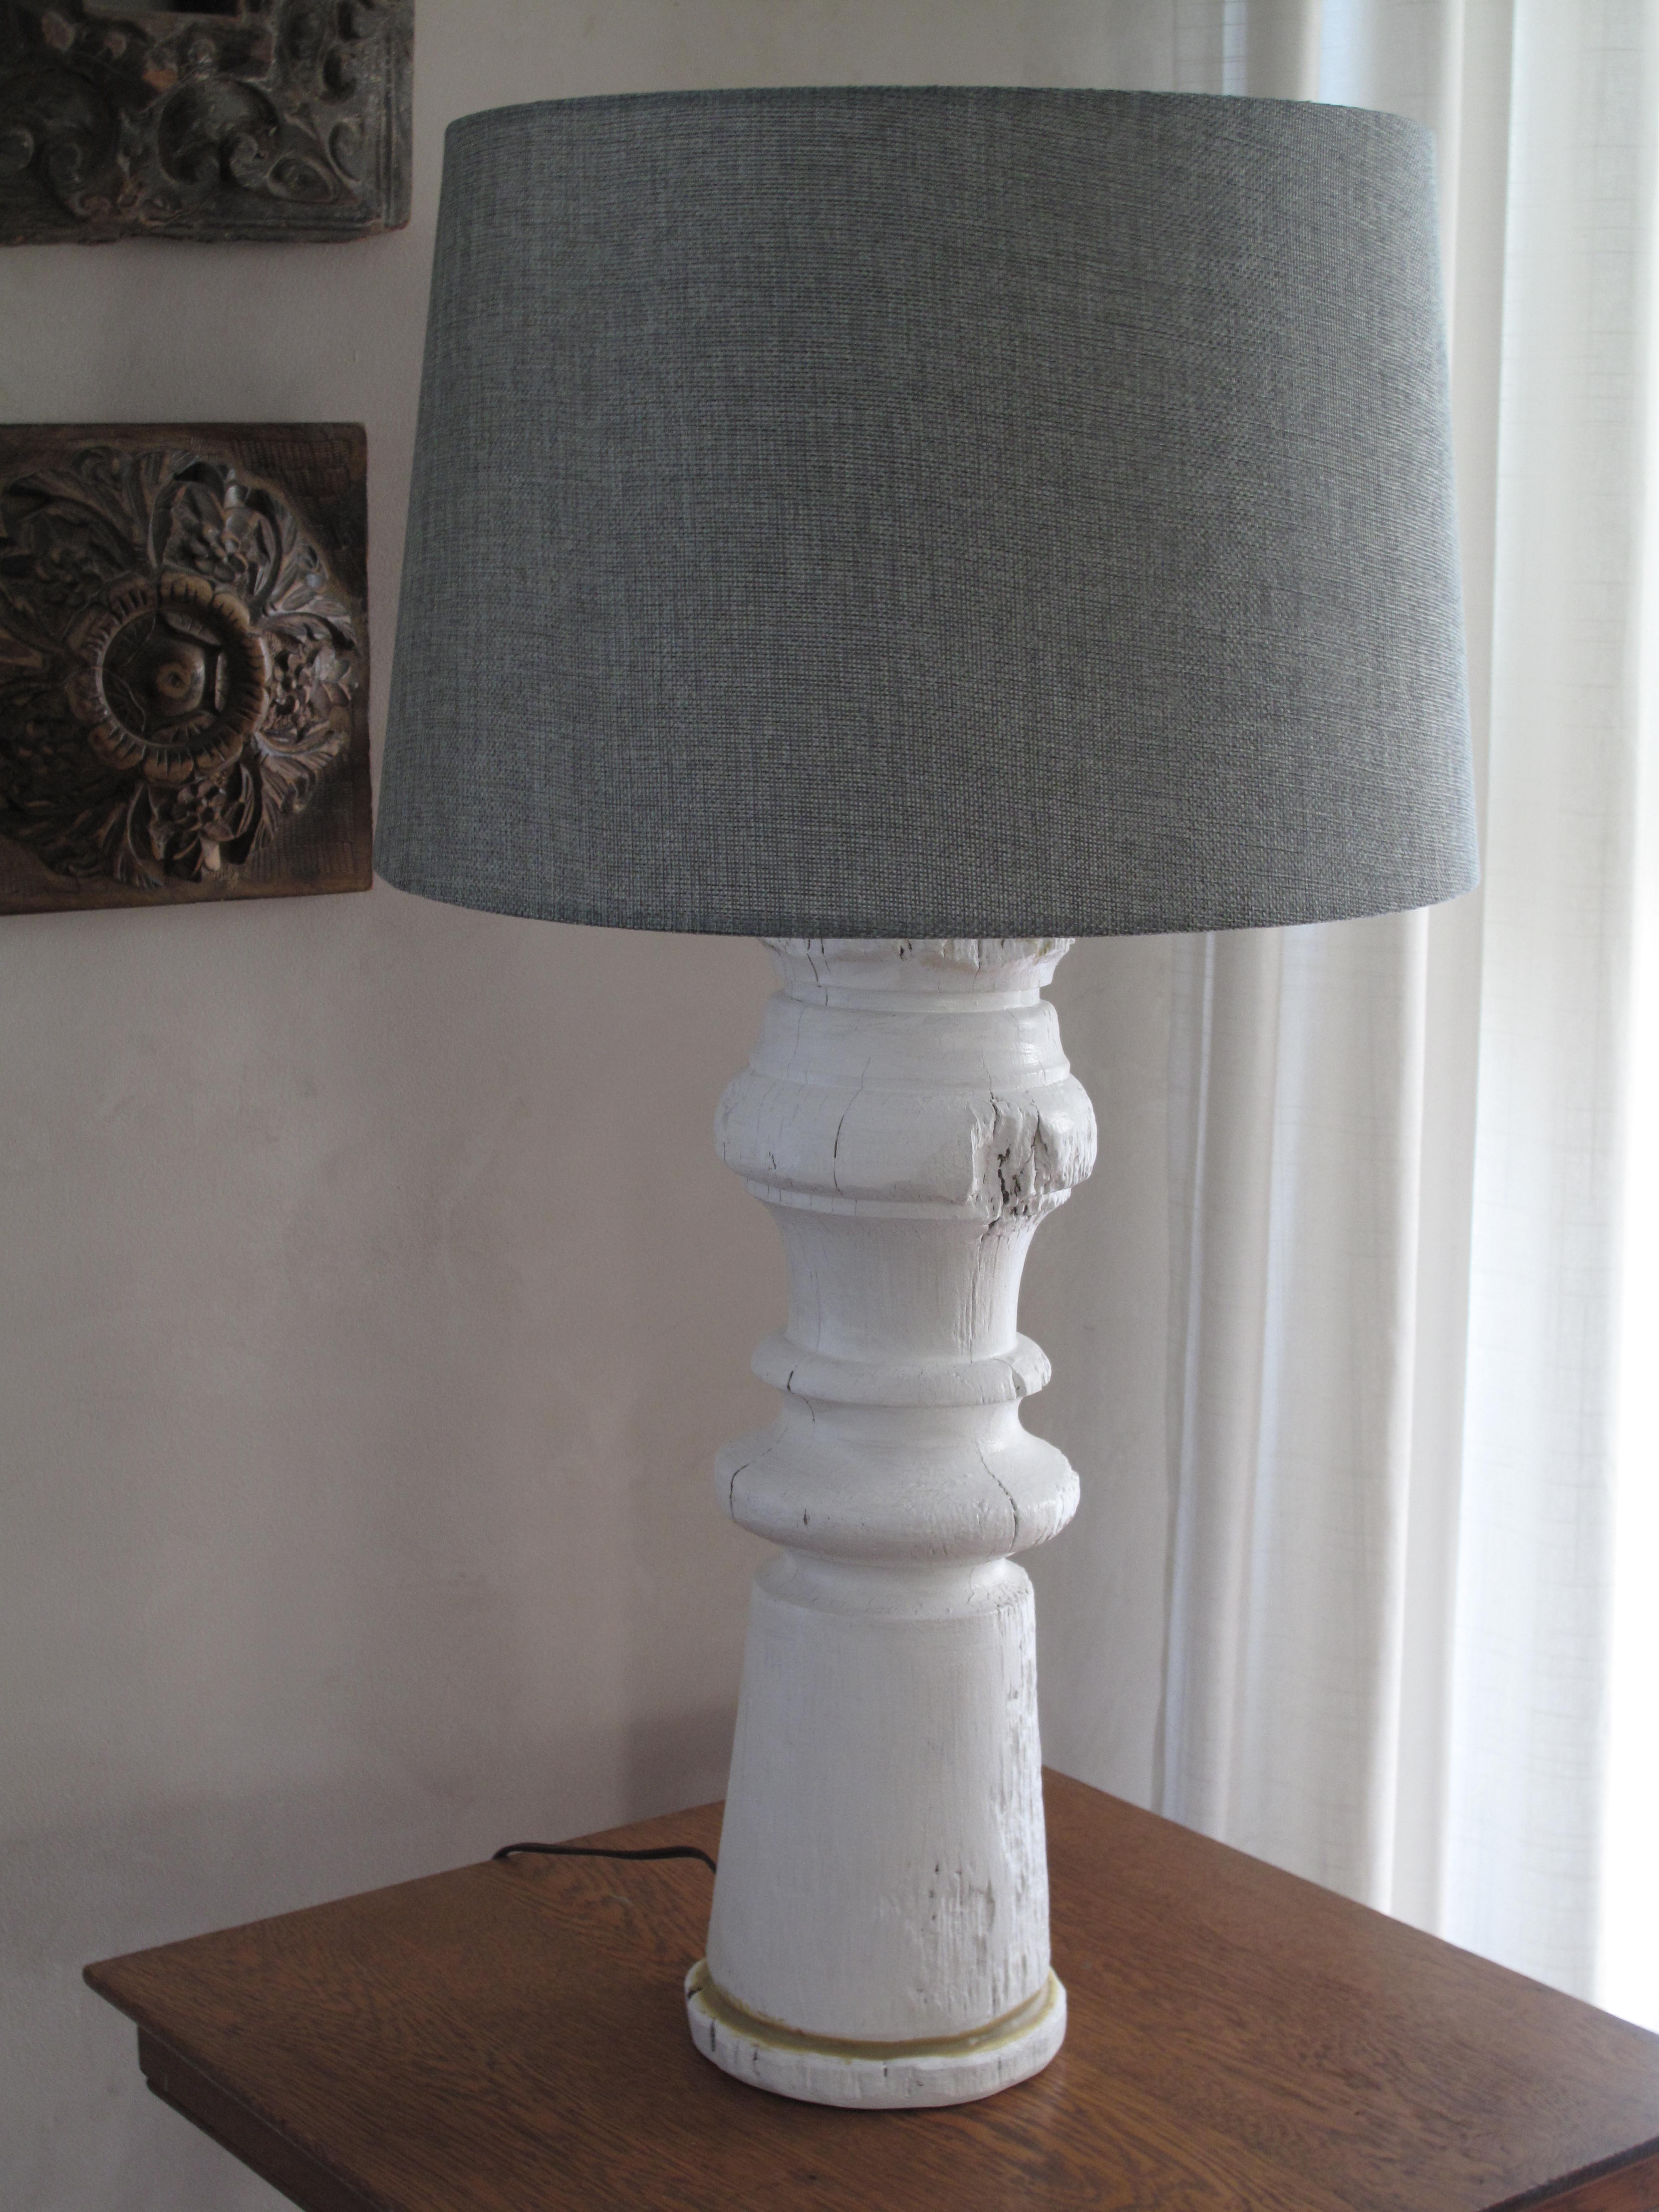
After hole drilling I got out my palm sander and softened up all the hard edges created by the saw. Could have used hand sandpaper but a palm sander is a lot easier and the job is done in minutes. Paint is the nest step. I chose white semi-gloss, not only would it match my room but I already had some on hand from trim paint. I may have left them the natural white that they were if the one on the left didn’t have the funky bottom. Even so, I painted lightly making sure I didn’t get into every crack and to let the natural age of the posts show through.
Last step before wiring, add a crevice in the bottom of your lamp where the wire can go and so your lamp can sit flat against the table. I did this with a handheld circular saw. The one on the left below shows the two cuts needed, and the one on the right has the ridge knocked out and ready for the wire.


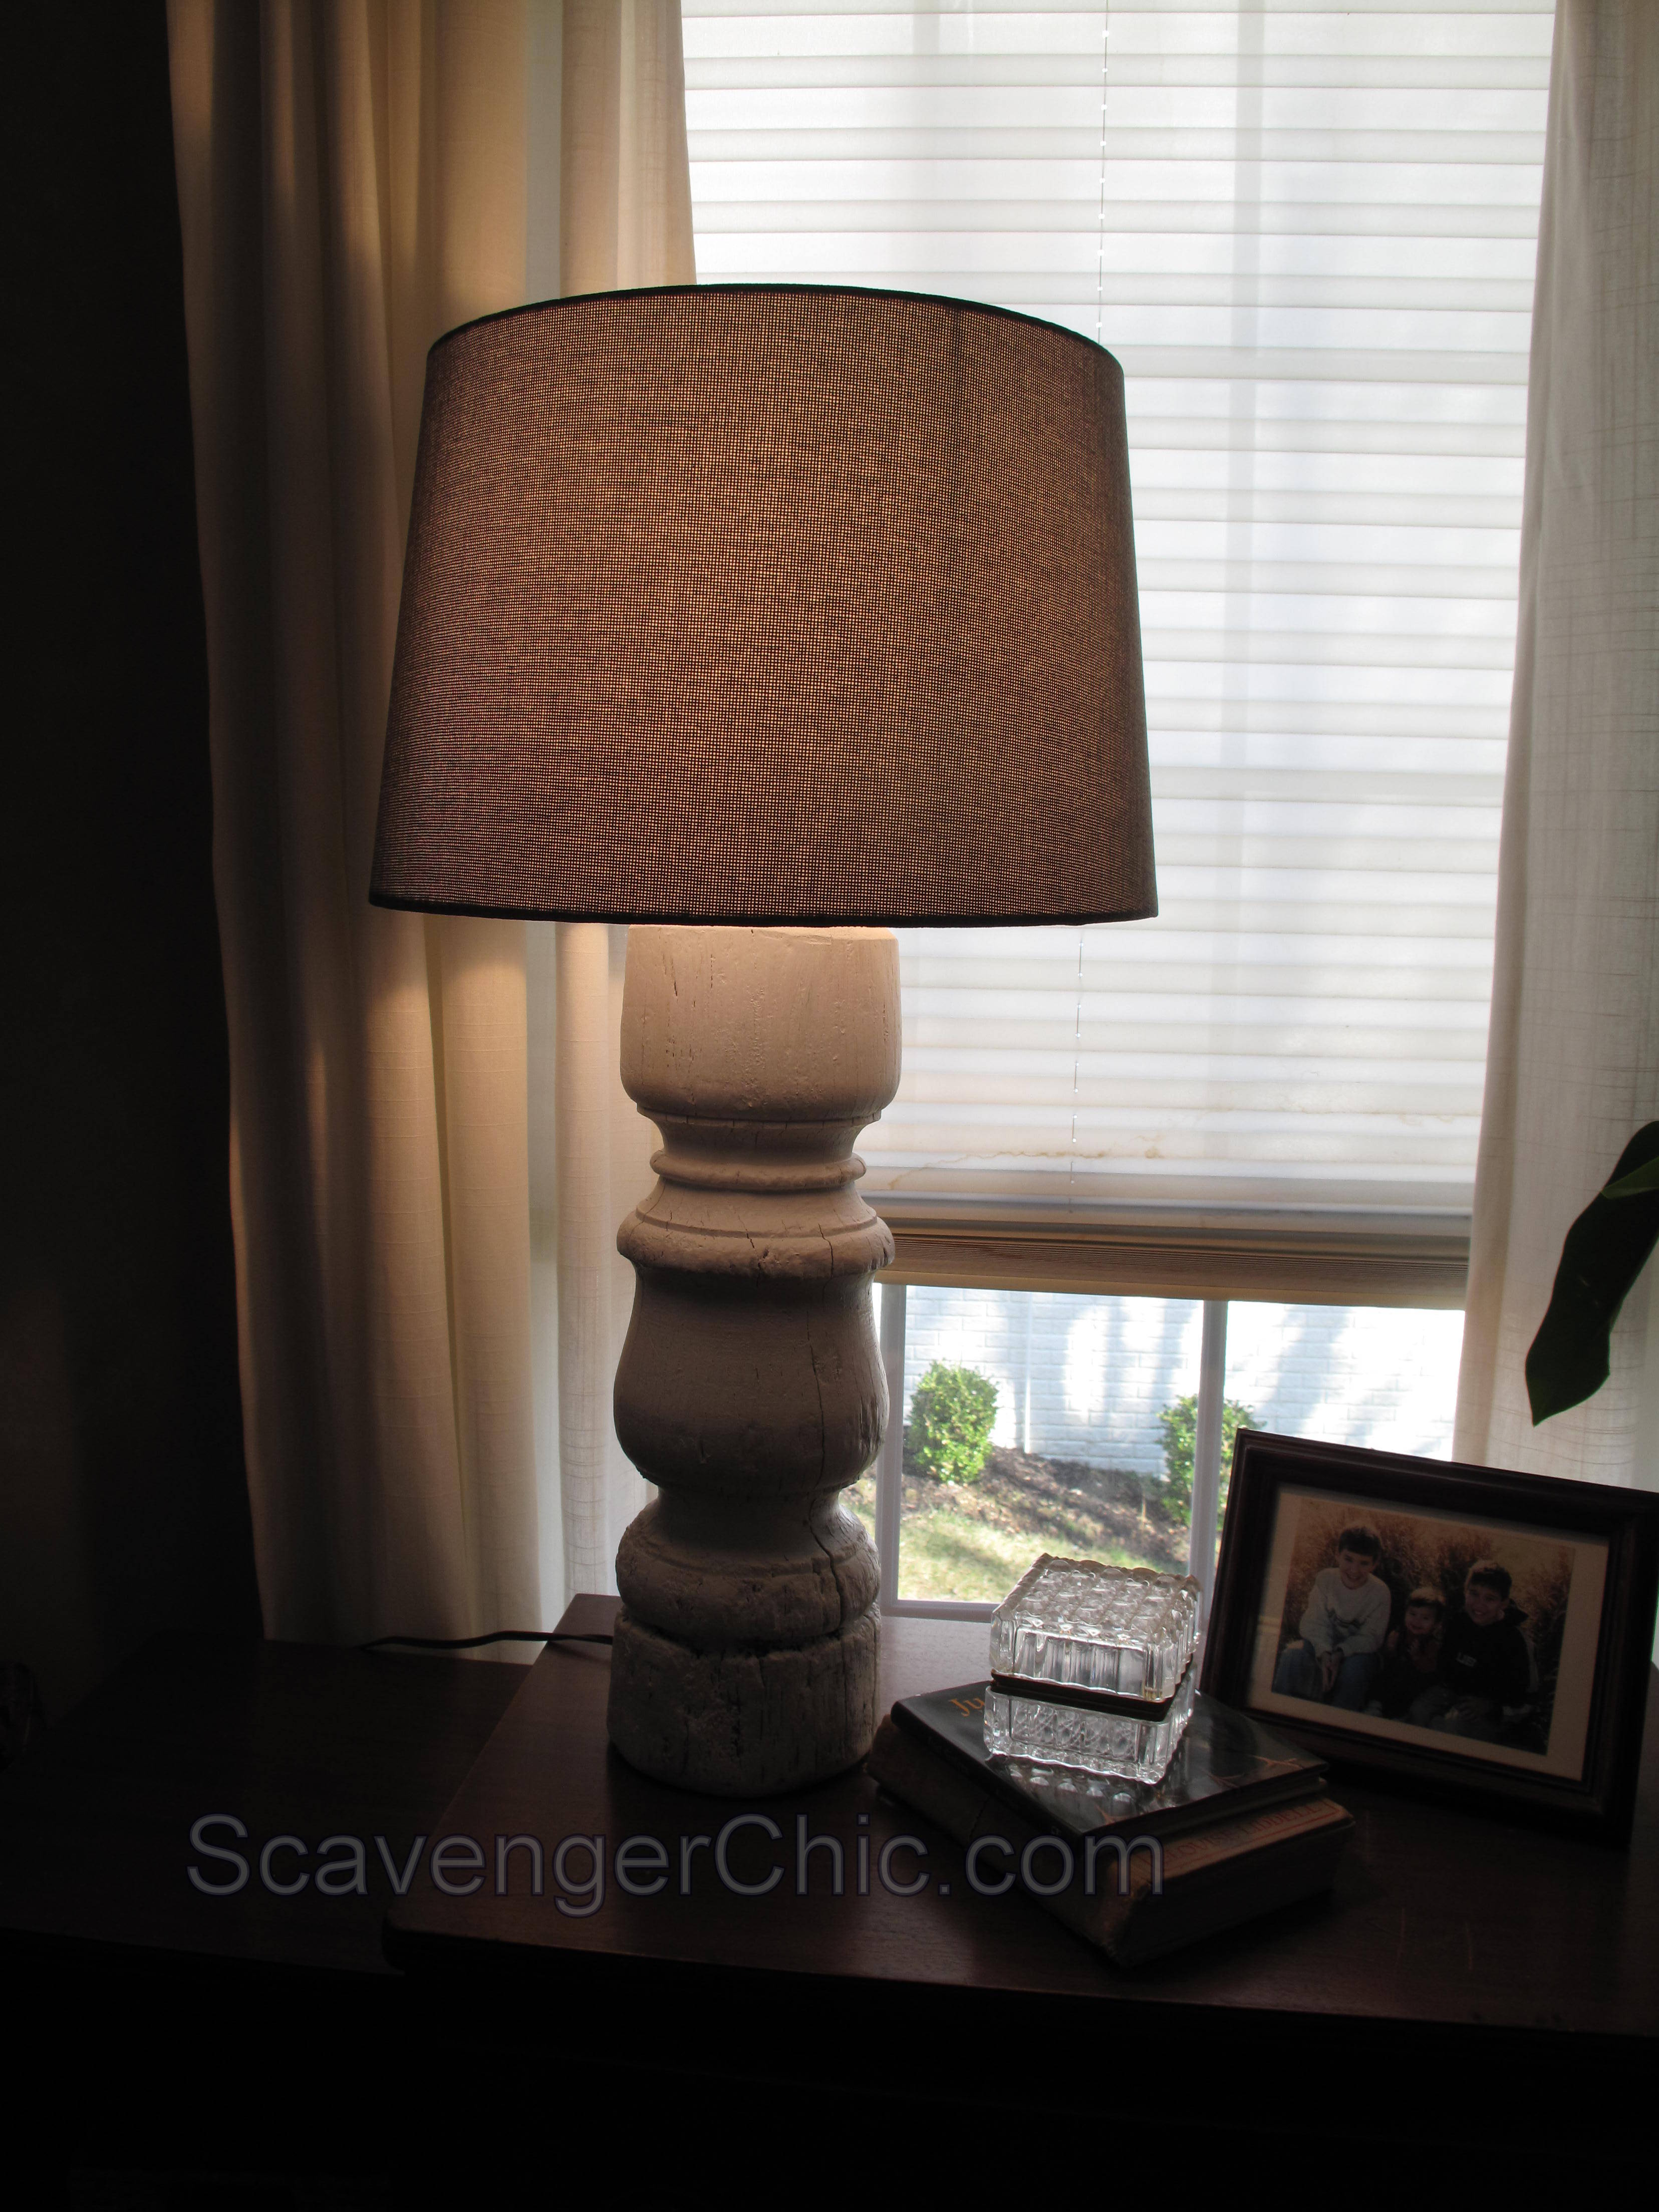
You’re ready for wiring. You can find a wiring kit at any home improvement store. For this lampshade I ended up not needing the harp (the squiggly wire thingy) but I did need a nipple (the tube in the other package). Walmarts lamp fixins were cheaper but I only found that out after I had bought mine. Follow the instructions on the package for wiring and you’re done. Or if you like pictures with your instructions you can view my post on how to wire a homemade lamp here.
I put my lamp in a bag and trudged on over to Target to pick out the perfect shade.
Posted at Funky Junk Interiors Salvaged Summer Decorating 8/29. Visit her site here.,
Coastal Charm Show and Tell , Awesome Things Tuesday , Vintage Inspiration Party and at


 Copyright © 2024
Love it. Love the shade too. Really nice job.Wish there were a photo of the finished lamp without the lampshade so I could see what the final assembly looks like.
I’ll try to get one posted today. I’m glad you like it.
Picture posted, hope it helps.
Excellent DIY projects.