

Ironing Board Cabinet diy part 1
- By Joan
- July 6, 2015
- 3 Comments

I was thinking the other day,that I would love to have a built in ironing board cabinet. Wouldn’t it be great to have an ironing board that just folds down from the wall and was ready to use whenever you are? I have already moved my ironing upstairs , from the laundry room into my sons old room, but doesn’t a fold down ironing board sound really handy?

This is where my ironing board used to hang in the laundry room. However, after changing out the cabinets and adding a new countertop, I was ready for a new look…he got kicked out.
So. I started pricing fold down ironing boards. You’ve got to be kidding me…$140 on the low end to $329 on the high end. I didn’t want one that bad, besides, I didn’t want a plain cabinet just sitting on the wall. I also didn’t want to be stuck in one spot to do my ironing. Forever more, I would have to do all my ironing just standing and staring at one plain old ugly wall.
Part of the problem is, that I usually let my ironing back up at least two weeks (maybe even three or four) and by then I have a lot. So, I’ll haul the iron and ironing board out…and usually I’ll haul it out to a place that has a tv.
The more I thought about it, the less appealing the pull down ironing board became. My pull down ironing board cabinet was morphing into just a cabinet to store my ironing board.
In the meantime, while I’m still pondering, I found great instructions for a pull down ironing board here from A Little Tipsy. And I also found plans for an ironing board cabinet here. It’s from Kreg Jig, a little heavy on the hidden screws but a really nice design.
If you like either of those designs you can stop reading, my feelings won’t be hurt, I liked them too.

So here he is, my ironing board, propped up against the wall where I envision my new cabinet to go. Plenty of room.
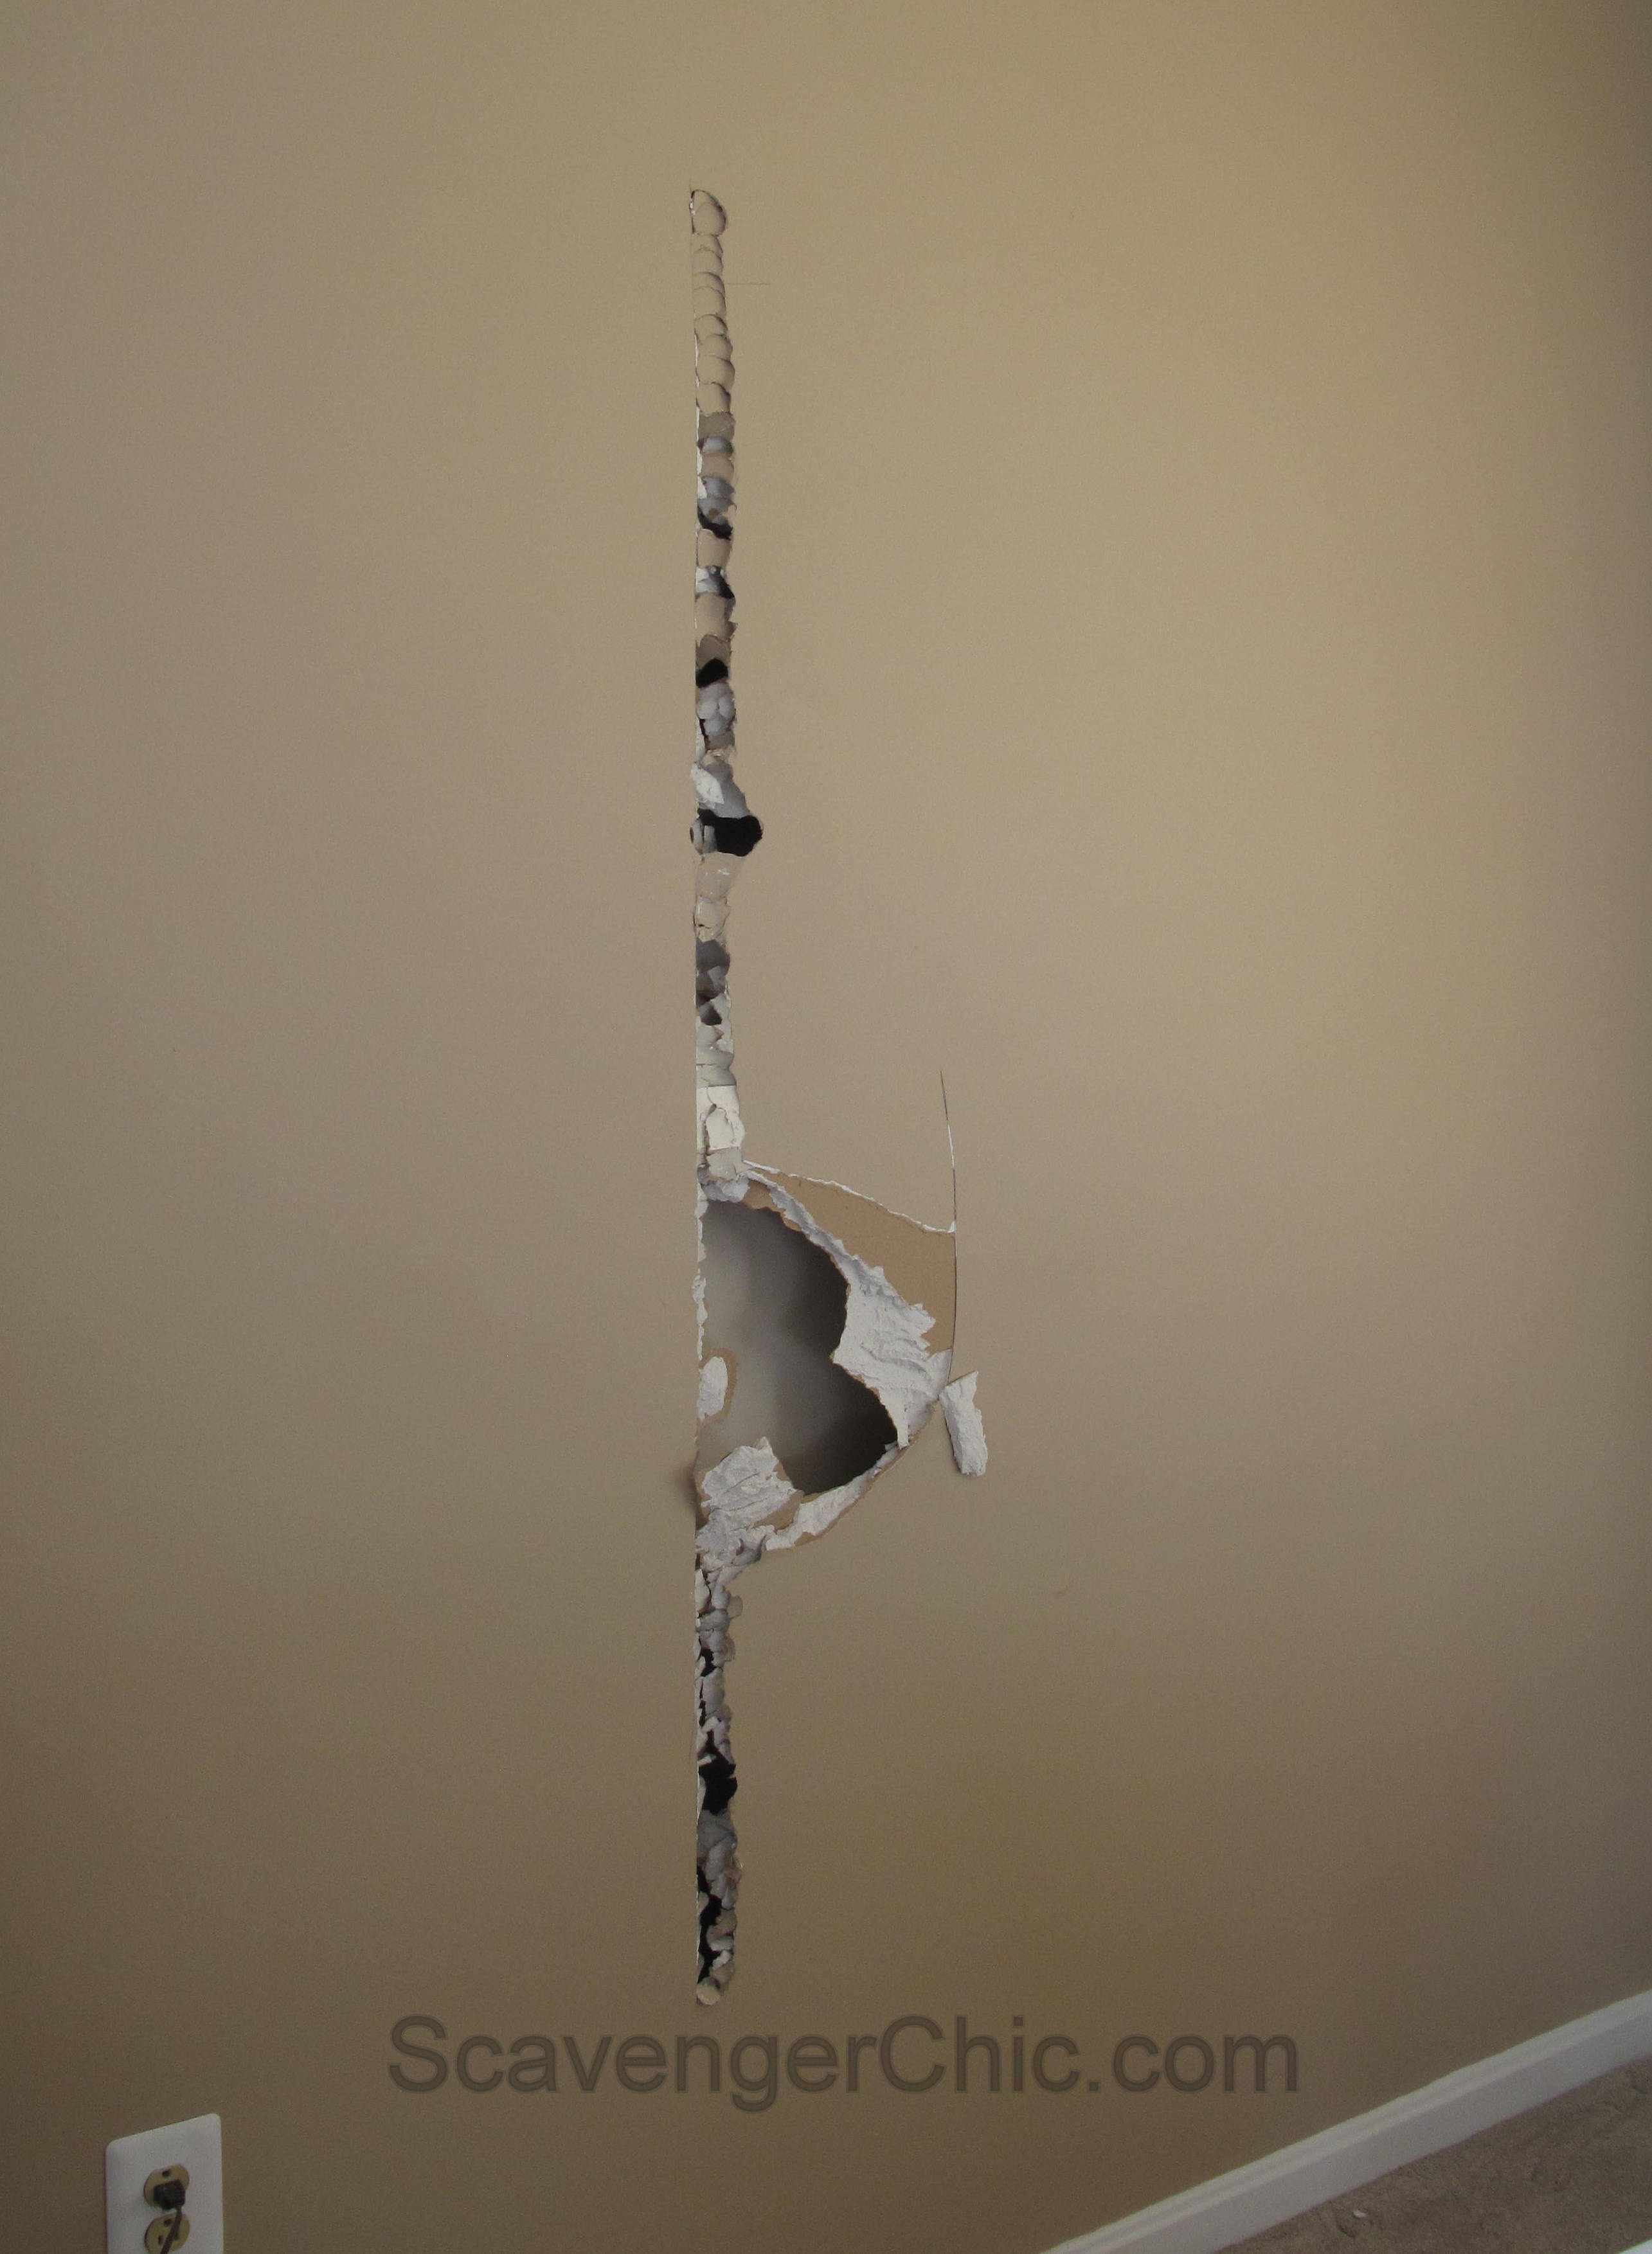
After measuring my ironing board’s width and length , adding a couple of inches, the destruction began. My ironing board measured 15″x 57″. My hole measured 22″ x 62″.
A couple of things to note:
- I was working on a drywall and stud wall. If you are working on a plaster and lathe wall, you can still make the cabinet but it won’t be recessed.
- If you are working on an interior wall, when you remove the stud (2 x4) in the middle of your hole it will mess up the drywall on the opposite side of the wall. You either have to be prepared with spackle and touch up paint or use an exterior wall.
- When you take out your wallboard, mark your opening first with pencil then use a exacto knife or utility knife to score your lines so that the cuts are clean.
- Lastly, make one side of your cabinet flush against the side of an existing 2×4.
I hope I remembered everything. If you’re still with me, go ahead and make your hole.

After making sure your ironing board fits into it’s new home. Finish studding out the wall, making sure you have a 2 x 4 on all sides of your opening. Because studs are usually placed every 16″ on center and the cabinet is wider than 16″, that middle stud will have to move over. Mine was cut out with a reciprocating saw.
If you can get past this stage, you’re home free. I thought this step was the hardest part.

Measure your opening again and cut 1 x 4 pine to fit. Nail or screw your corners.

Now is a good time to make sure that the frame fits into the opening and that the ironing board fits into the frame.
Notice an electrical wire near the bottom of my cabinet. I could either have that wire rerouted or just not recess my cabinet all the way since the wire has some give. I chose to just not recess the cabinet all the way.

Now for the back of the cabinet. What I really wanted was some cool corrugated metal, but I didn’t have a big enough piece. Surprise, surprise, I ended up using some leftover pallet wood.

Once the pallet wood was all cut to size, they were nailed into place.

Now, I’ve been showing you a ironing board cabinet, but this cabinet would also make a great nook for collectibles. If you decide to go that way, now would be a great time to add shelves. Just cut the boards to length and nail from the outside.
Another use for the cabinet would be a fantastic jewelry cabinet. Just add a bunch of hooks for necklaces and bracelets, or some mesh for earrings.

Back to the project at hand. The cabinet was given a couple of coats of semi-gloss interior trim paint.

The cabinet was now reinserted back into it’s hole and nailed into position. Notice how mine sticks out an inch, that’s to allow for the electrical wire.

Used 1 x 2 pine, mitered at the corners to finish out the cabinet and to hide the rough edges of drywall.
Holes were filled and sanded with nail putty and a paintable caulk in the cracks. Touched up with paint to finish the cabinet.
That’s part 1. It still needs a door to hide the board, that’s part 2. Check back later this week, when I’ll show you how to convert any picture, to be your new door on your ironing board cabinet.


 Copyright © 2024
This is awesome! I love the pallet board back. I can envision doing one in our closet, with a mirror as the door. Great project – thank you so much for sharing!
I like the idea of a mirror door. You can get a cheap full length mirror and frame it out so it only looks expensive. Great way to hide an ugly ironing board.
Kudos on making a big project and simplifying it .I love the reclaimed back. I’ll have to give this a try one day.