

Wayfair Inspired Driftwood Tree diy
- By Joan
- May 18, 2015
- 11 Comments

Ever since August, I’ve been on the hunt for driftwood ,and while I’ve gotten a few pieces of genuine, smoothed by the tides, washed up on the shore pieces of wood. Most of my wood was mostly, aged by the rain, near a body of water, sticks that the bark has fallen off. So, I call this a driftwood tree because “Aged by the rain, near a body of water, sticks the bark has fallen off tree” would have been too long.
My point is, even if you don’t have genuine driftwood, you can still make this tree.
When I first started to collect driftwood, a driftwood tree was actually the project I had in mind. I sort of got distracted and made a driftwood wreath first, and then I got inspired to do a driftwood hurricane lamp.
The problem with making the wreath and hurricane lamp first was, I ran out of wood.
Not to be deterred by a the little problem of running out of wood, I talked my husband and youngest son into taking me back to the reservoir where I had found most of my other wood on Mother’s Day. They couldn’t deny me my one wish on Mother’s Day after all. It was a great little hike on a beautiful day and we gathered up enough sticks to build a “driftwood” tree.
That’s almost the end of my driftwood story except to say, when I went to get the wood out of my trunk the next day, ants were crawling all over my backpack. It seems a couple of the pieces of wood we had picked up were home to a couple hundred ants. Ooops. After a bit of banging the wood on the ground, I was able to convince the ants to give up their homes. The two pieces of wood that were the main suspect ant houses stayed outside.

I love driftwood trees and over the past few months I’ve spotted a few in gift shops and online, like this one from Wayfair, but the cost has always been a little prohibitive. My first thought is, I could make that…how hard could that be? And that is why my hunt for driftwood all started.

The pot was from my son, Keith, part of his, what can you make out of this stuff birthday present last year.
The pot in the upper left corner is what I started out with. A strange little pot with “Everybody needs water” written all over it in Braille. Why, yes they do, but why write that over and over again on a pot in Braille, kind of odd. Think about it, if someone is blind, and they think they are going to read something really interesting, how disappointing to find the same slogan written a bunch of times.
A pot is a pot, and the Braille gave this pot a unique texture. The silver gold didn’t go with the rustic, worn feeling of driftwood, so this pot needed a paint job.
Started with a layer of charcoal paint, covered with a layer of white paint, lightly sanded and finished with a coat of tinted wax.

To get my tree trunk, a straight stick, pointed at the top, was set in plaster of paris.
My husband pointed out, that I didn’t have a picture of the pointed top of my stick. Sorry, I didn’t get a good picture, so you’ll just have to take my word for it. It was pointy.

To my tree trunk, I applied a bunch of sticks to just give the tree a cone shaped inner form. These were nailed on, though hot glue would also work.

Near the top of the tree, I used driftwood split in half to achieve the tree cone shape.

Kept applying wood layers until I got the shape of the tree I wanted.

Once I had my cone shape, starting at the bottom, applied rows of driftwood. When I first started I used the natural rounded edge of each piece of wood but ended up rounding the edges with a tabletop jigsaw then sanding. The first rows mainly used wood that was split in half as I showed you earlier.
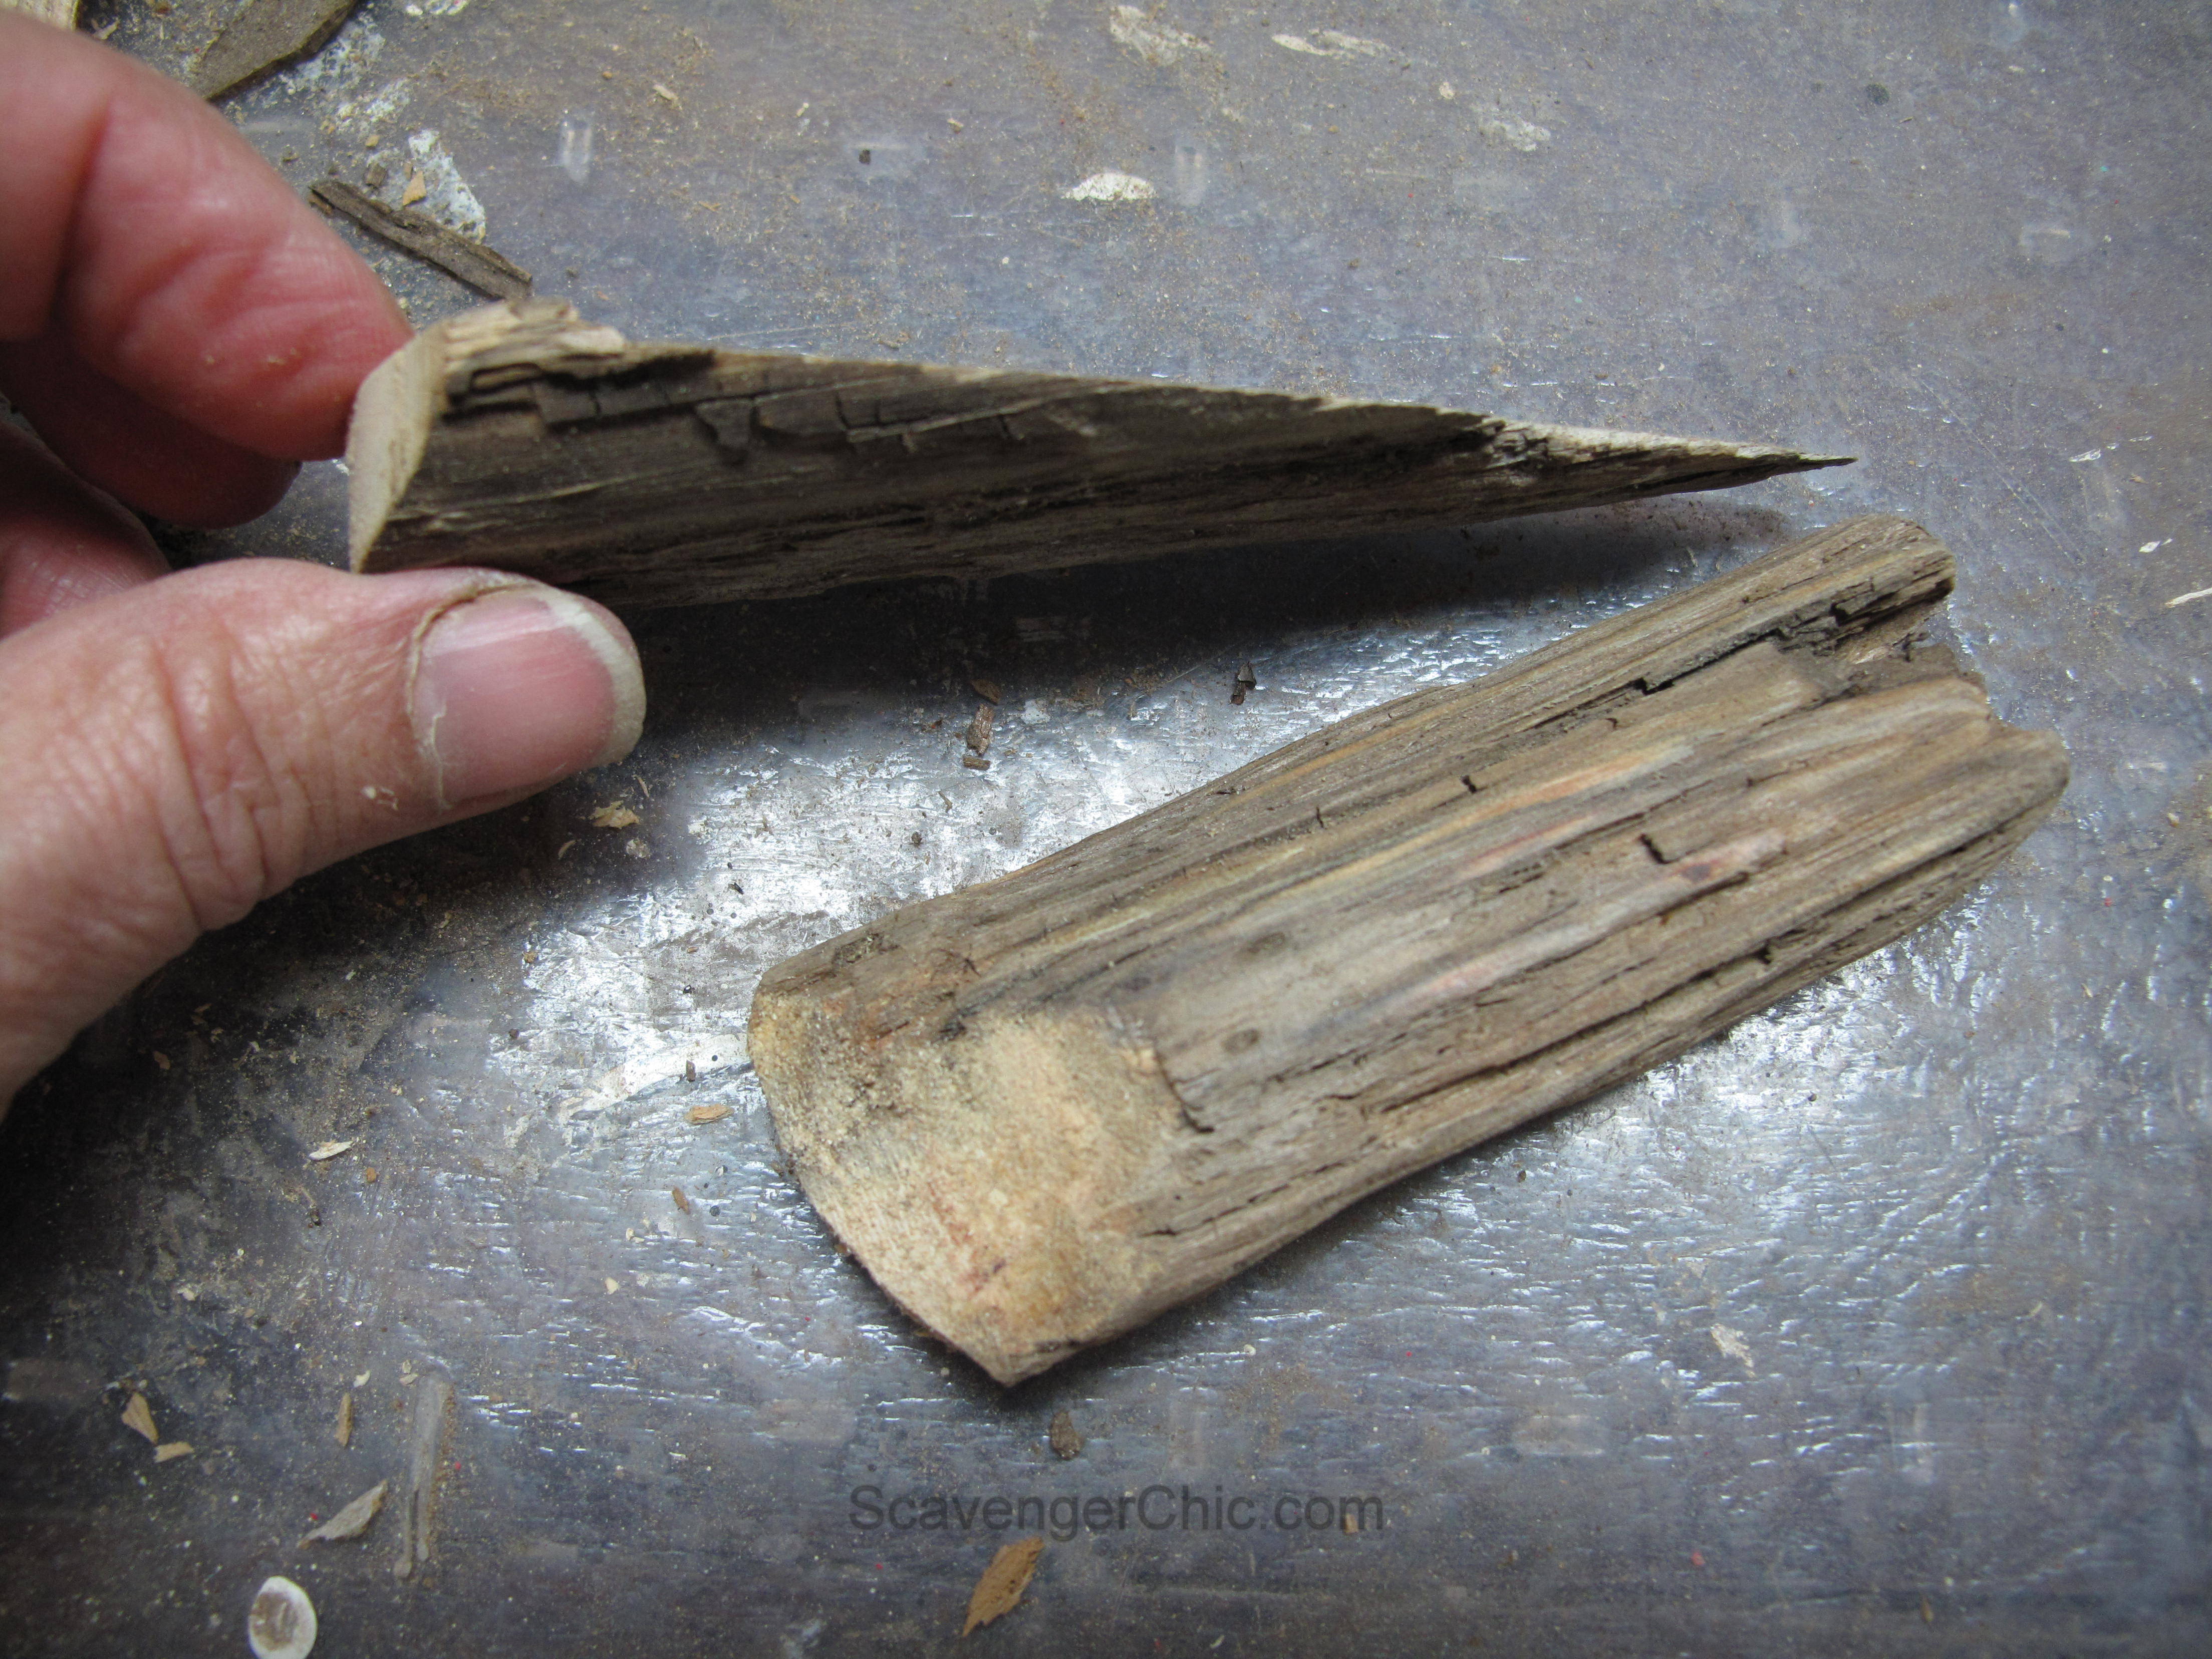
As I moved farther up the tree, the wedges got smaller. These pieces were cut from a larger stick. Again, the edges were rounded then sanded to give more of that driftwood, smooth feel.

Each row was added separately. After getting to the top, I went back and filled in any holes, trying to tuck the new pieces into the row above it.

By the time I got to the top, I had a system going….cut, shape sand, nail.
So while none of the steps were particularly hard, it was a little labor intensive. Now I know why they charge $183. I still wouldn’t pay that, and it is so much more fun to say, I saved $183.

Finished off with moss to cover the plaster and lightly brushed on a coat of charcoal black to cover the pot once more. I thought the tan I ended up with didn’t contrast enough with the driftwood.

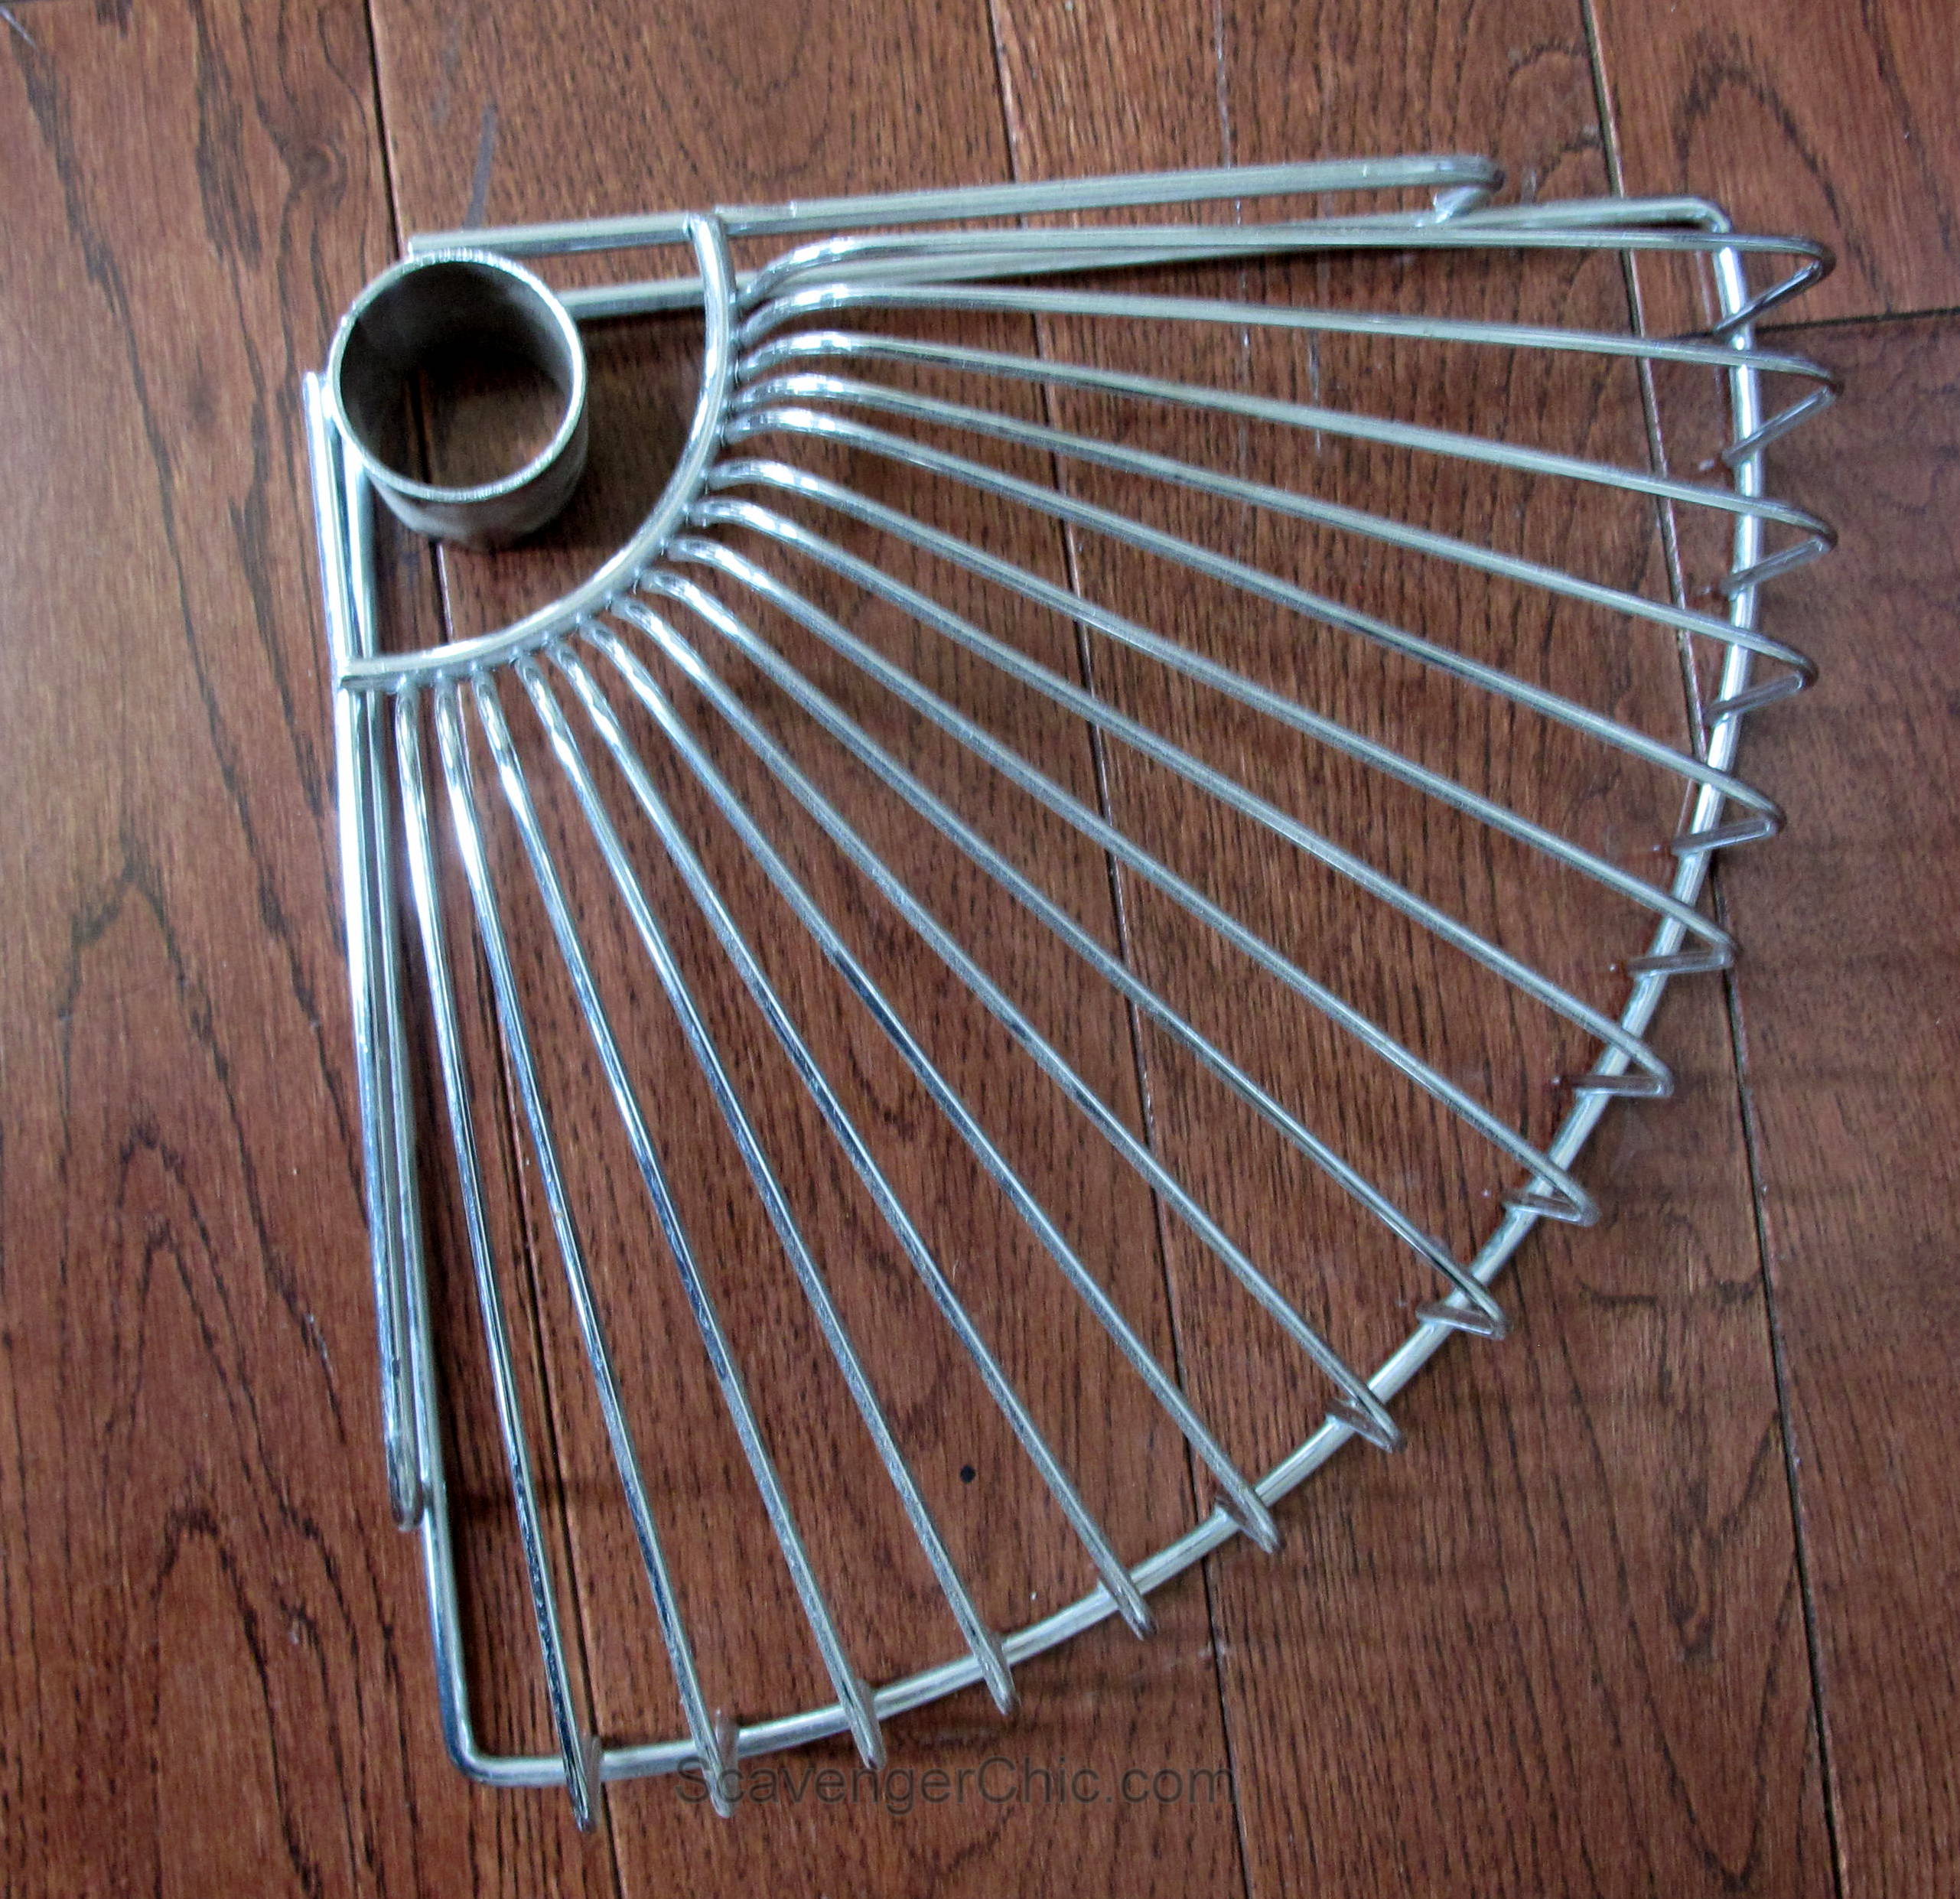
Last week when I showed you the lantern made from shutters, I gave you a sneak peek of the last portion of the gift and asked for any ideas before it made its way quietly to the trashcan. While I thought it was a piece of a fan, one of my readers, Lisa, thought it was a shelf that would attach to a pole for bathroom storage. I think she’s right about that one. Well, it turns out there were two of these things and while I had some great suggestions from you guys on what to do with it, I’m pretty sure you’ll never guess what became of them…no, it wasn’t the trashcan.
Come back Thursday and I’ll show you what I made out of the last piece of crap wonderful, thoughtful birthday stuff that my son gave me.
Shared at Something to Talk About, Metamorphosis Monday, Show and Share, Inspire me Tuesday,
Trash 2 Treasure, Be Inspired Tuesday, Wow us Wednesdays, Vintage Inspiration Party,
Mod Mix Monday, Think and Make Thursday, Handmade Hangout Party, Before and After
Catch as Catch Can, Link Party Palooza, Funky Junk party Junk, DIY Sunday Showcase,
Creativity Unleashed, The Inspiration Board, Amaze me Monday and Silver Pennies Sunday


 Copyright © 2024
LOVE it. I have been collecting driftwood and want to make a candleholder and cover a planter. one day soon
I don’t think my days of driftwood are over quite yet either. I see a lamp in my future. Good luck with your driftwood projects, I like the idea of a planter.
What a great job Joan! You are so talanted and patient!!!
I really love this. Pinning!
Thanks for sharing at Something to Talk About!
Karen
I live by the ocean and never find any drfitwood. You did a great job with the pieces you found and I just love it! I’d like to invite you to share this project or any of your projects on The Inspiration Board at my blog homework. I’ve been hosting my party for over 4 years and would love for you to join and inspire me. I hope to see you there! http://www.carolynshomework.com/2015/05/the-inspiration-board-creative-party_26.html
carolyn : homework
I agree with you about the ocean. I live 3 hours from the shore, not one stick of driftwood, it’s hard to even find a shell. Many of the pieces for this tree were driftwood wanna-bees. I’ll have to visit your party, thanks for the heads up.
Thank you so much for sharing your wonderful creativity on The Inspiration Board at homework. I loved your project and featured you.
http://www.carolynshomework.com/2015/06/the-inspiration-board-spotlight-208.html
carolyn ~ homework
[…] with a scroll saw or sander. If you get this technique down, then you are all set to make my driftwood tree…just do that another 100 […]
[…] corners with a scroll saw or sander. If you get this technique down, then you are all set to make my driftwood tree…just do that another 100 […]
Love the trees !
I’m gonna make it ? love it ?. What size pot did use use and how tall is the tree please ? you do great things ?
My pot was 7′ tall and the tree with the pot is 35″. Good luck with your project.