

Faux Apothecary Cabinet/ Workshop Storage
- By Joan
- February 5, 2015
- 14 Comments
Last week when I posted the Heap of Change Challenge/workbench storage, I promised that I would be back to show you the wall where I keep my miter saw. Well, I’m back.
Earlier in the week I showed you how to make the pallet wood rolling storage cart you see on the right above. And now the transformation of the cabinet next to the bin.
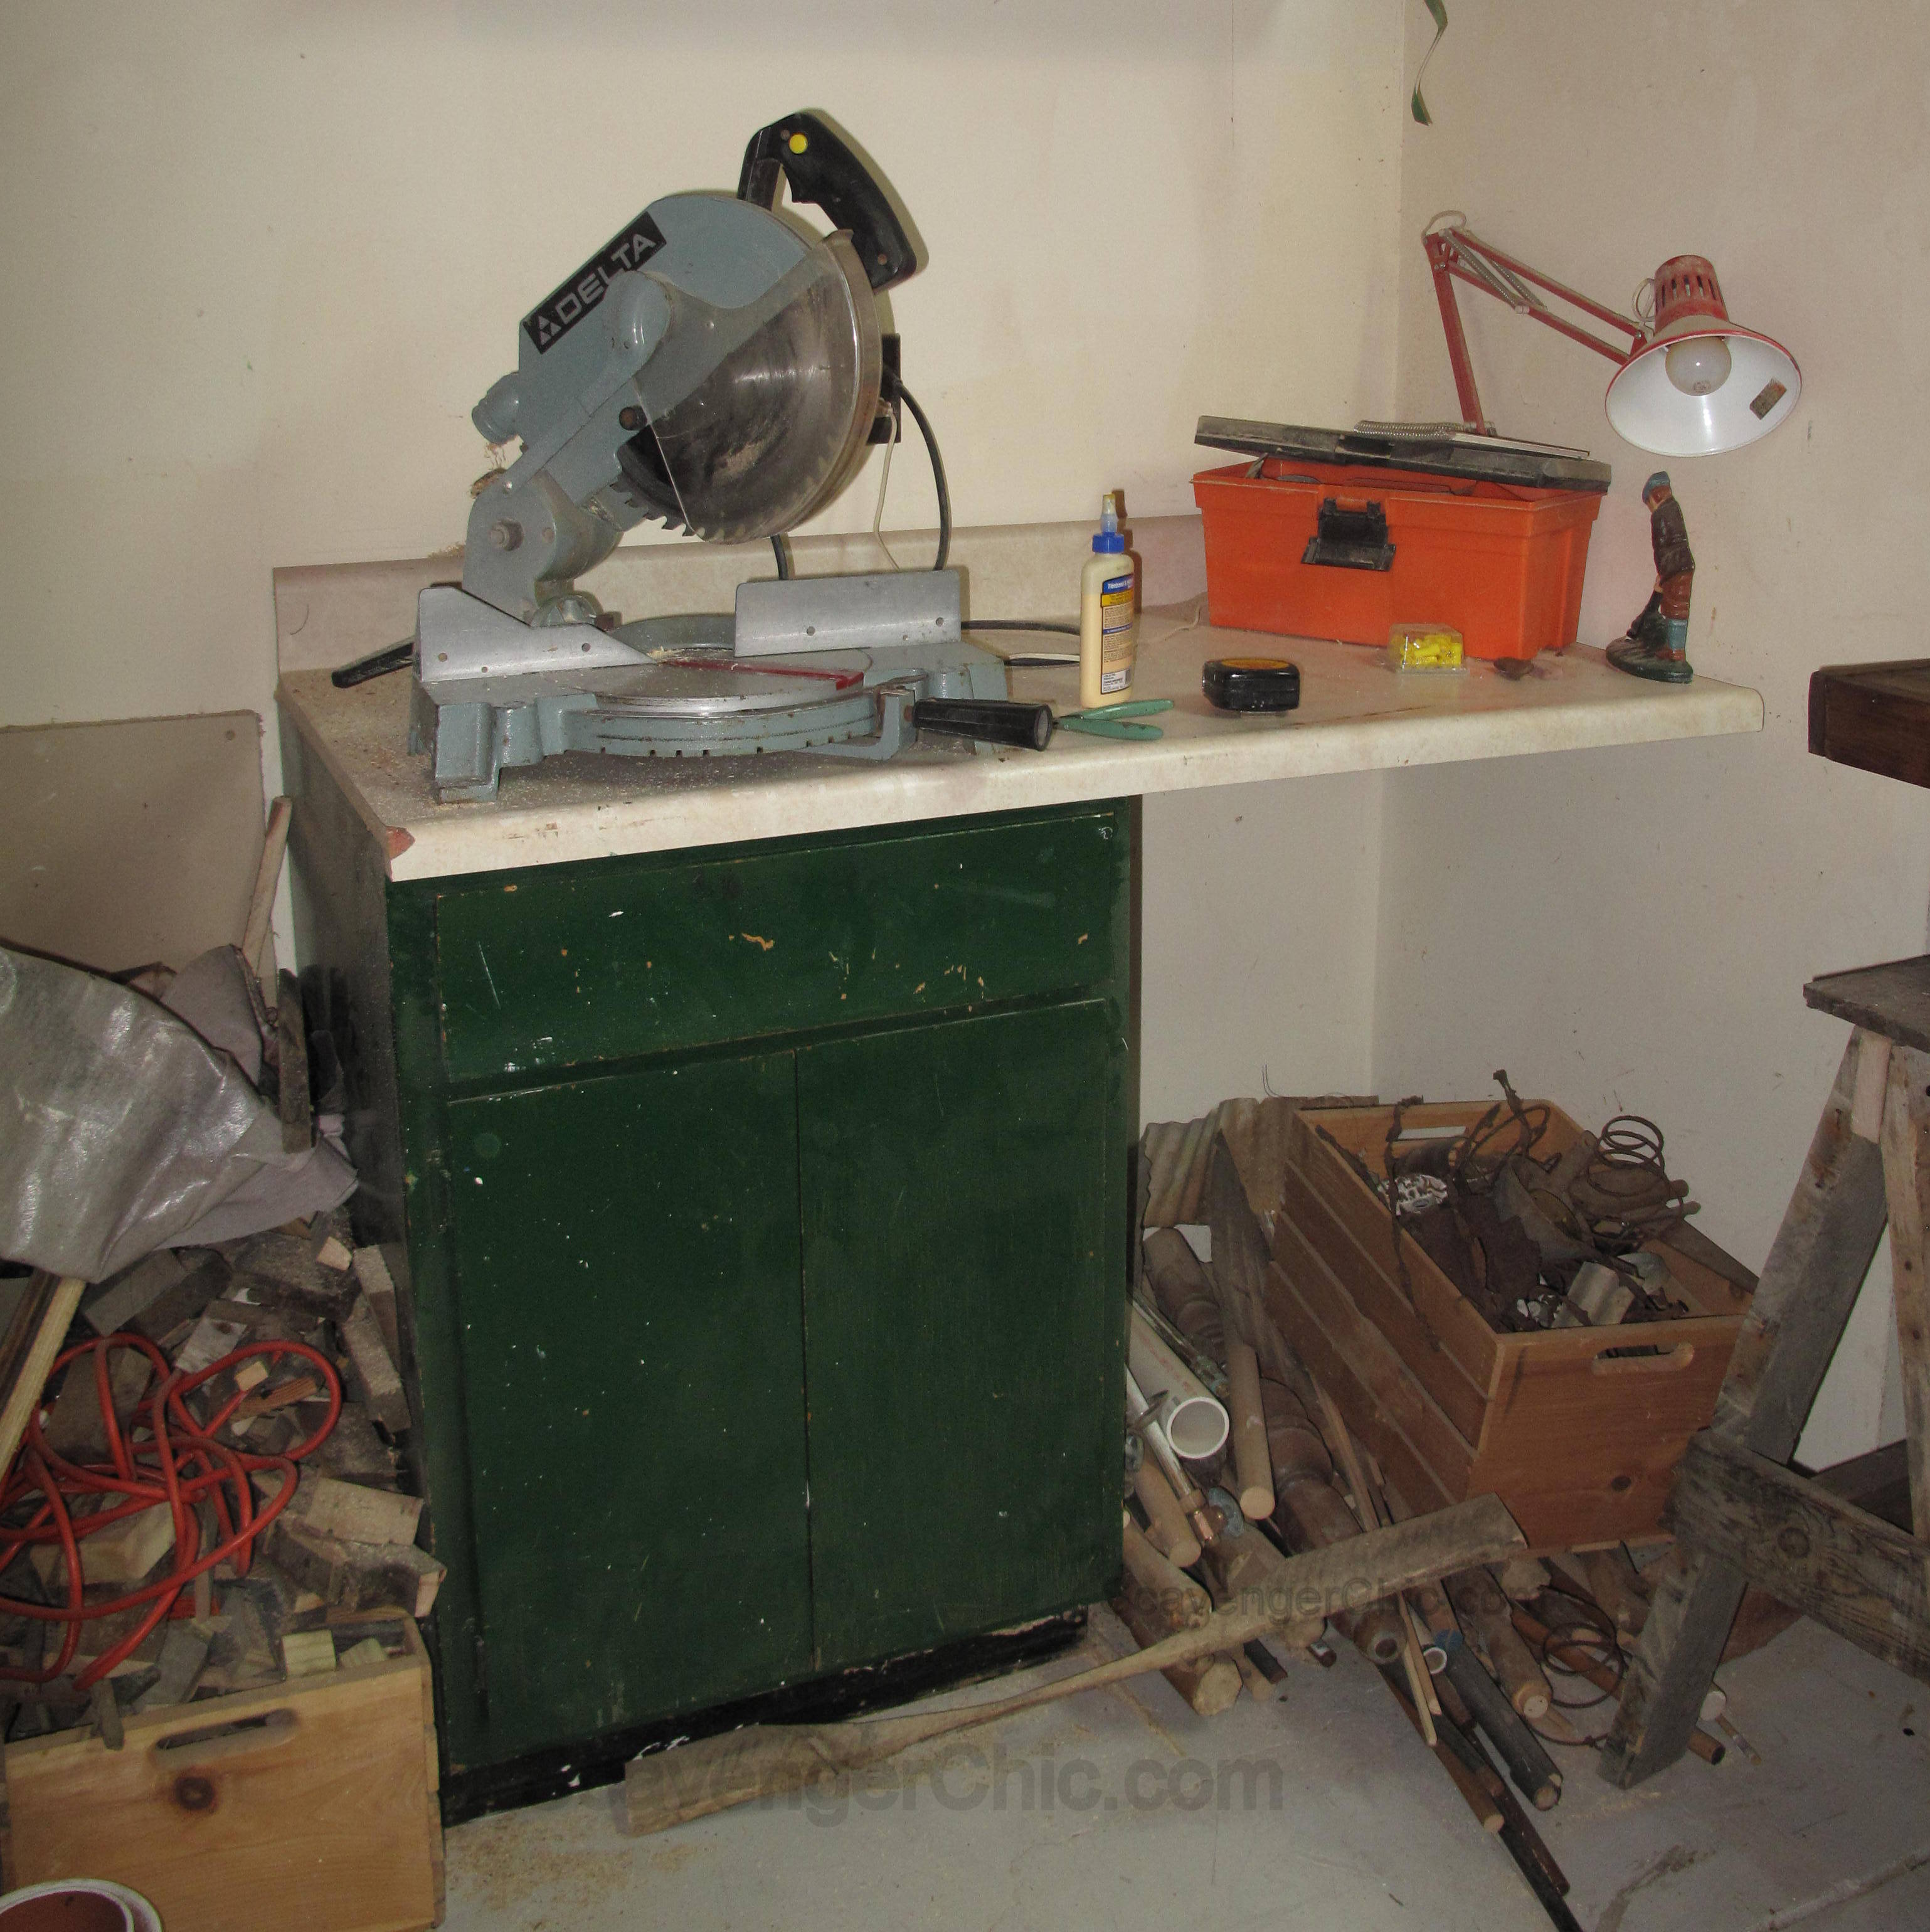
This is just a reminder of what the space looked like before. It was probably the least messy of all the areas in the workshop but nevertheless it looked pretty awful.
Well the laminate countertop was reclad in pine 1×8’s and 1×10’s with a 1×3 border and a 1×4 backsplash. Is it still called a backsplash when it’s in the workshop?

The boards were glued and clamped together.

For more instruction on how to make your own countertop check out my laundry room wood counter post. The steps are very similar on the finishing, but in the workshop I had the benefit of being able to nail my wood directly to the existing countertop instead of using crossbraces.
I did knock the existing backsplash off the laminate countertop and added a new one to match the new countertop.

From the bottom you can see I added about a foot in length to my existing countertop and I also attached a board to the studs in the wall so that the countertop would sit level.
The whole piece was sanded and given a couple of coats of polystain. If , after your first coat of polystain your counter feels really rough, sand it down with either really fine sandpaper or fine steel wool…the polyurethane tends to pick out all the fibers in new wood and and make them really stiff. After sanding, wipe it down with a tack free cloth.
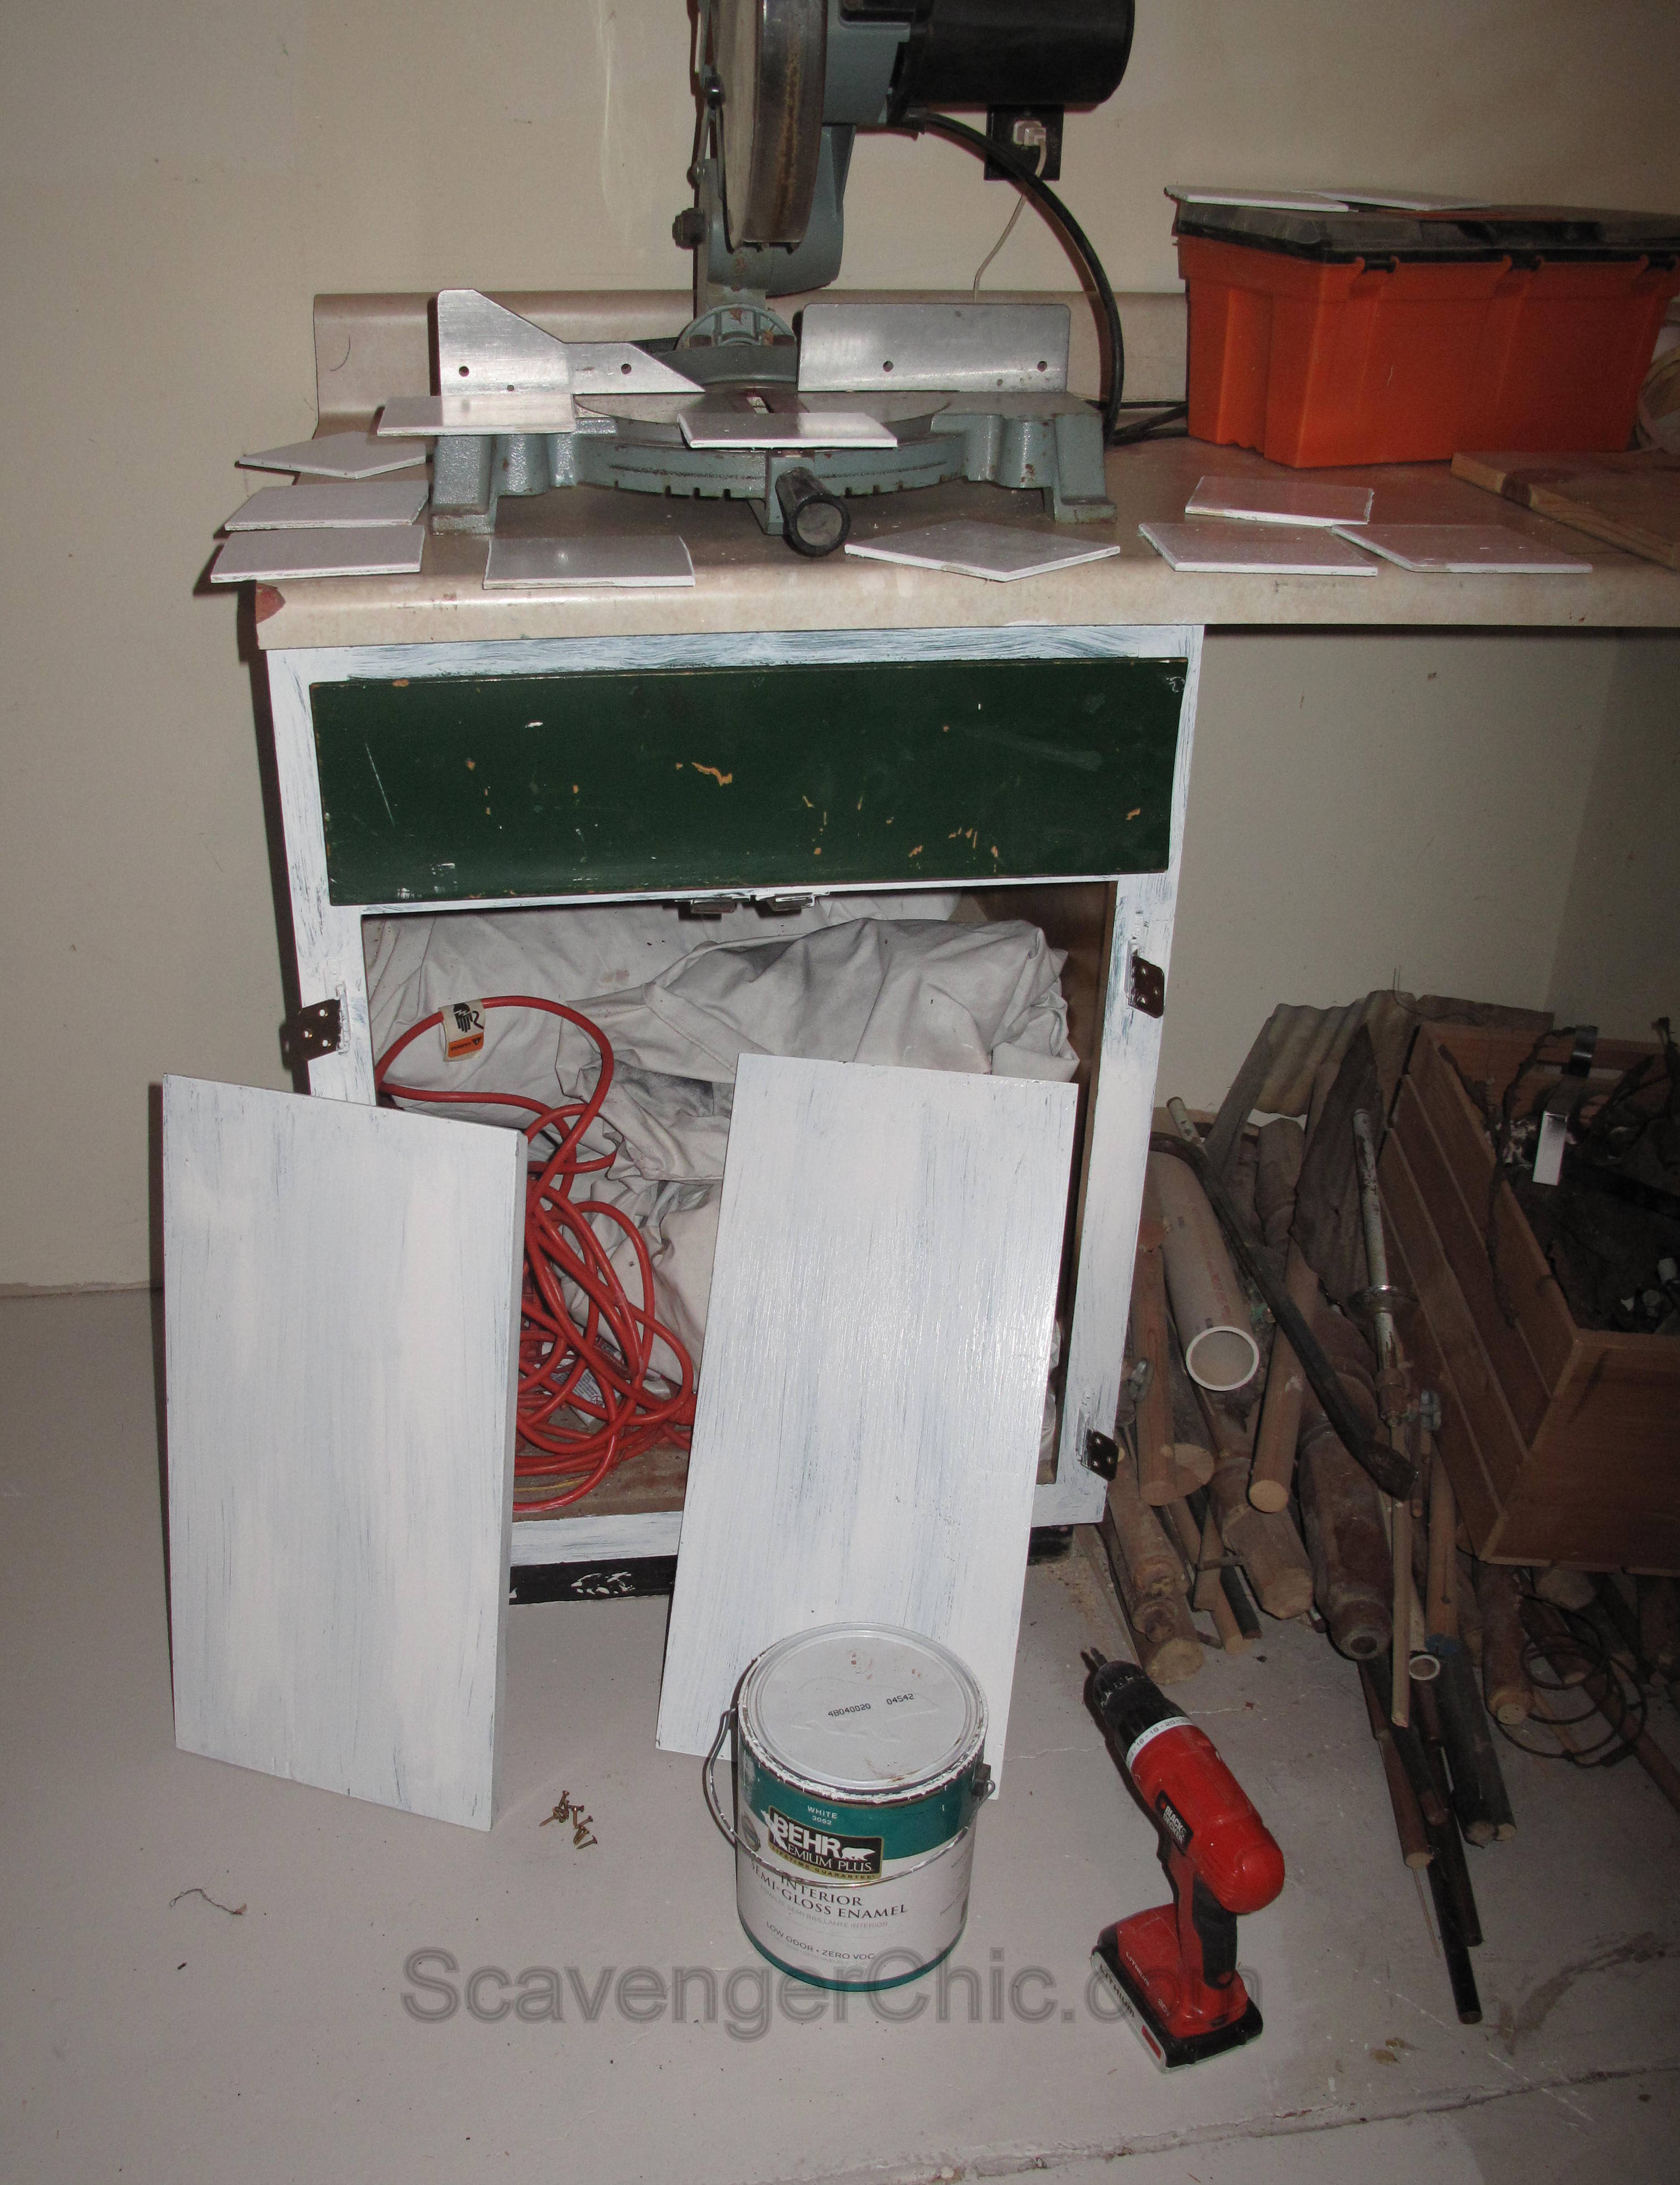
Ok, now back to the apothecary cabinet. The doors were taken off the cabinet and primed.

I measured across the cabinet and with a measurement of 21 1/2″, I figured I could make 4 “drawers” each measuring 5 inches across with 1/4 inch spacing between. The height of the cabinet was 22″…with a little more spacing at the top and bottom of the cabinet, the height of each “drawer” would also be 5 inches.
Marked out 20 5×5 boxes on thin luan plywood that I had sitting around.
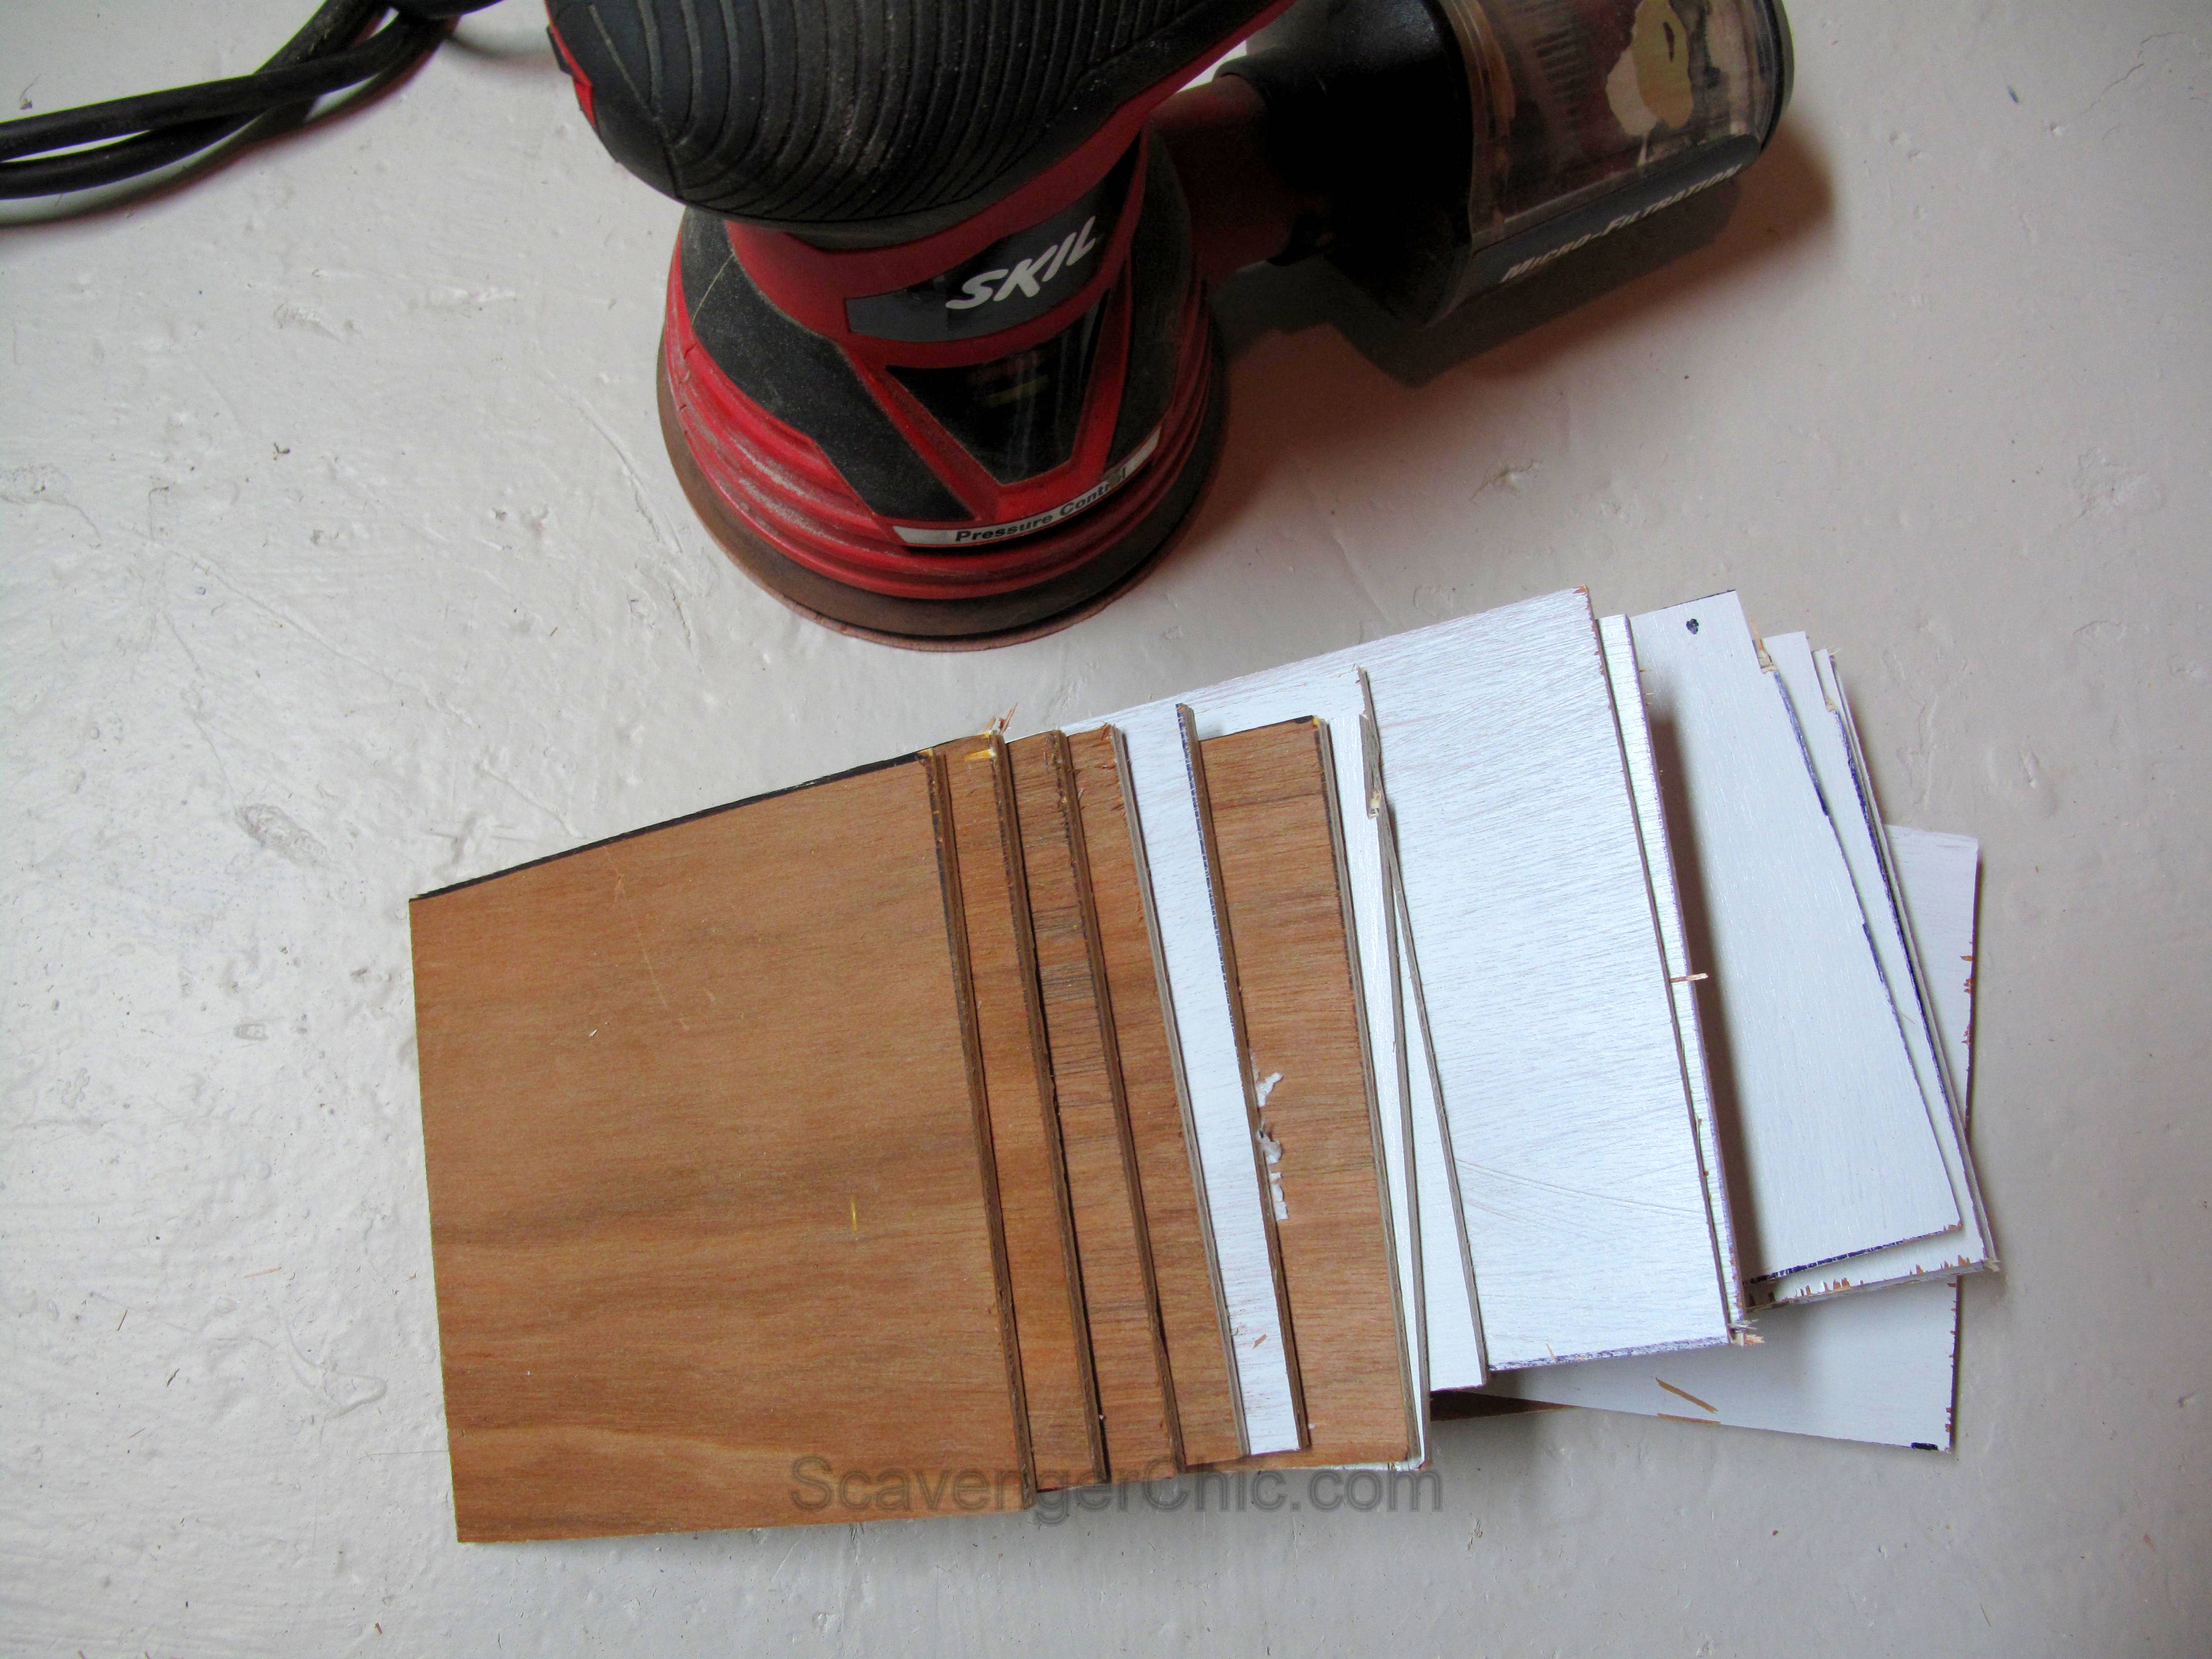
Squares were cut then given a good sanding on the edges with a palm sander.
The squares were also primed.

My drawer fronts were now attached to the cabinet doors with wood glue and tacked into place for drying.

The drawer was treated a little differently. Since it had a concave front (and not flat like the cabinets) the entire front was pried off and replaced with a new board. Used the old drawer front as a pattern for the new.
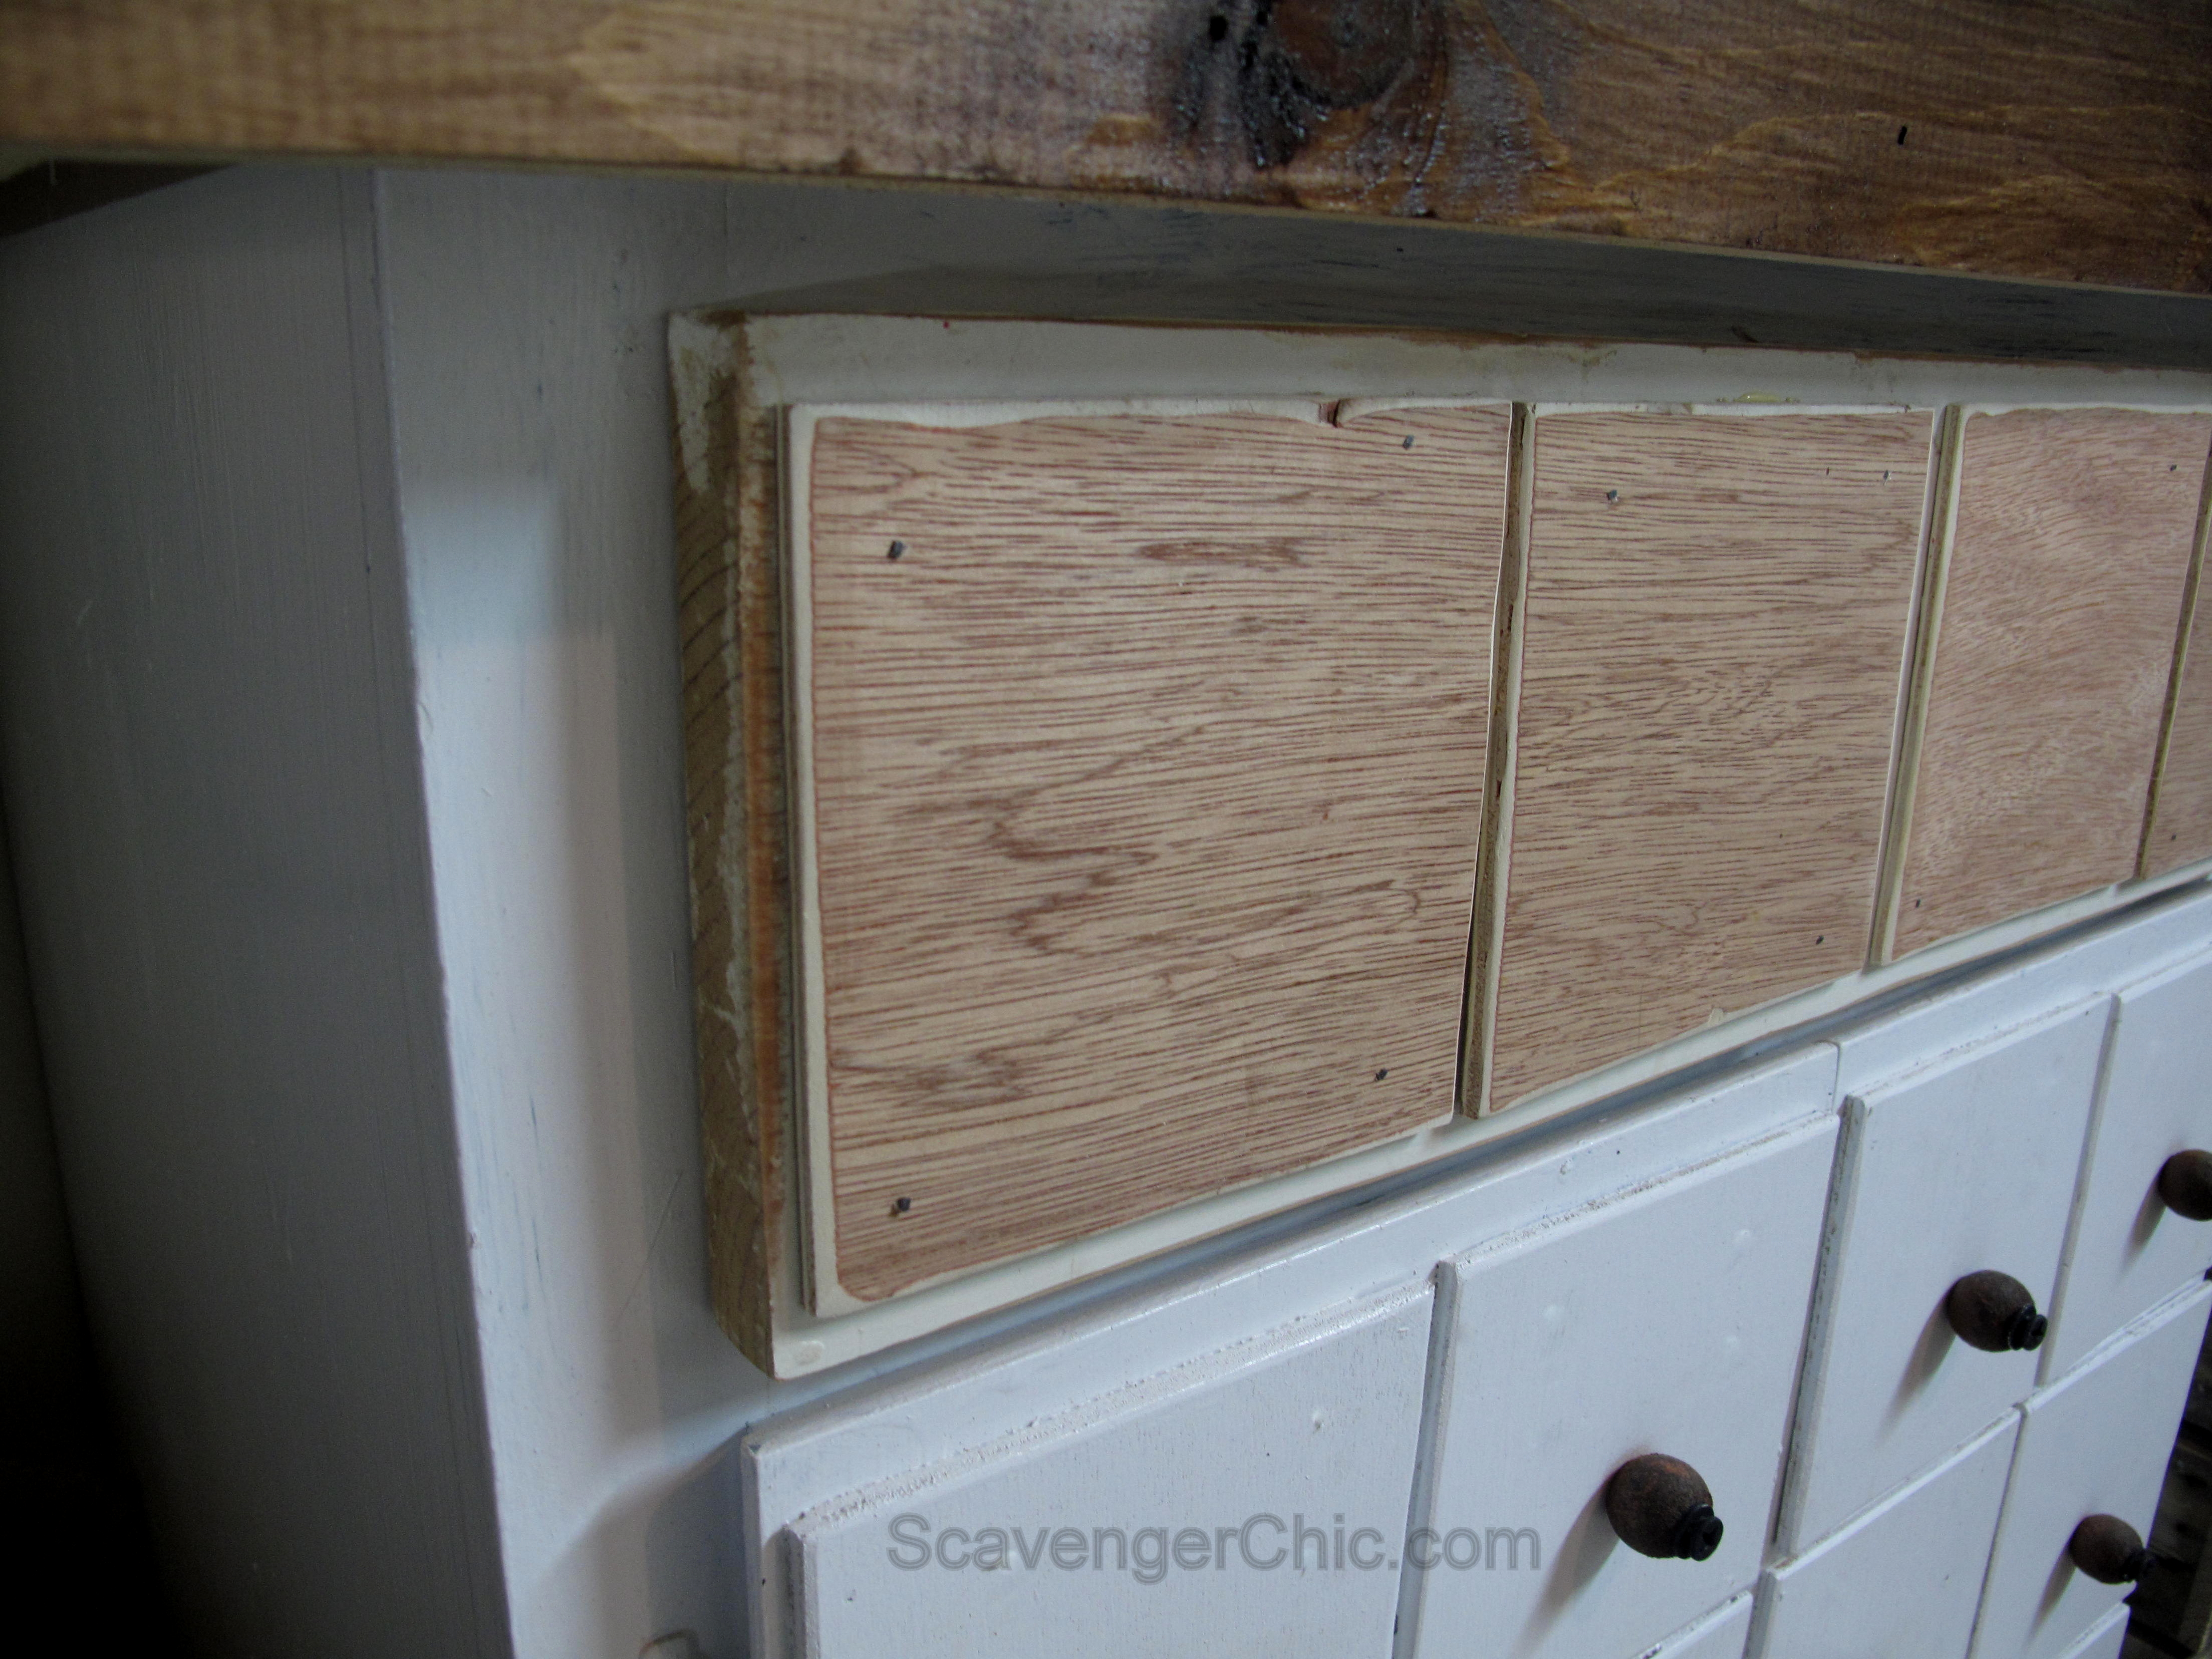
The new drawer was also given fake apothecary drawer fronts.

For my drawer pulls I used some old wooden beads I had laying around the house. When my kids were younger they used to string them. Now they were given a coating of this nice rustoleum textured paint that looks rusty but supposedly stops rust.
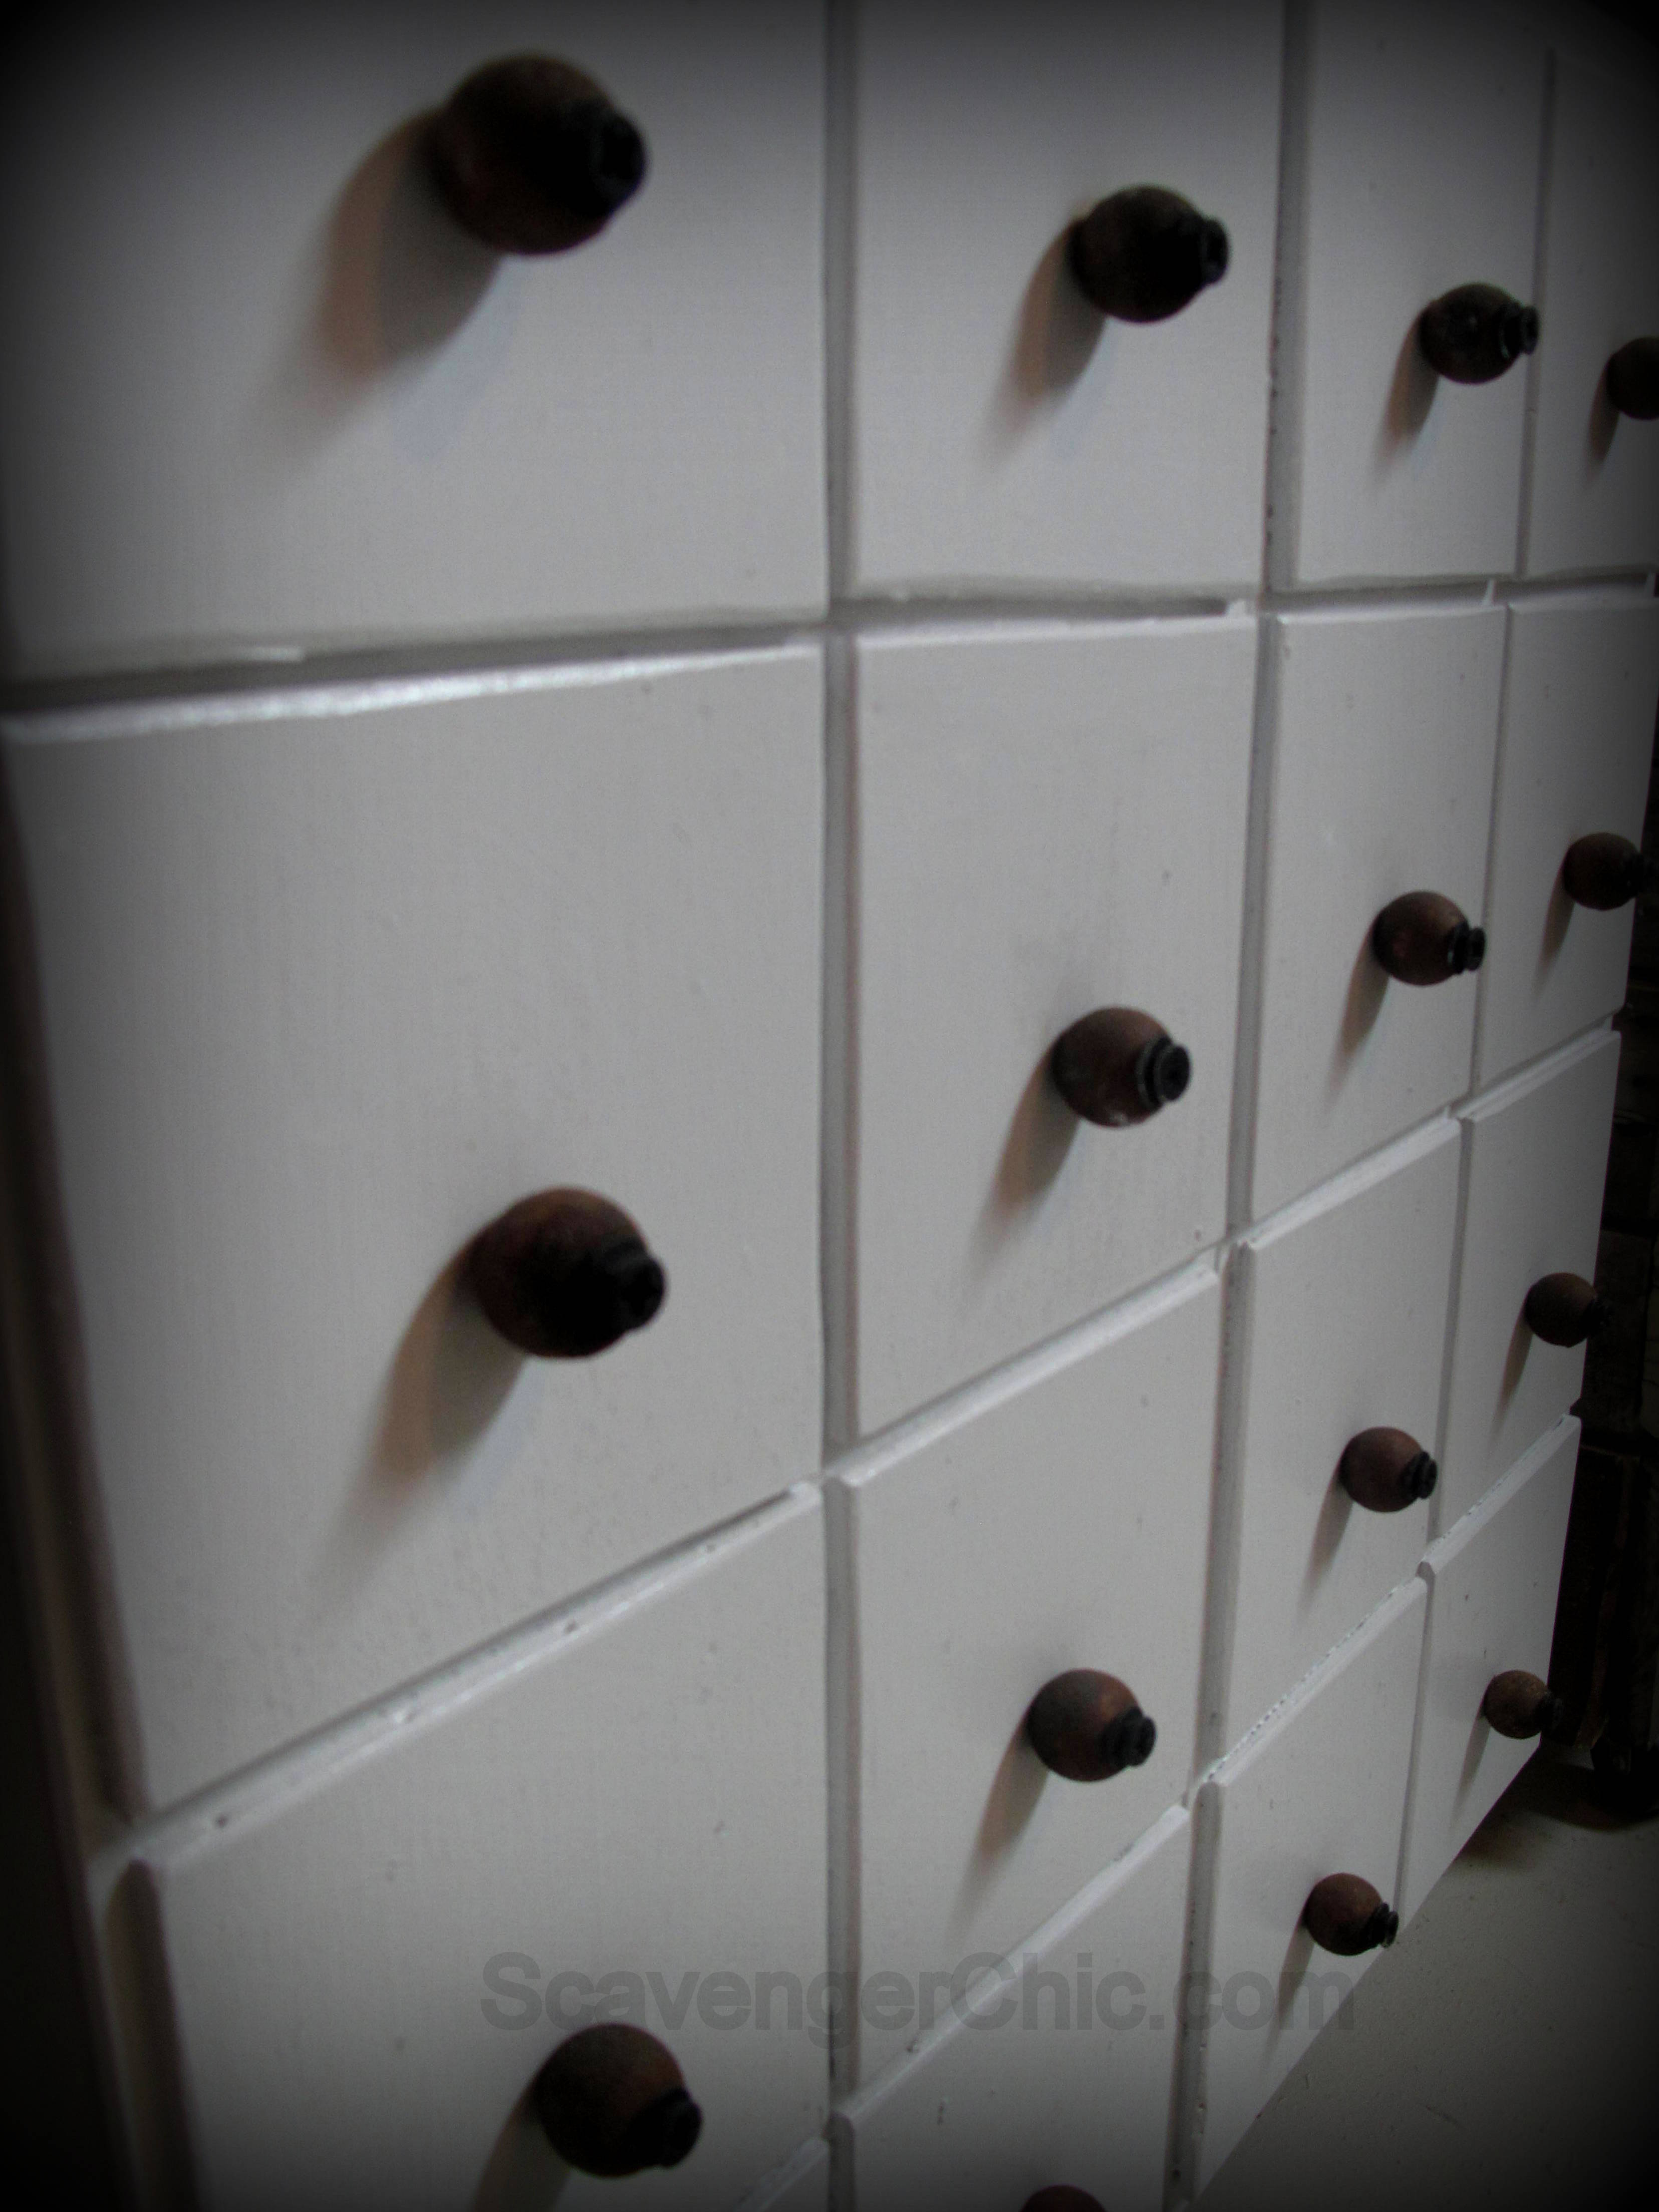
Holes were marked and predrilled and knobs were attached.

Quite a difference from the before to the after. The bin to the left of the cabinet holds wood scraps from the chop saw.


The cabinet holds an assortment of dropcloths, extension cords, rags, trouble lights and sandpaper…stuff that is better left behind closed doors.
Have a great day and thanks for stopping by to see me clean up my mess!
I still have a couple more projects planned for the space above the saw, so make sure you check on my clean up progress next week. Have a great weekend.
Update: Since this post, I finished the last side of my workshop, check out my diy cedar cabinet here and don’t forget the workbench makeover.
Shared at The Handmade Hangout , Furniture Feature Friday , Friday Favorites ,
Show me Saturday, Funky Junk Party Junk , Diy Sunday Showcase, Make it Pretty Monday,
Wow us Wednesdays, Inspire Me Monday, Metamorphosis Monday, DIY Showoff
Vintage Inspiration Party, Tutorials and Tips , Before and After Wednesday
Treasure Hunt thursday, Freedom Fridays, Your Turn to Shine and Catch as Catch Can
And I was featured at


 Copyright © 2024
Love your workshop makeover, especially your Faux Apothecary Cabinet. Your work space is so inviting. Great job !!
Thanks Patti, It’s almost too clean, I don’t want to mess it up. I’m sure I’ll get over it.
Hi Joan, I love the idea of the knobs for handles but what did you use to attach them to the drawer fronts? I have a similar stash of old wooden beads and an open shelf which need doors and this is a great idea for my sewing room
Hi Patricia, I just attached the knobs with a wood screw and a washer painted black. The screw was long enough to go through the bead and into the wood but not through to the other side. If you look at the picture of the painted beads in my post one of them has the screw through it. To get the right size, I just took the bead to Home Depot with me. Good luck
Looks great! I need to do something like this for our garage area. It’s a hot mess right now and needs some major cleaning up and organizing. Thanks for linking up to Show Me Saturday.
WOW! I can’t believe it’s the same piece! And the top you put on is spectacular! Gorgeous work – you have the best workshop in the business I think!
Thank you so much. I’m pretty sure you wouldn’t have said that a couple of weeks ago..
What a transformation! I am so jelly, my workbench looks like your before photo. You’ve inspired me to fix it up 🙂
[…] need Scavenger Chic to come help my garage! This cabinet and work space is […]
What a great space to work in, Joan! Wow! Thanks so much for sharing with us at our link party! 🙂 Hope to see you back again tomorrow! Have a great rest of the week!
What a great idea! It’s so beautiful, but functional, the prefect combination!
My husband loves to craft all sort of things, but it is a mess all over the workshop. Probably this would place his stuff in one place .. at least for a while! Thanks, Storage Highgate Ltd.
I would love to blame the mess in my workshop on my husband, but I’m afraid it’s mostly me. If you want a cupboard to really store a lot, check out my post on Feb 22, a cupboard that holds all my cans of spray paint, paint, tile stuff…you name it. It will also give your husband another project to work on and clean up the workshop at the same time.
[…] last week…. DIY custom closet, Our secondhand house Faux apothecary cabinet, Scavenger chic Happy Linking up, and I hope you really take the time to visit others too. Otherwise you are […]