

Heap of Change Challenge/ Putting a new top on an old Workbench
- By Joan
- January 23, 2015
- 5 Comments


This month, Donna, over at Funky Junk Interiors, has put out a challenge to fellow do it yourselfers, to transform an area in your home…to clean and organize…to get rid of the clutter…to make a walkway where none existed. It didn’t have to be a room, it could be a closet , a drawer , shelves…any area in need of a purge and clean.
Now I had no intention of taking the challenge, I was far too busy working on my next project. That is, until it hit me, my workshop really needed to be the next project.

Now this is what my workbench usually looks like, if not worse, after I’ve finished a project.
I’m not proud of my mess and I’m only showing my before picture so that I can show you an after pic. When I’m in the middle of a project, any tool I’ve used, any paint, any paintbrush, any rag, I just lay right on top of the workbench, until I’m ready to start another project. And then, and only then, do I clear out a couple square feet in the center to work on my next project.
Is this therapy…I feel like I’m telling all my deep dark secrets.
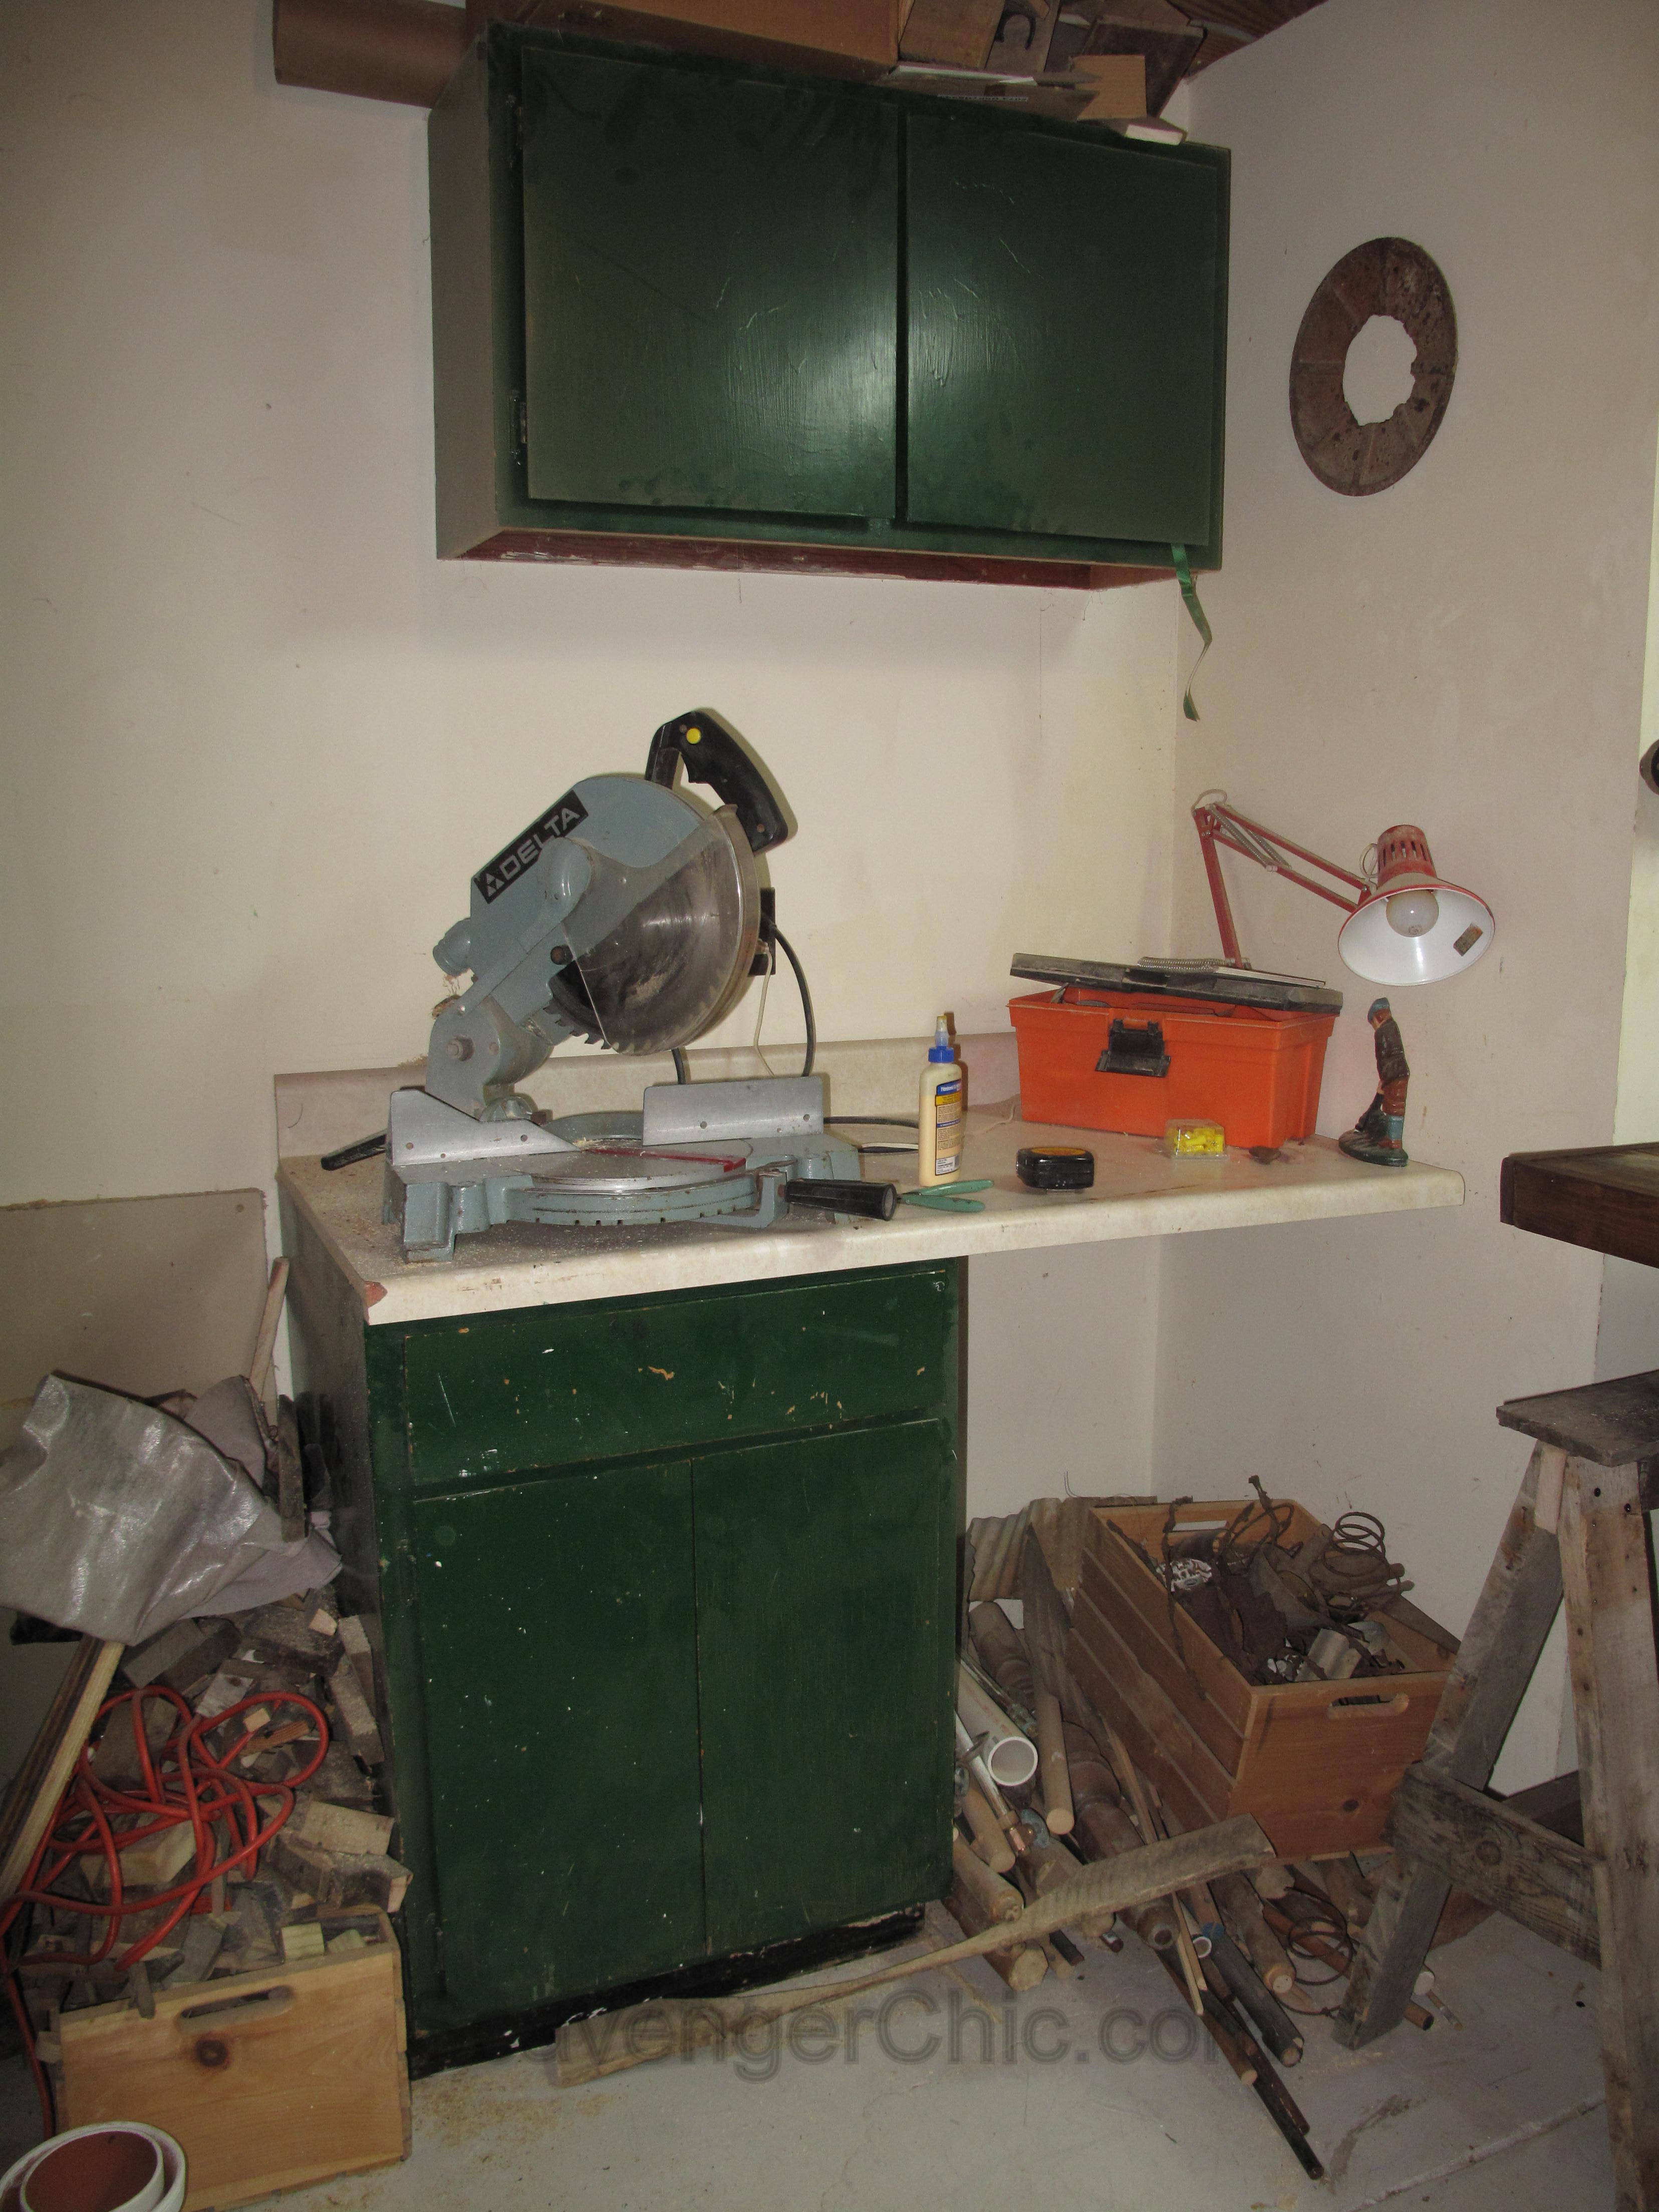
For full disclosure, this is one side of the room where my miter saw is located. The scrap wood pile needs to be cleaned out as well as my assortment of dowels.

But this side has got to be the worse. Scrap wood, paints and future junk projects. How can I get rid of any of it?
Maybe I can’t, but I can do better.
Anyway, it’s getting late in the month and I’ve just started to reorganize my space. I may not make the end of January deadline for the Heap of change challenge but I have started.

First step was to make the workbench larger.
Over top of my old workbench, an old door, I began to lay out my wood. Three 1×10’s and one 1×8 did the job nicely. These were glued in place and clamped together.
Once the glue had dried, added a 1×3 edging. This was also glued and nailed into place.
The new top was then nailed to the existing top.
The new workbench is 2 feet longer than the old. It does look better already but looks can be deceiving…everything is out in the hall.

Also stained and varnished the top with a dark walnut varathane (stain and poly in one can). I use varathane quite often because I love the water cleanup, otherwise my brushes are a stiff mess after I use polyurethane.
Also added a board to the back so things would stop falling off.
We’ve only had this workbench for 30 years, so no time like the present. It’s nice to have a challenge to get me moving.
Shared at Metamorphosis Monday, Show and Share, Vintage Inspiration Party,


 Copyright © 2024
Looking good. Good idea to put a longer new top on your workbench. Looking forward to your next post on your workshop. (yes, visiting from Funky Junk).
Joy
Thanks Joy, I need all the encouragement I can get.
Gosh, it’s looking better already. It’s great to have the space to extend that work bench. Best wishes to completing your project. I’m working “The Program”, too. I won’t be finished by the end of January, so let’s home Donna has plans to help keep people like me going. I’m starting with my craft/art studio. There is so much to do, and it feels so good to see progress, doesn’t it?
That work bench top is too pretty to do any real work on! you’ll have to make another.
No, Now I’ll just have to do all my work on the floor.